Installing Commvault Server software on Linux...

Task Duration Estimate - 60 minutes
Did you know that you can run Commvault Server software on Linux? Running the Commvault Server software on Linux opens up a number of possibilities for secure backup setups and using automation tools like Ansible, Terraform and Packer.
In this blog post, I will list out the steps of installing Commvault software on a Linux server.
The installation will be running on a Linux virtual machine in a VMware vSphere 8 environment. Please refer to this post on how to build templates using Packer.
https://connectedtech.com.au/building-a-rhel-9-vm-template-in-vsphere-8/
The build script from the above post can also provision a RHEL 8.9 template.
The pre-requisites,
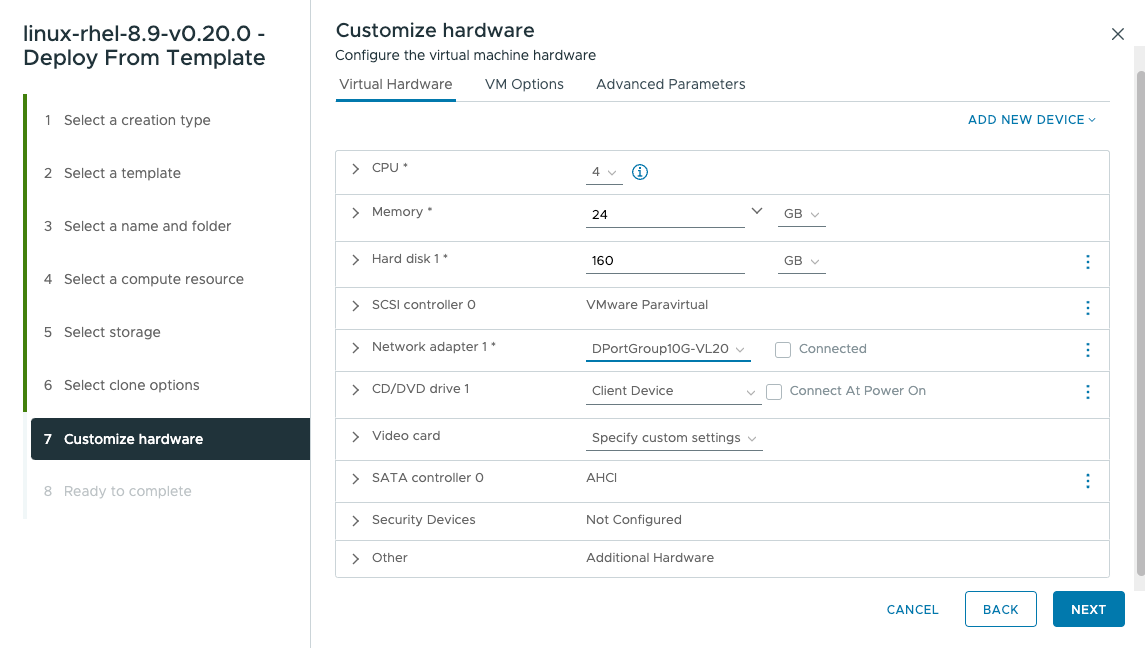
* A virtual machine with minimum 4 vCPUs, 24GB RAM, 160GB
Refer to the link below for other server hardware sizing options,
https://documentation.commvault.com/2023e/expert/hardware_specifications_for_commserve_server.html
* A Red Hat Subscription
https://access.redhat.com/articles/subscription-faq
* Or a Red Hat Developer Subscription
https://developers.redhat.com/articles/getting-red-hat-developer-subscription-what-rhel-users-need-know
* Download the Commvault software from the Commvault Store,
https://cloud.commvault.com/webconsole/softwarestore/store.do#!/home
Please note, a valid Commvault account is required.
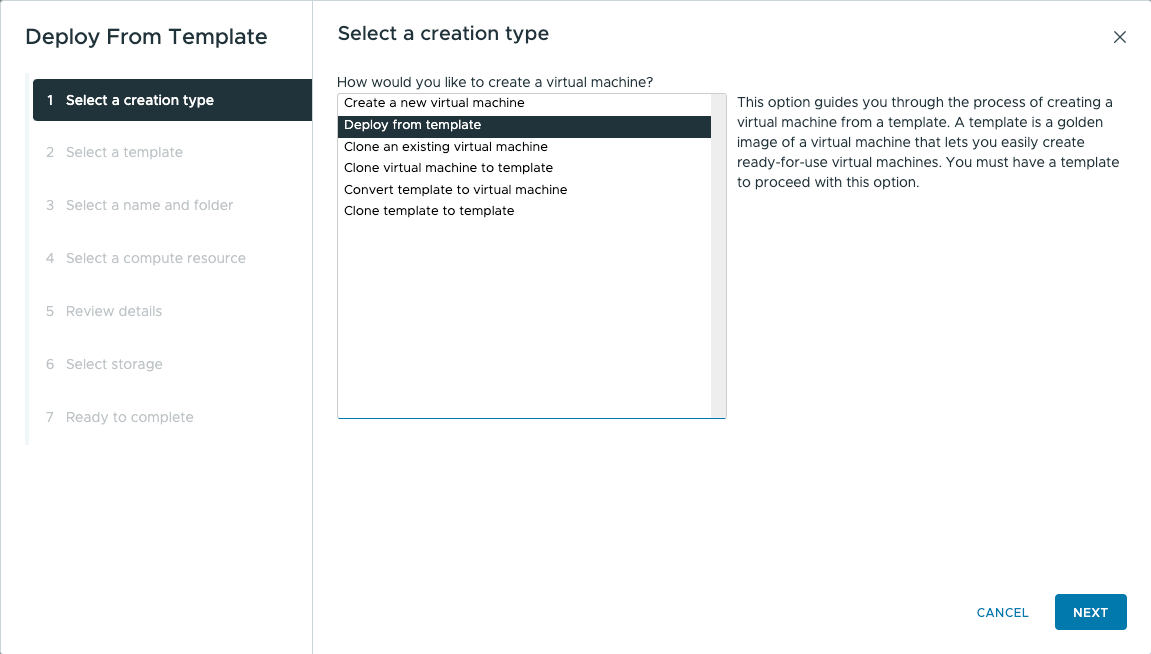
Step 1 - Provision a virtual machine from template
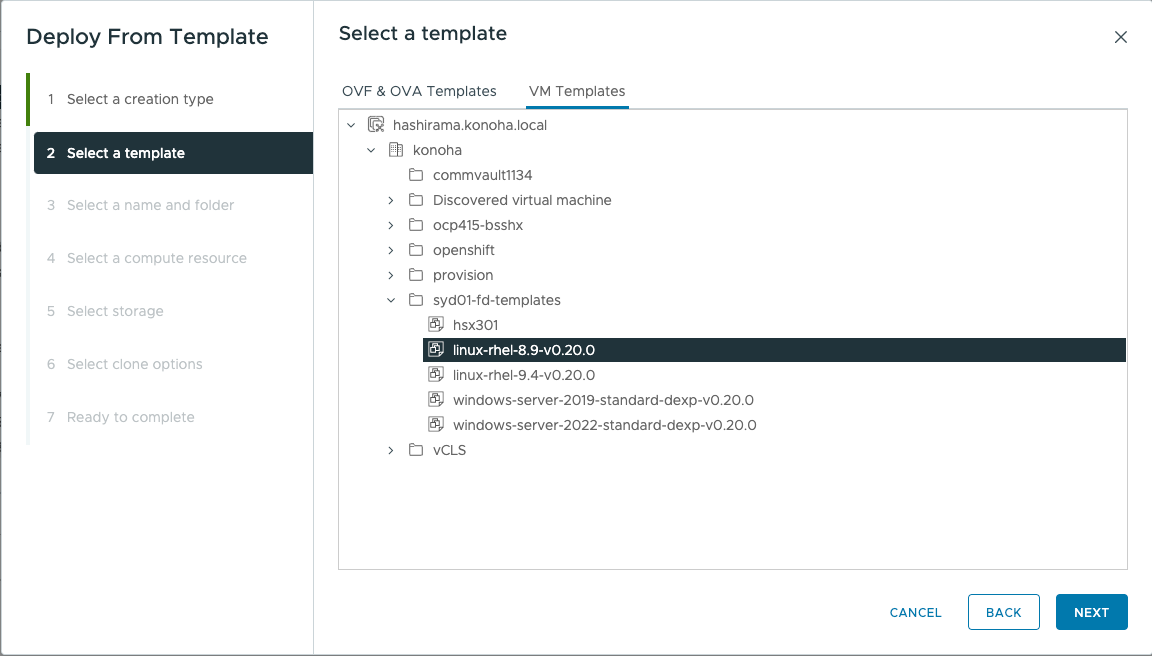
Step 2 - Select a template
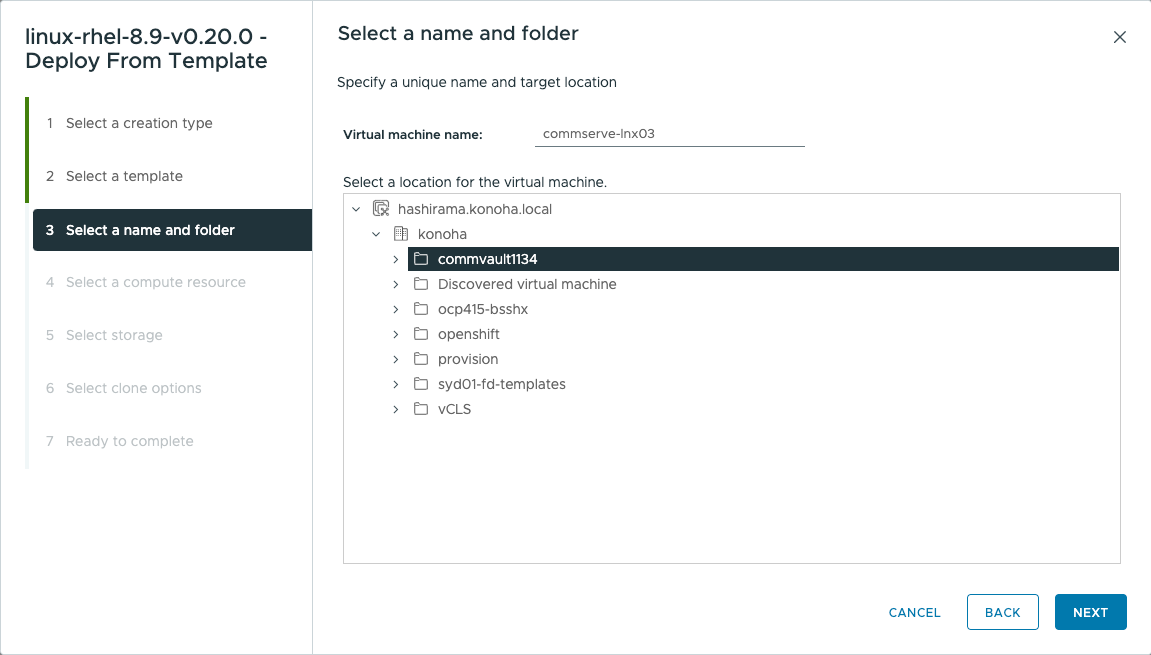
Step 3 - Select a name and folder
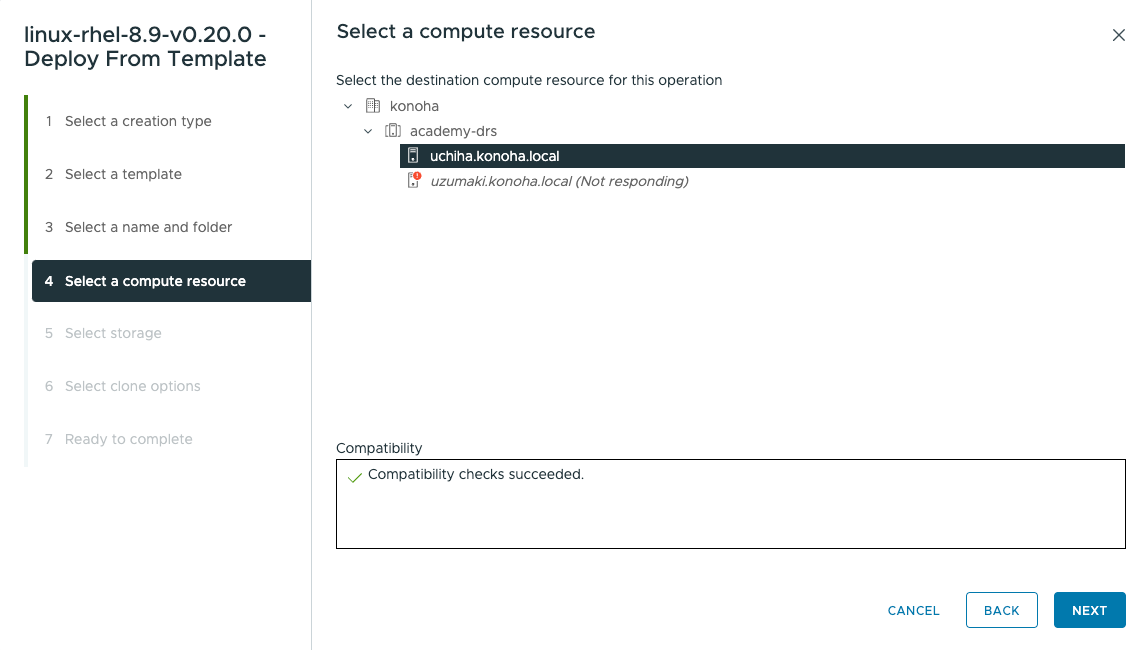
Step 4 - Select a compute resource
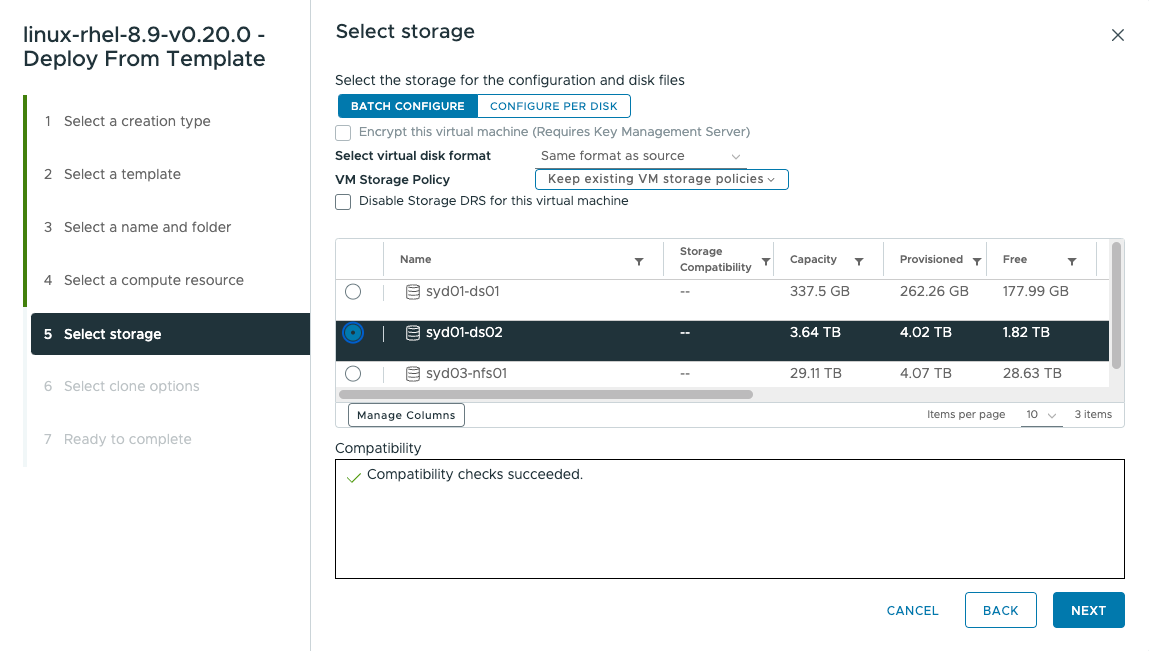
Step 5 - Select the storage
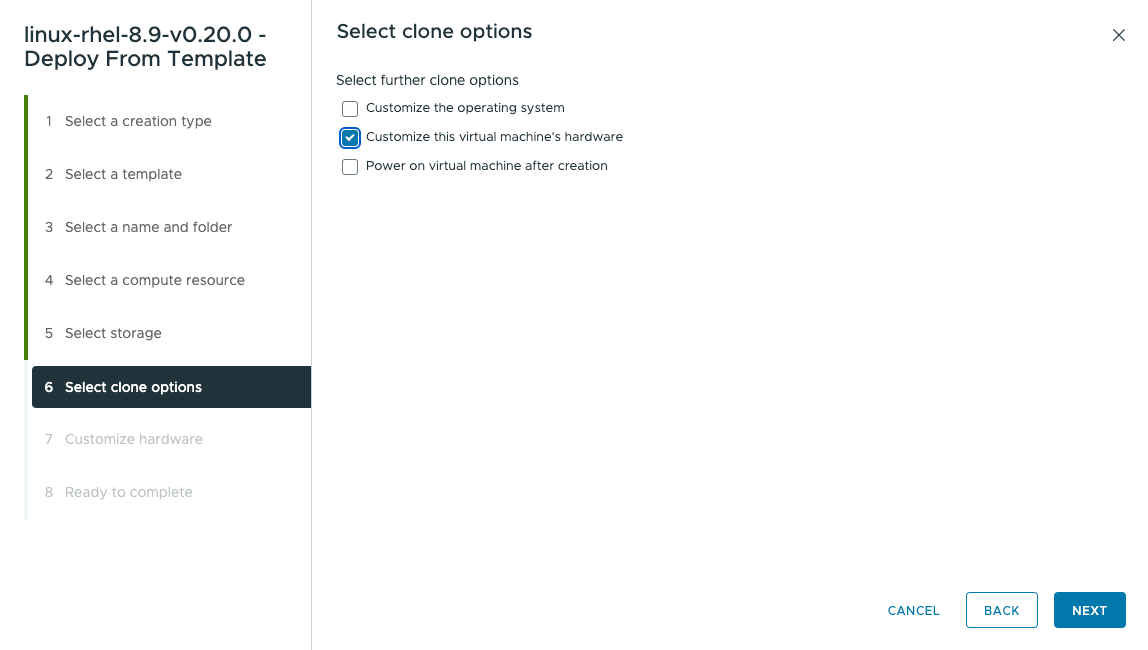
Step 6 - Select clone options. Choose Customize this virtual machine's hardware. The template has bare minimum resources so they will need to be changed as required.
Step 7 - Customize the hardware
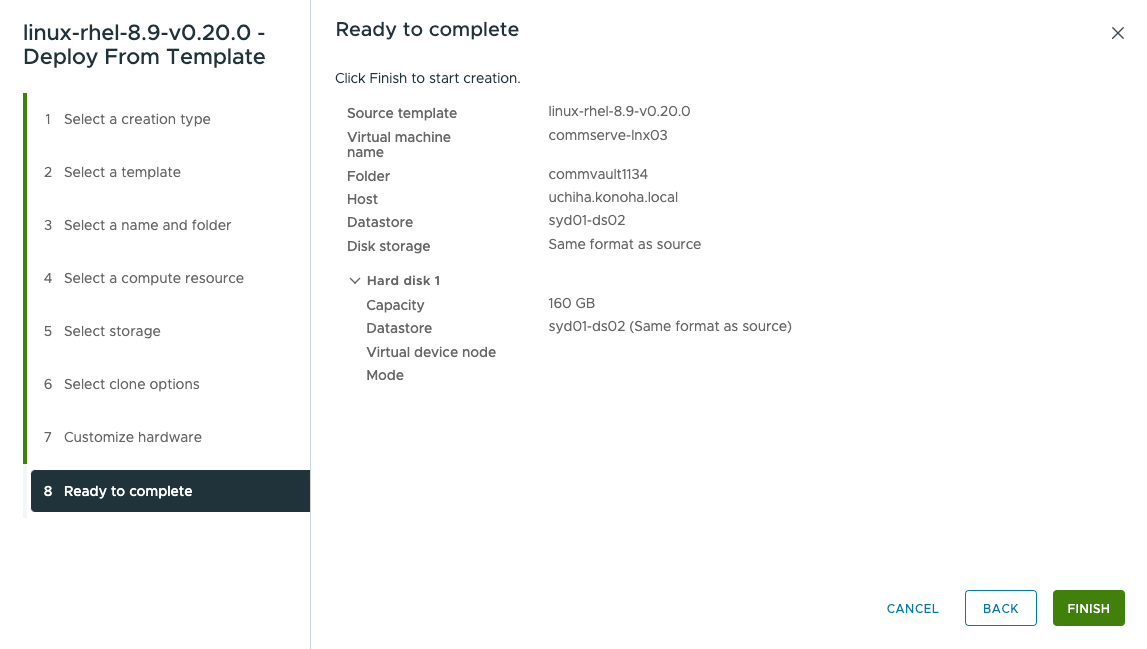
Step 8 - Confirm the selected settings then click Finish.
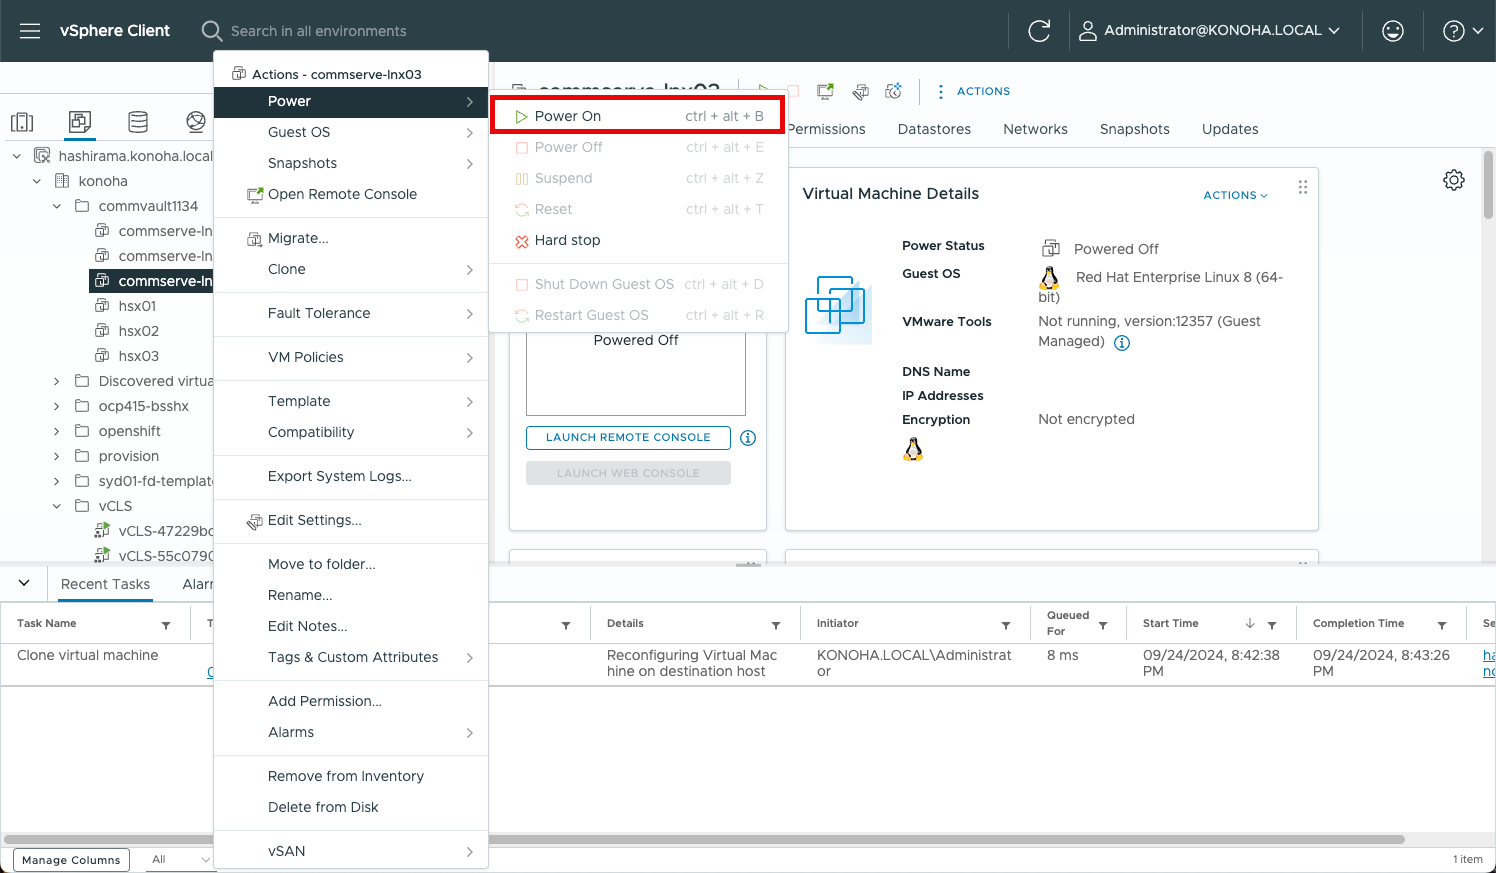
Step 9 - Power On the virtual machine.
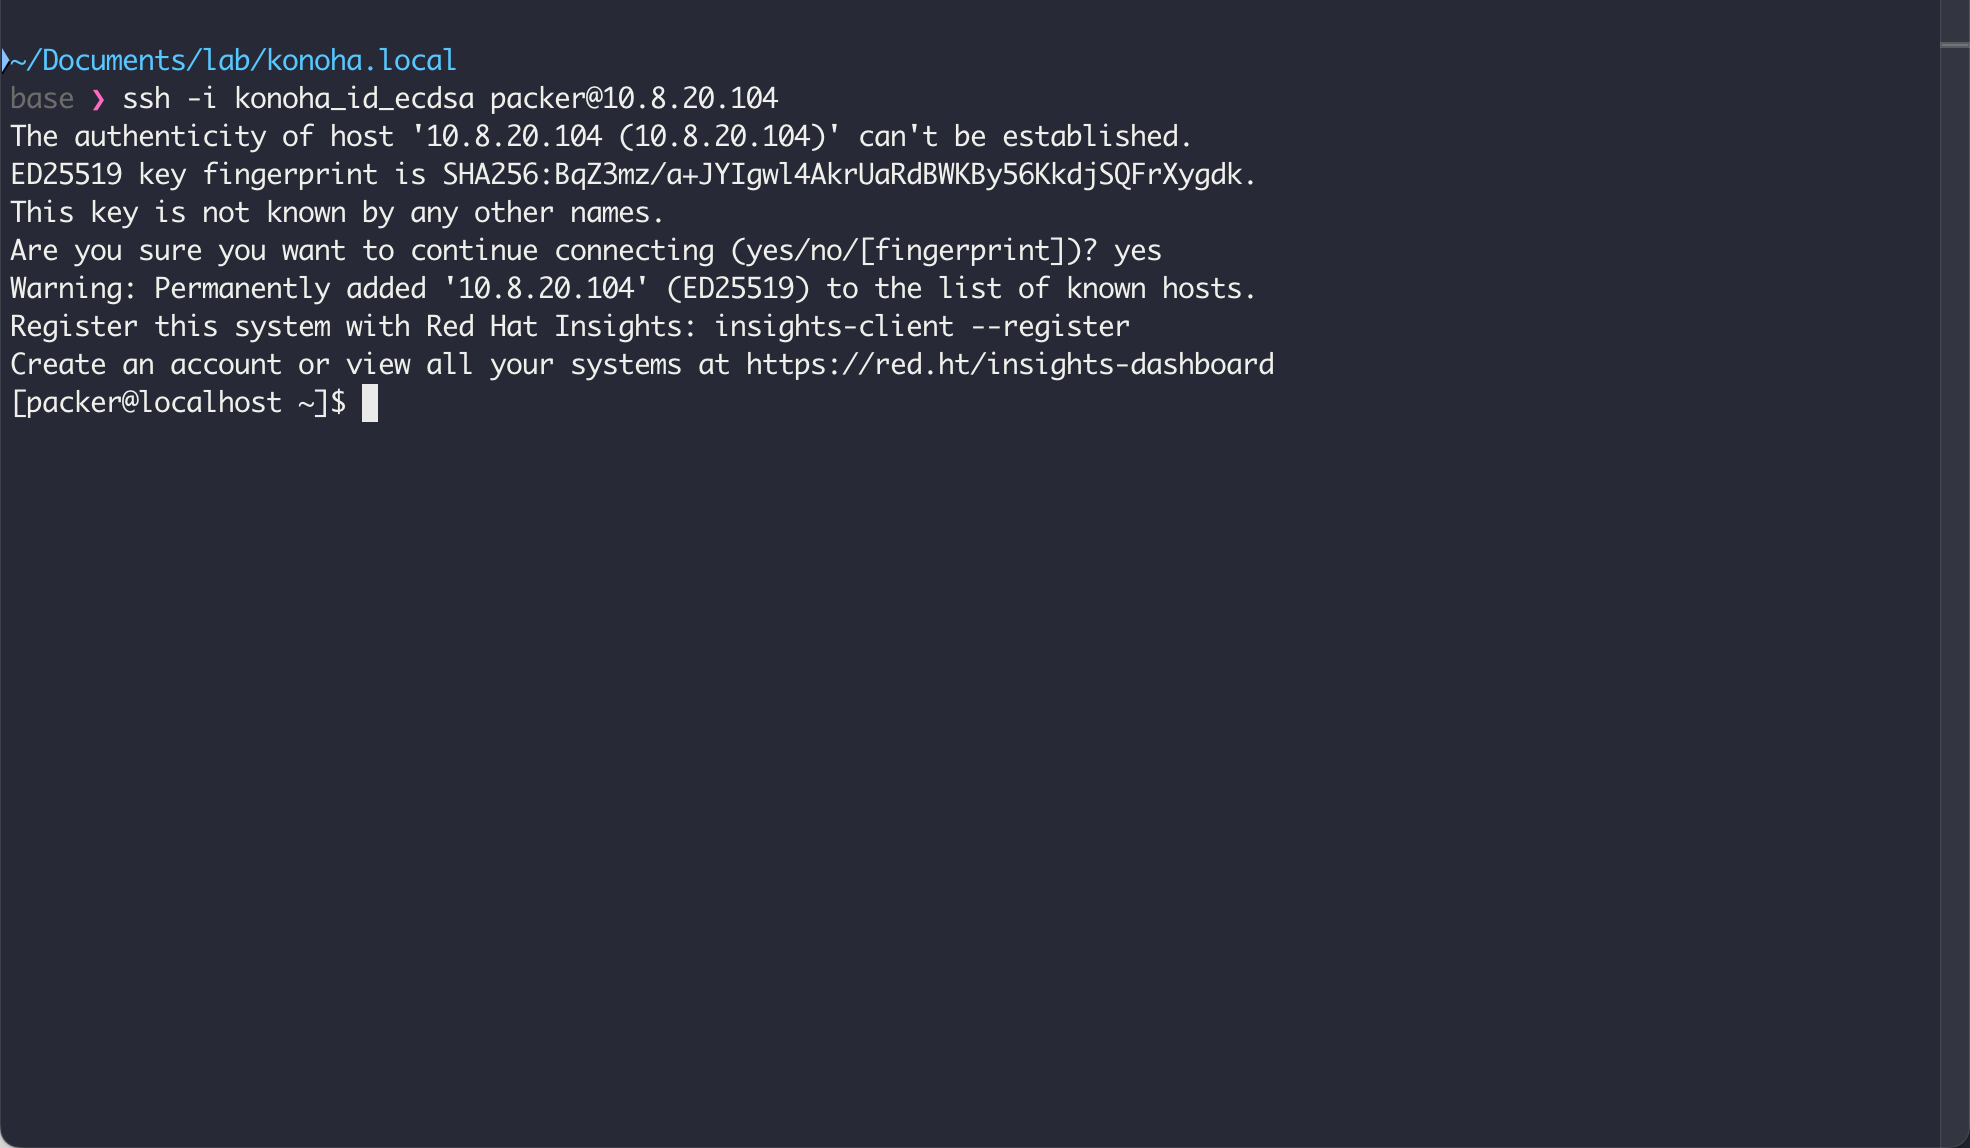
Step 10 - Logon to the Linux virtual machine using the ssh key created during the template build process.
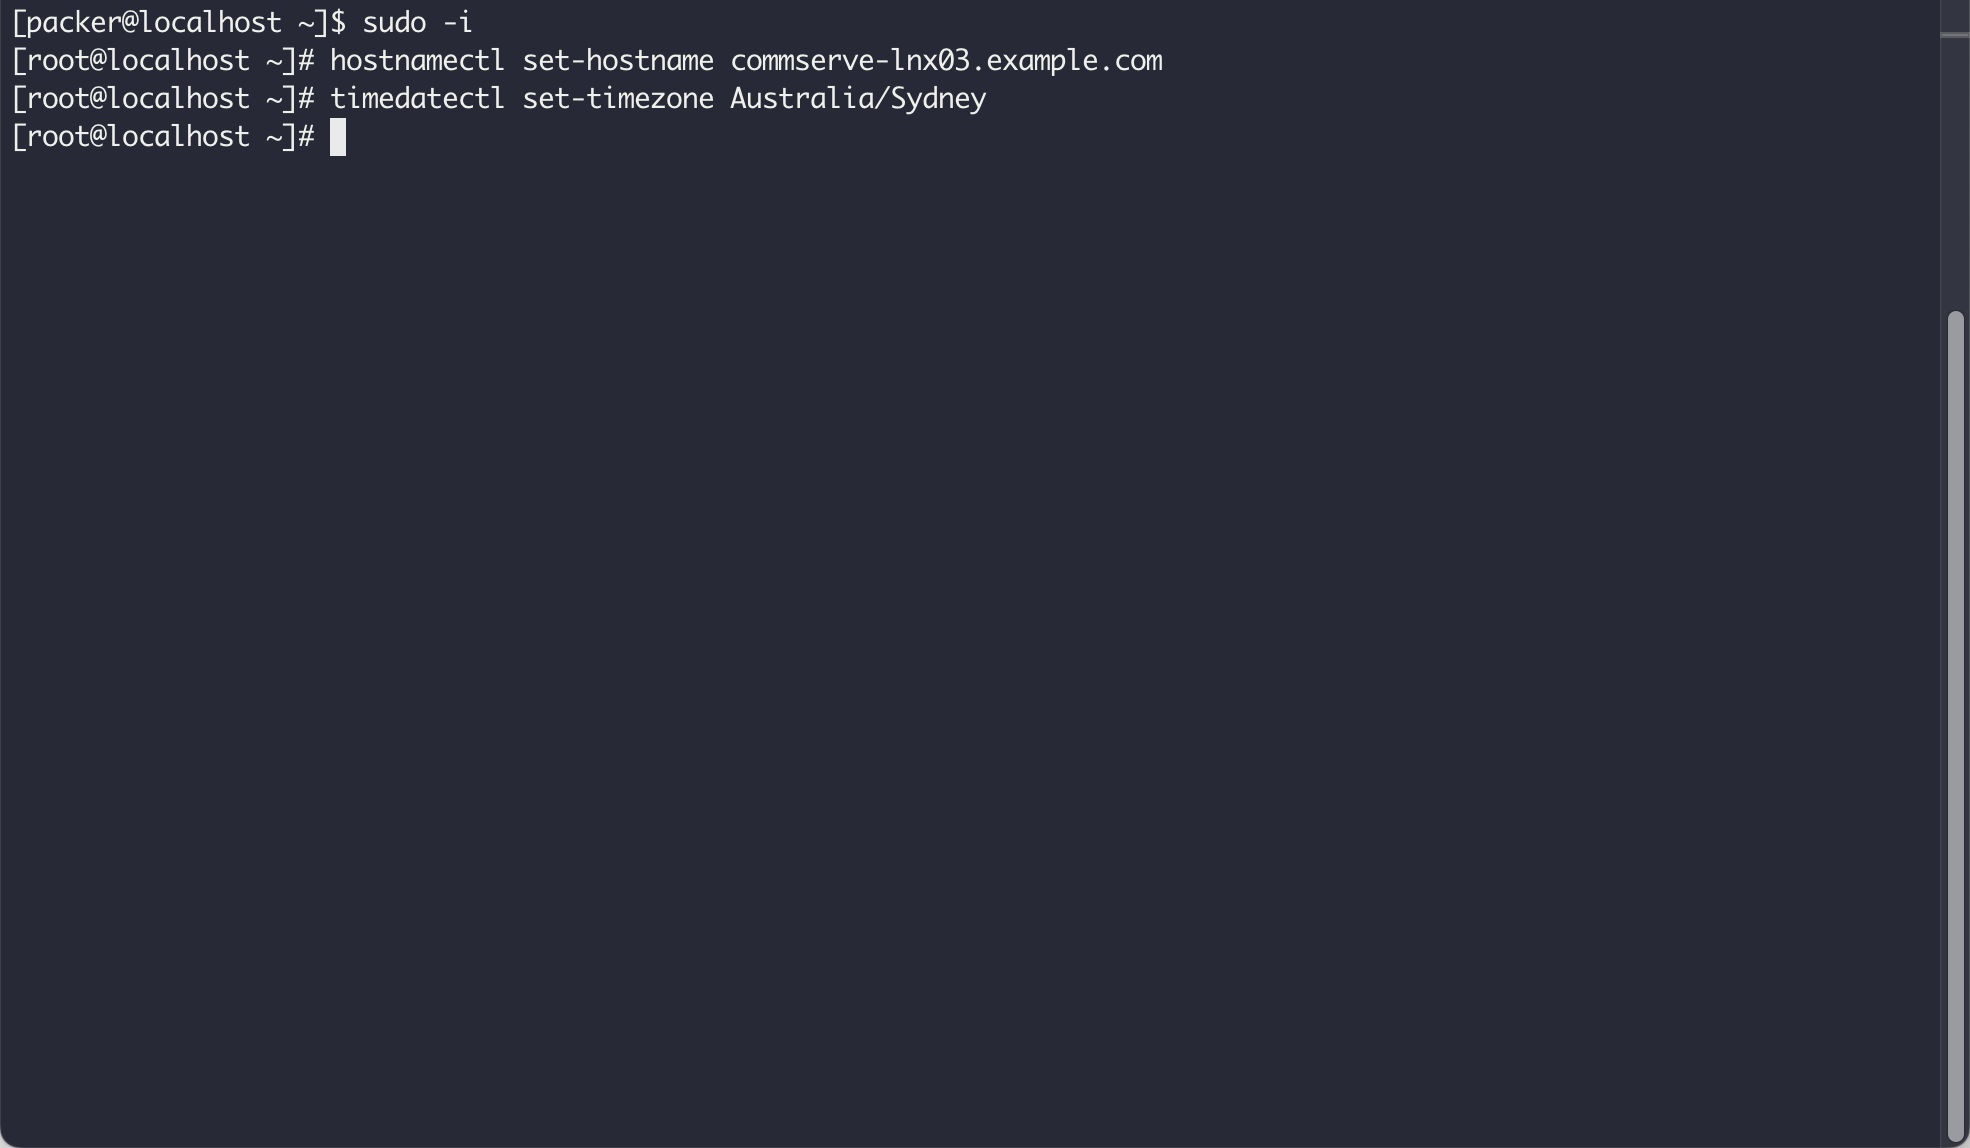
Step 11 - Change the server hostname and the time zone
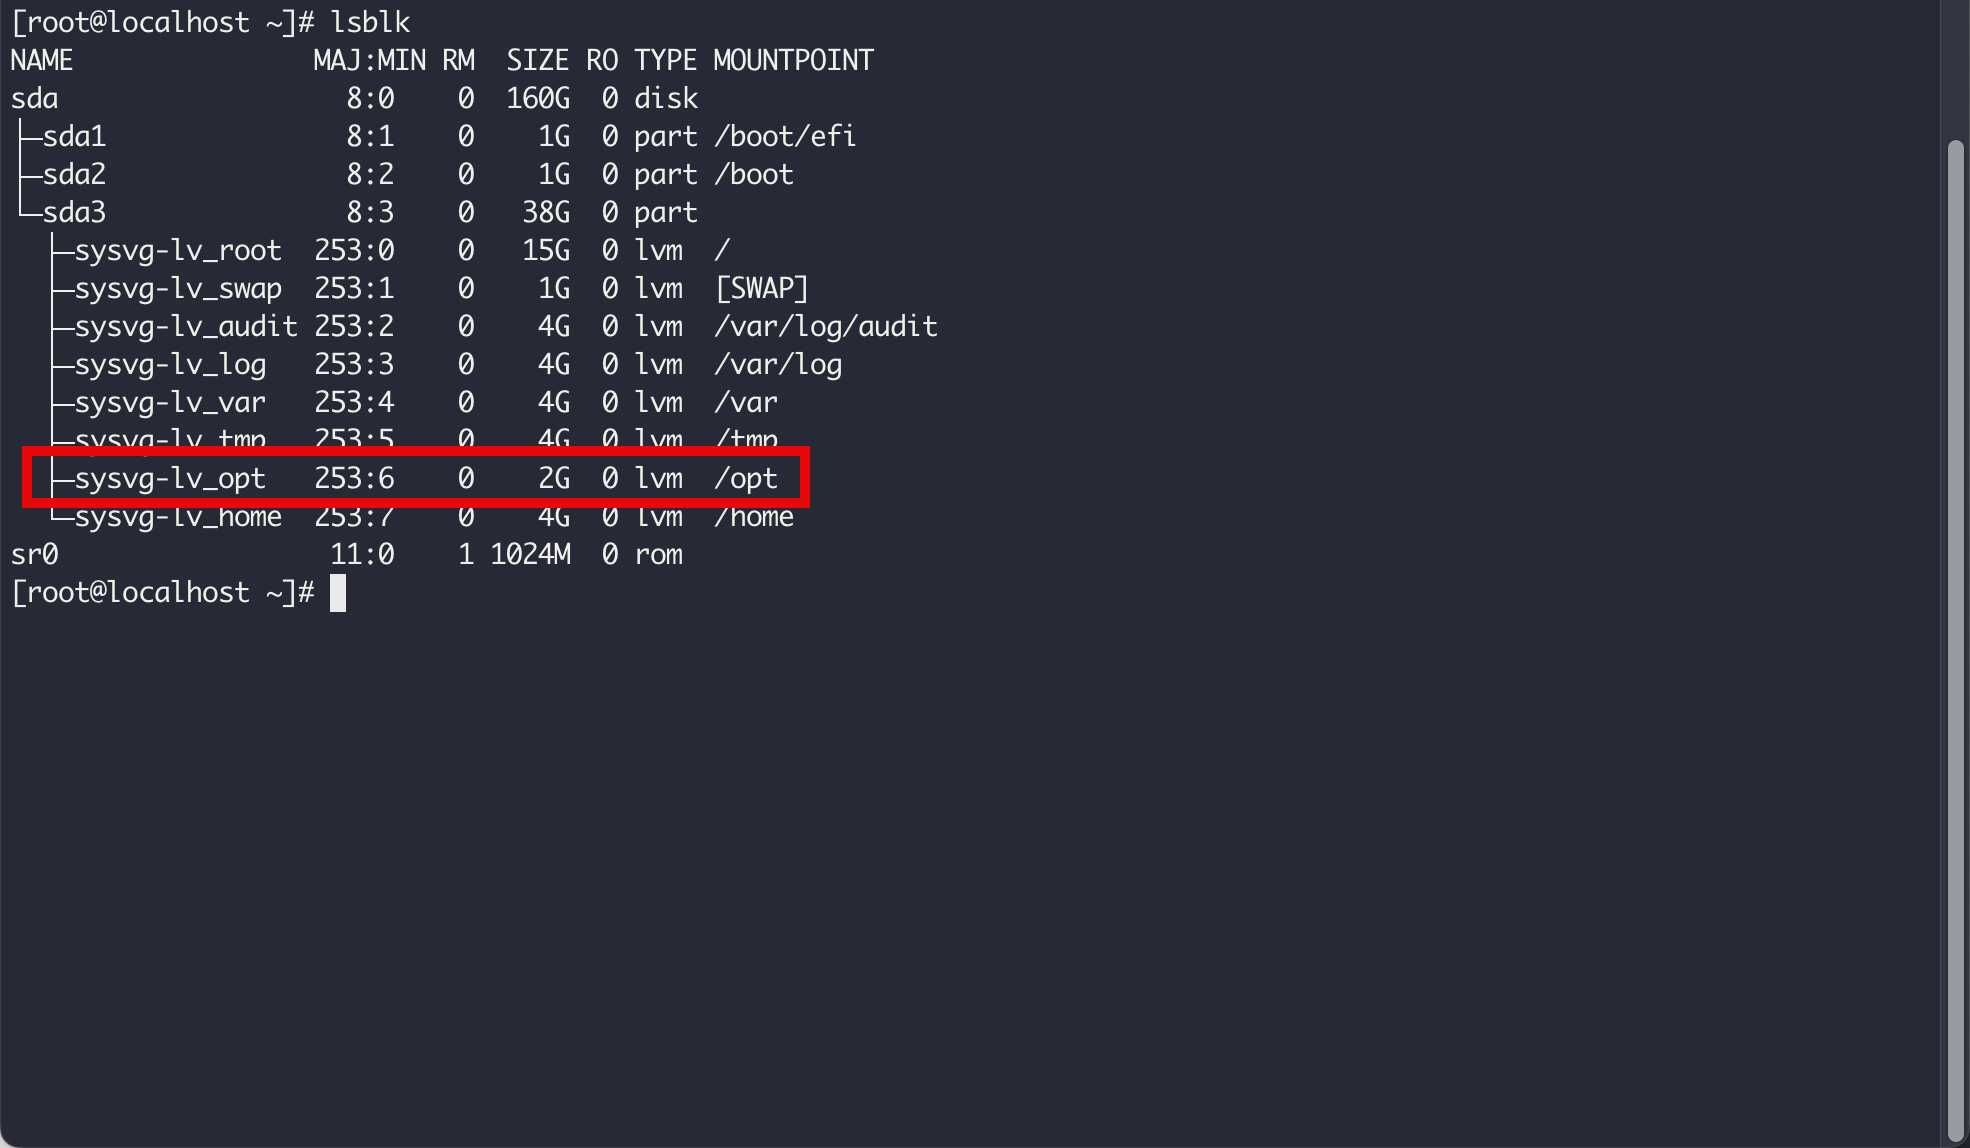
Step 12 - Check the disk space allocation using the lsblk command
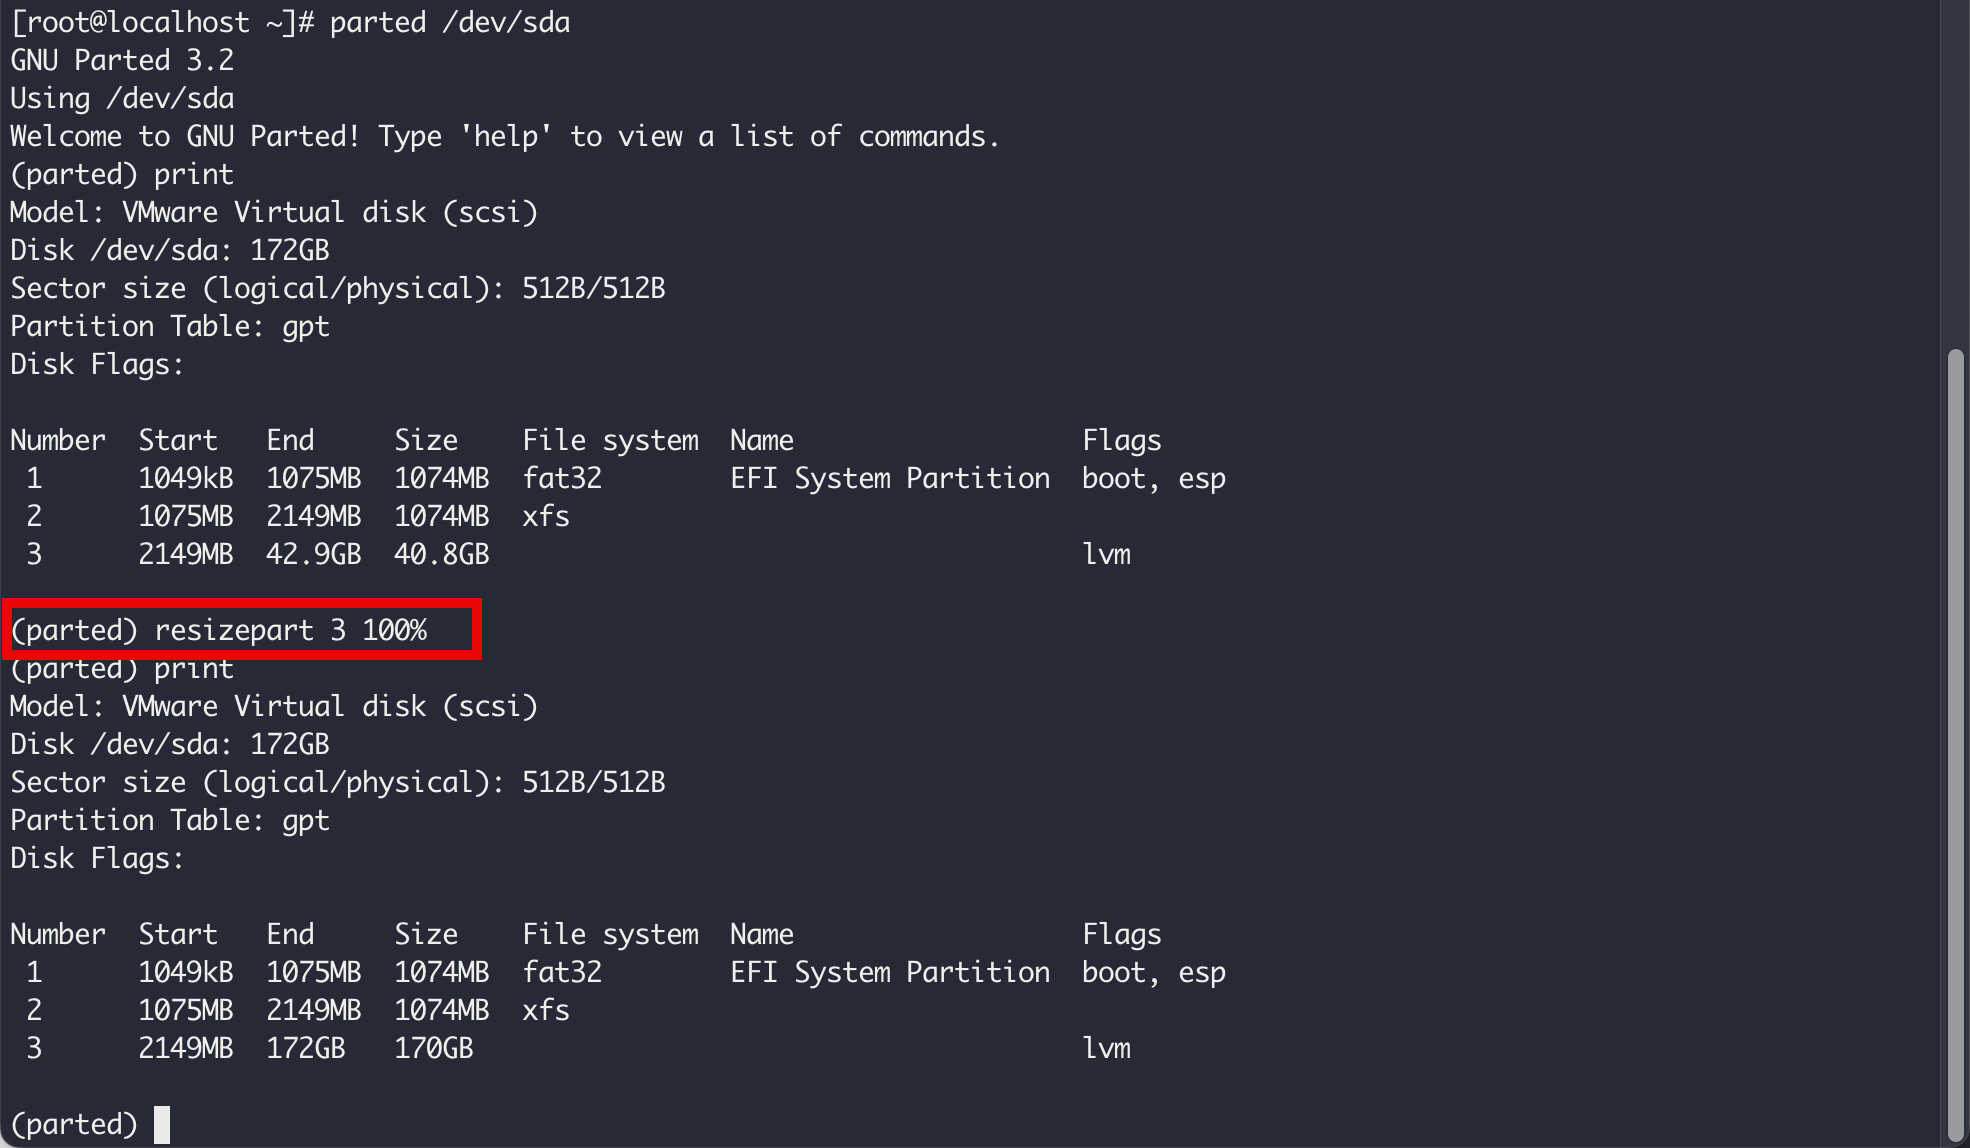
Step 13 - Run the parted command on /dev/sda

Step 14 - Run the resizepart command to allocate all the storage free space. Quit the partition tool.
Step 15 - Run the pvresize, lvextend and xfs_growfs command to allocate the free space to the logical volume

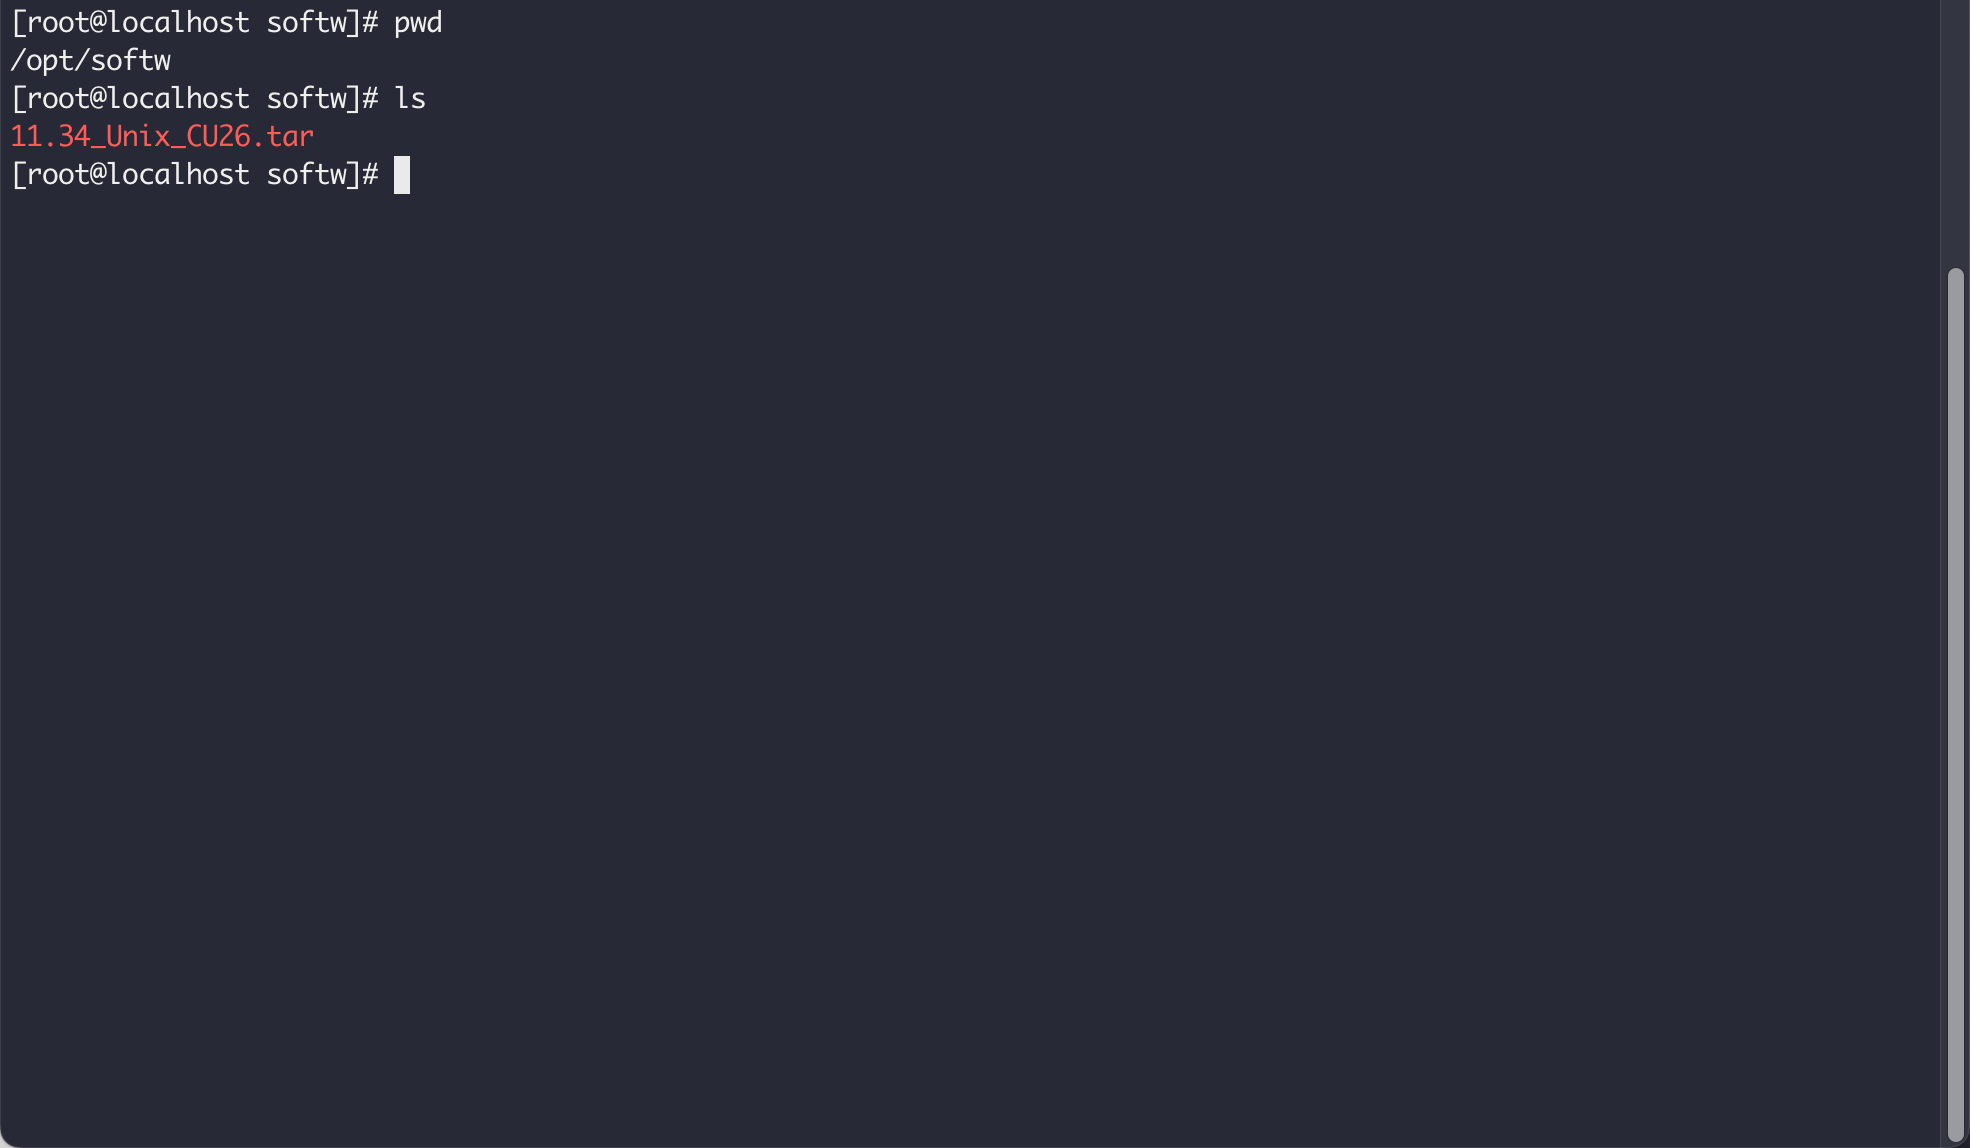
Step 16 - Create the directory /opt/softw and upload the Commvault installation file.
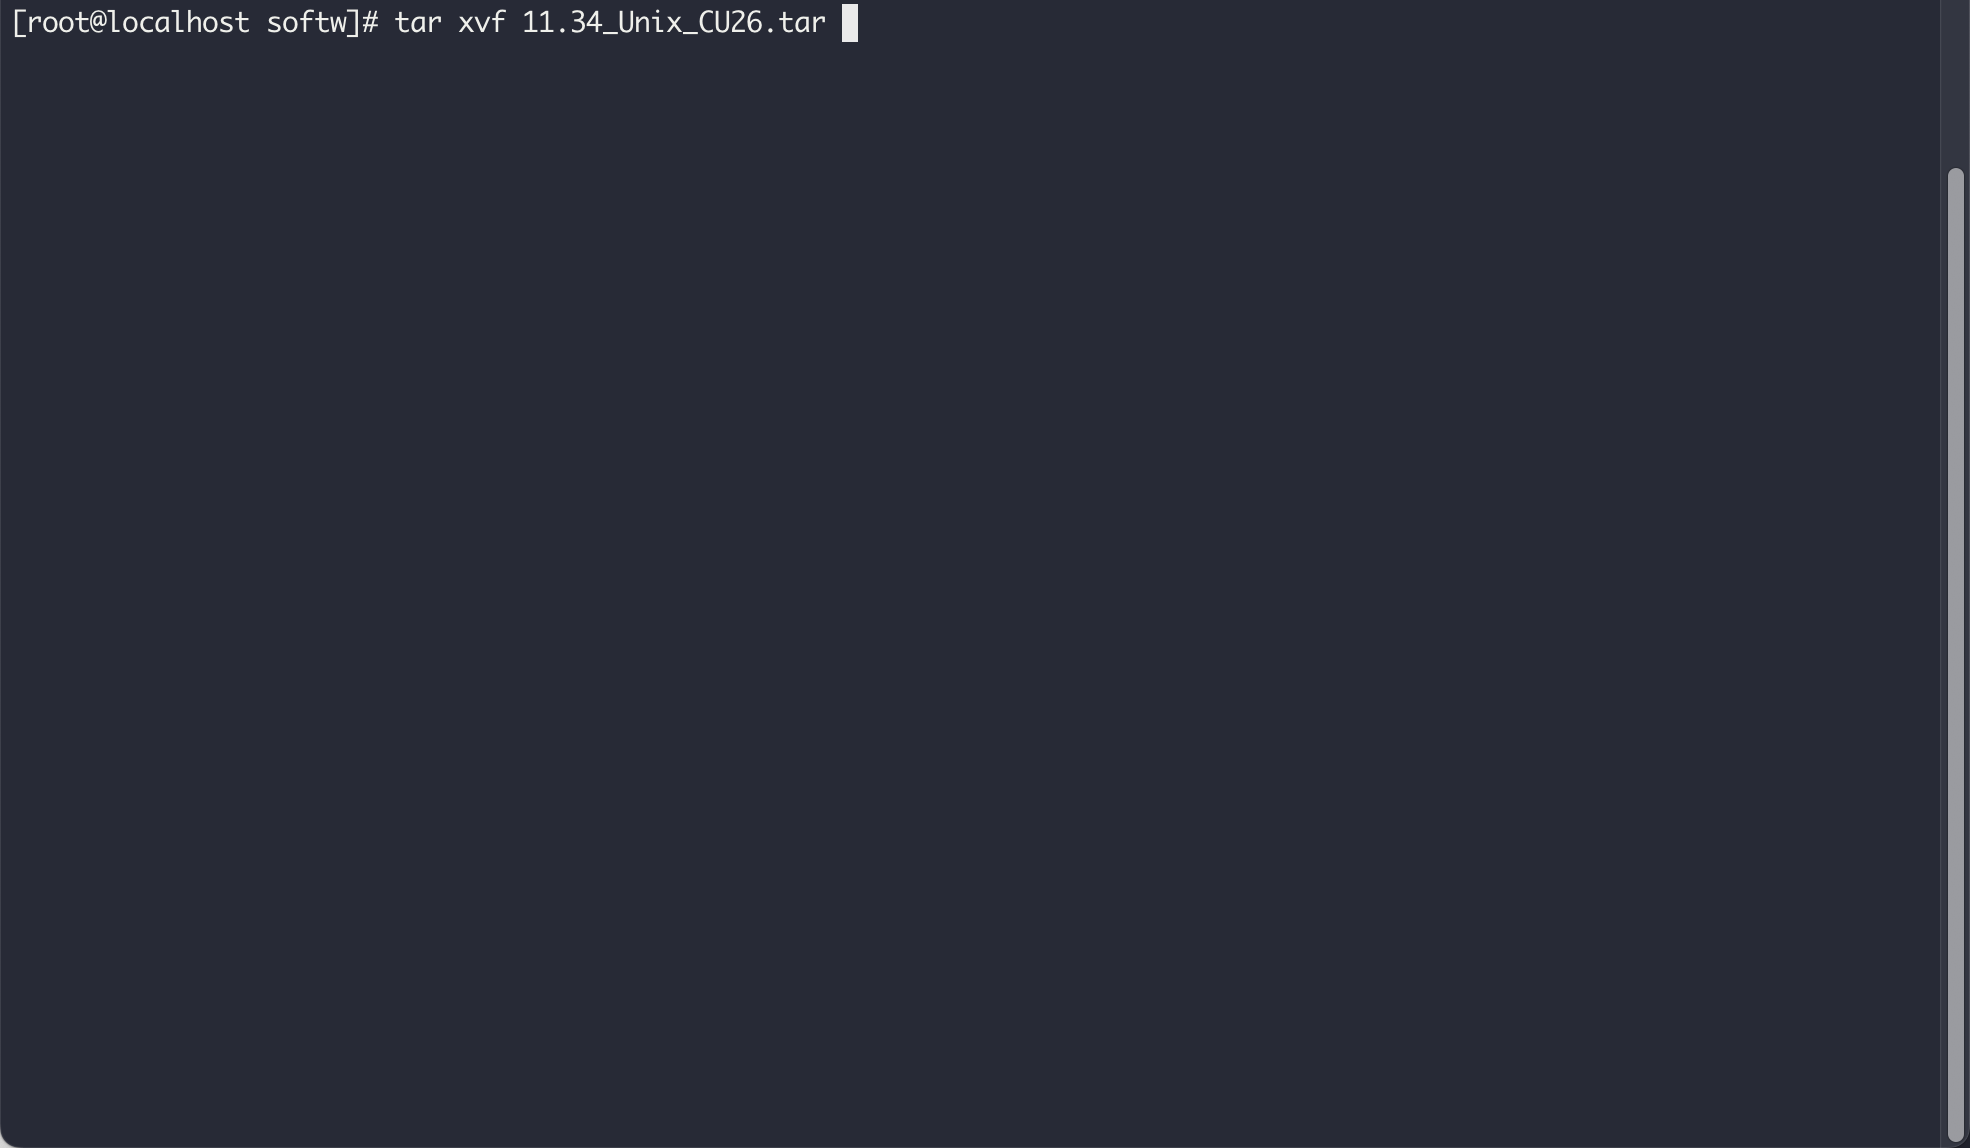
Step 17 - Use the tar command to uncompress the archive file.
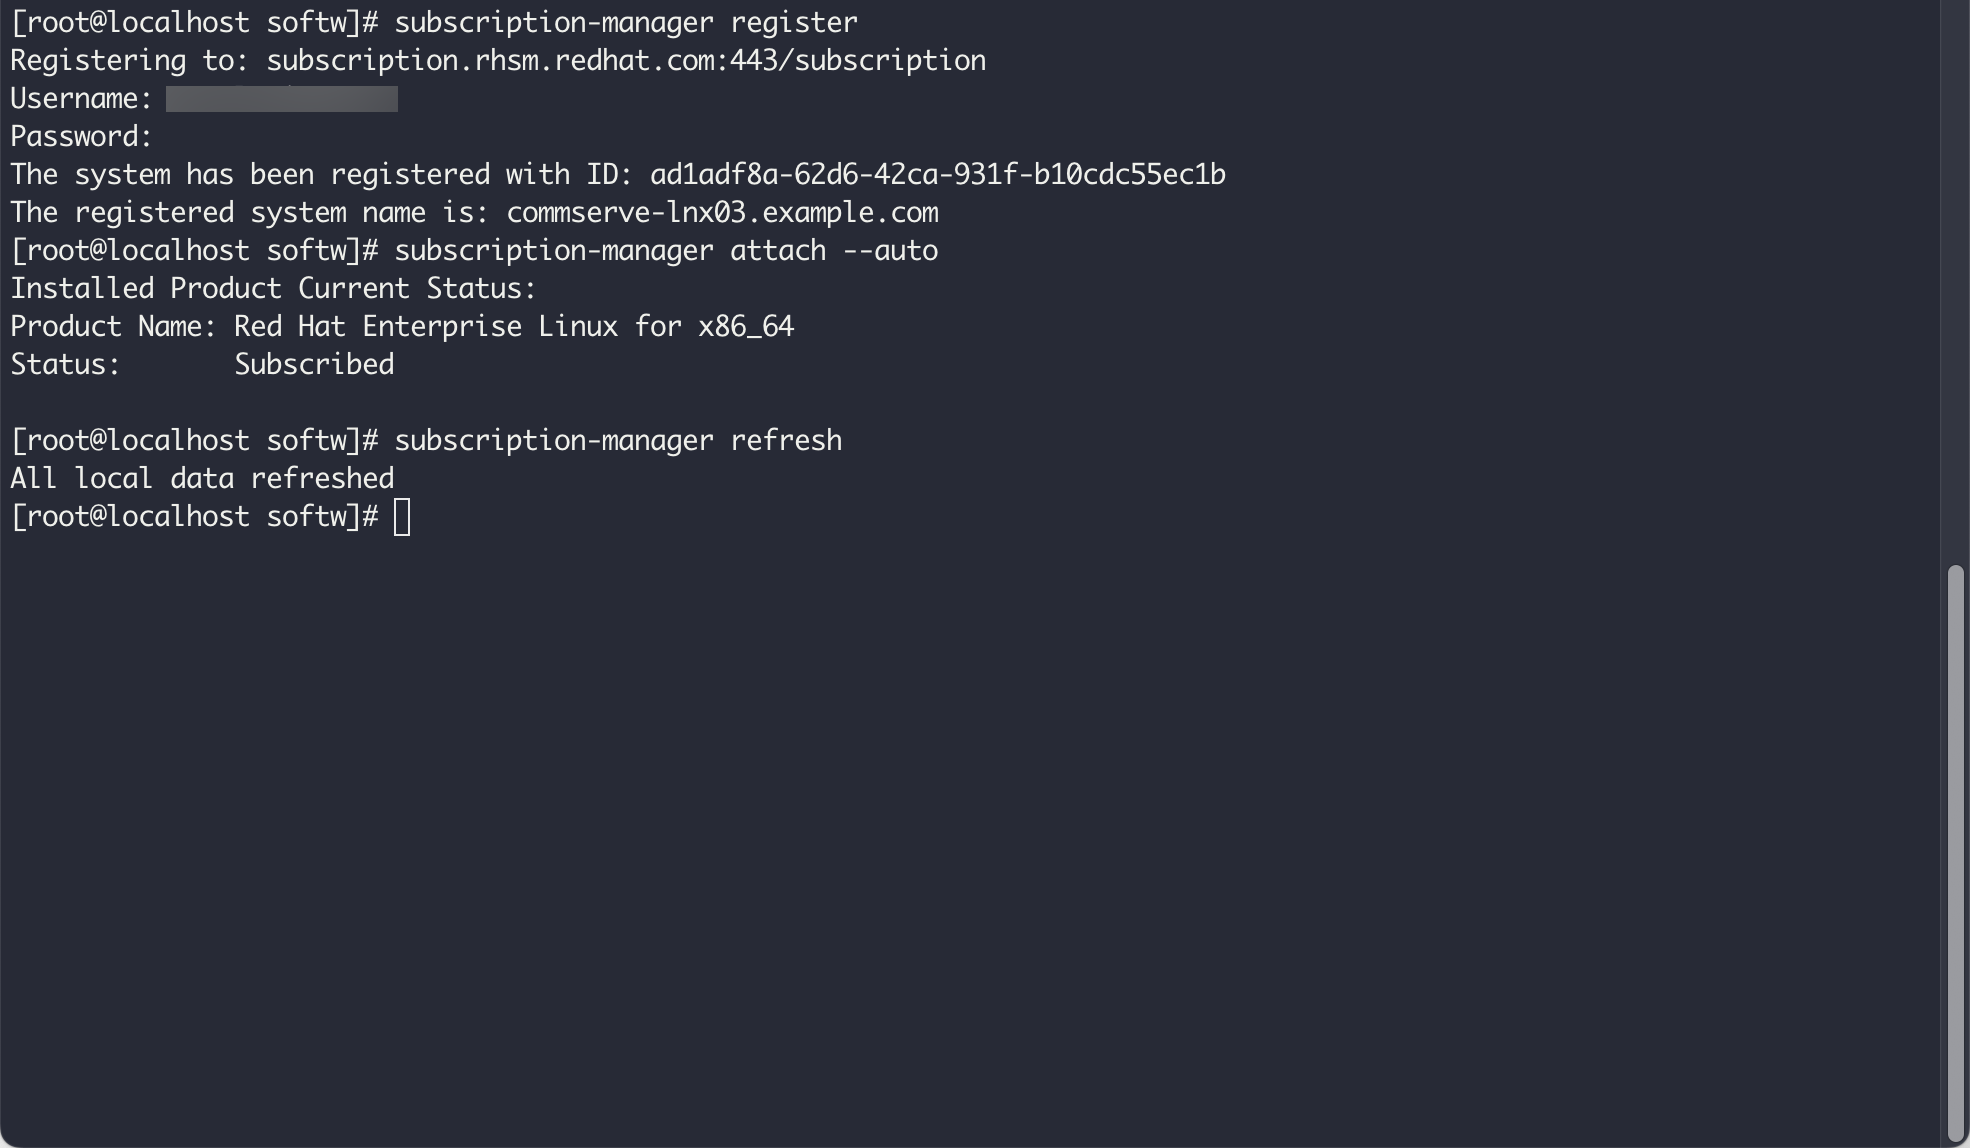
Step 18 - Register the server using the subscription-manager command
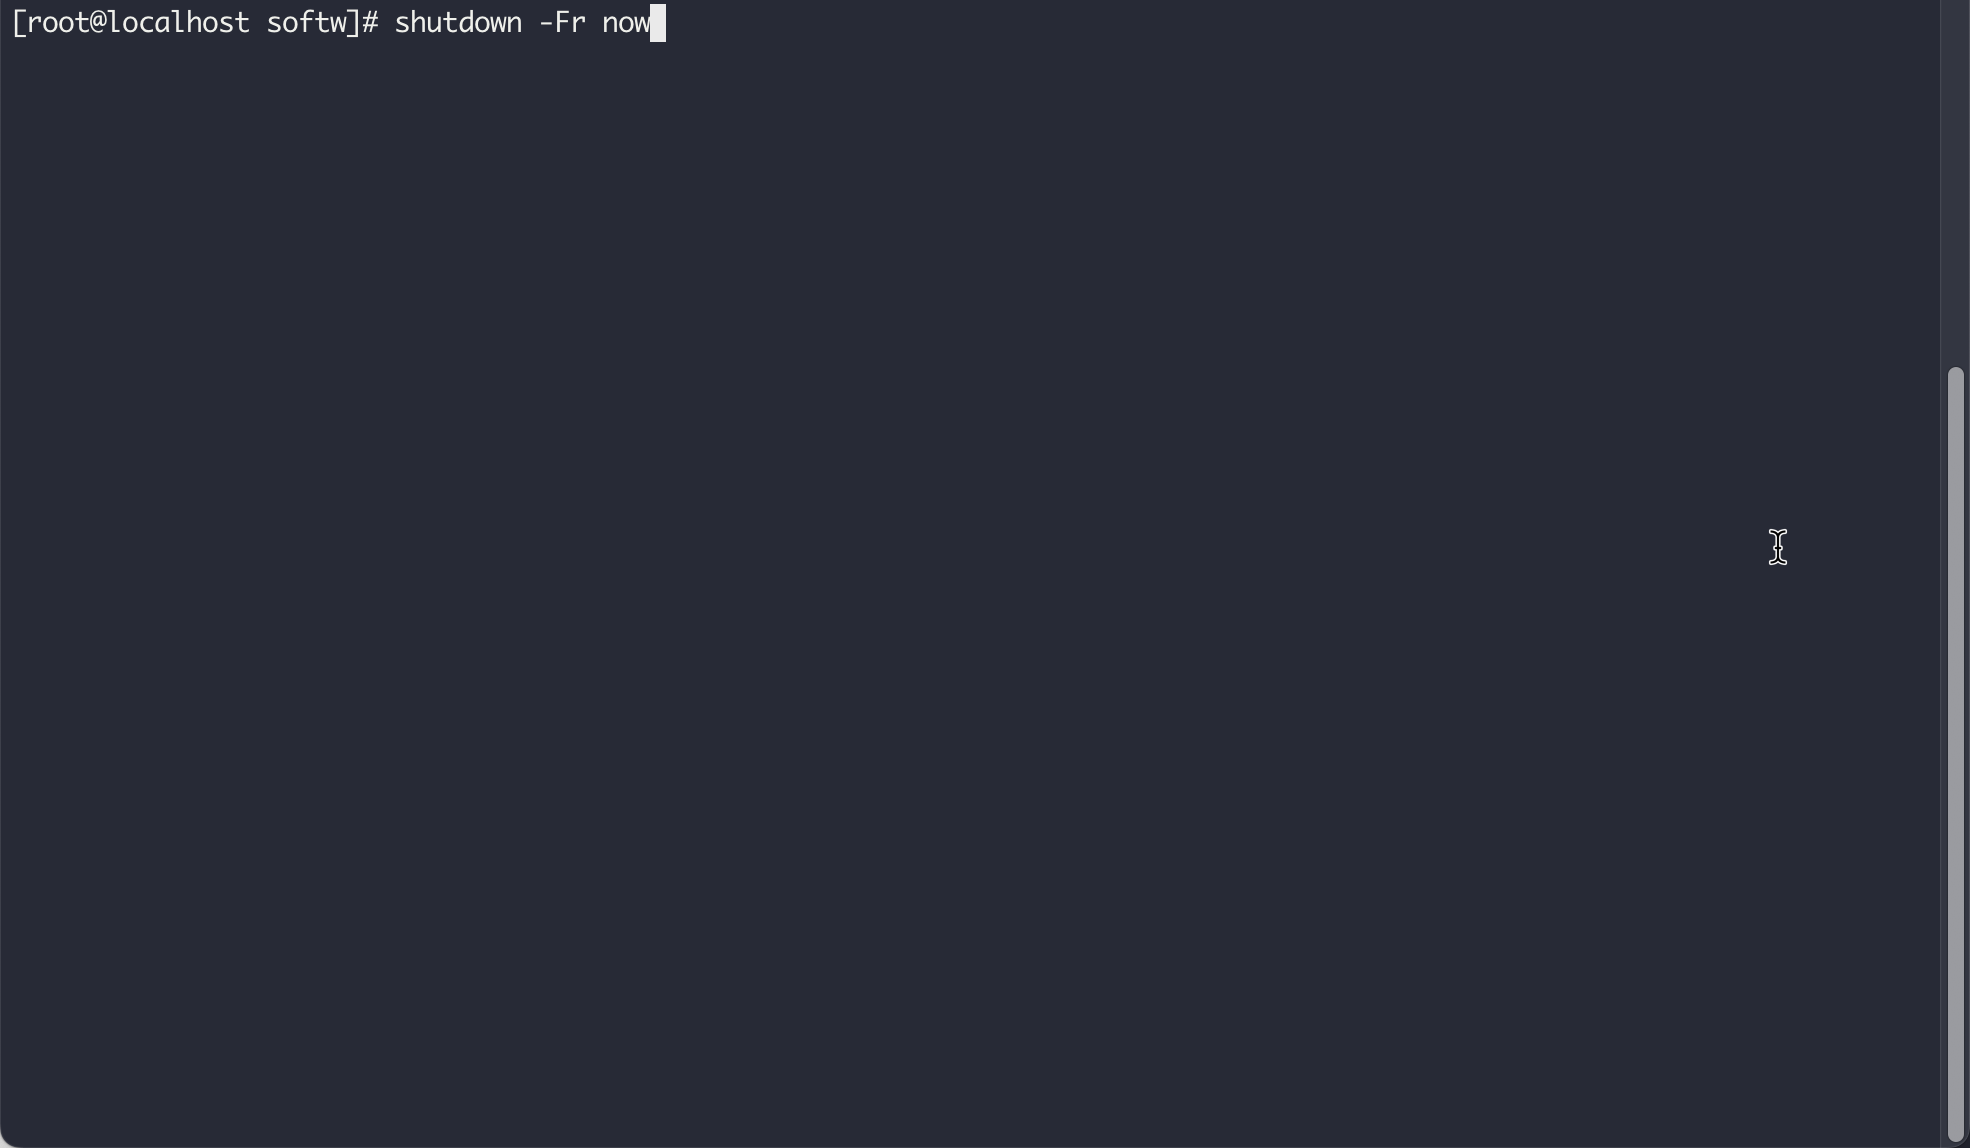
Step 19 - Reboot the server
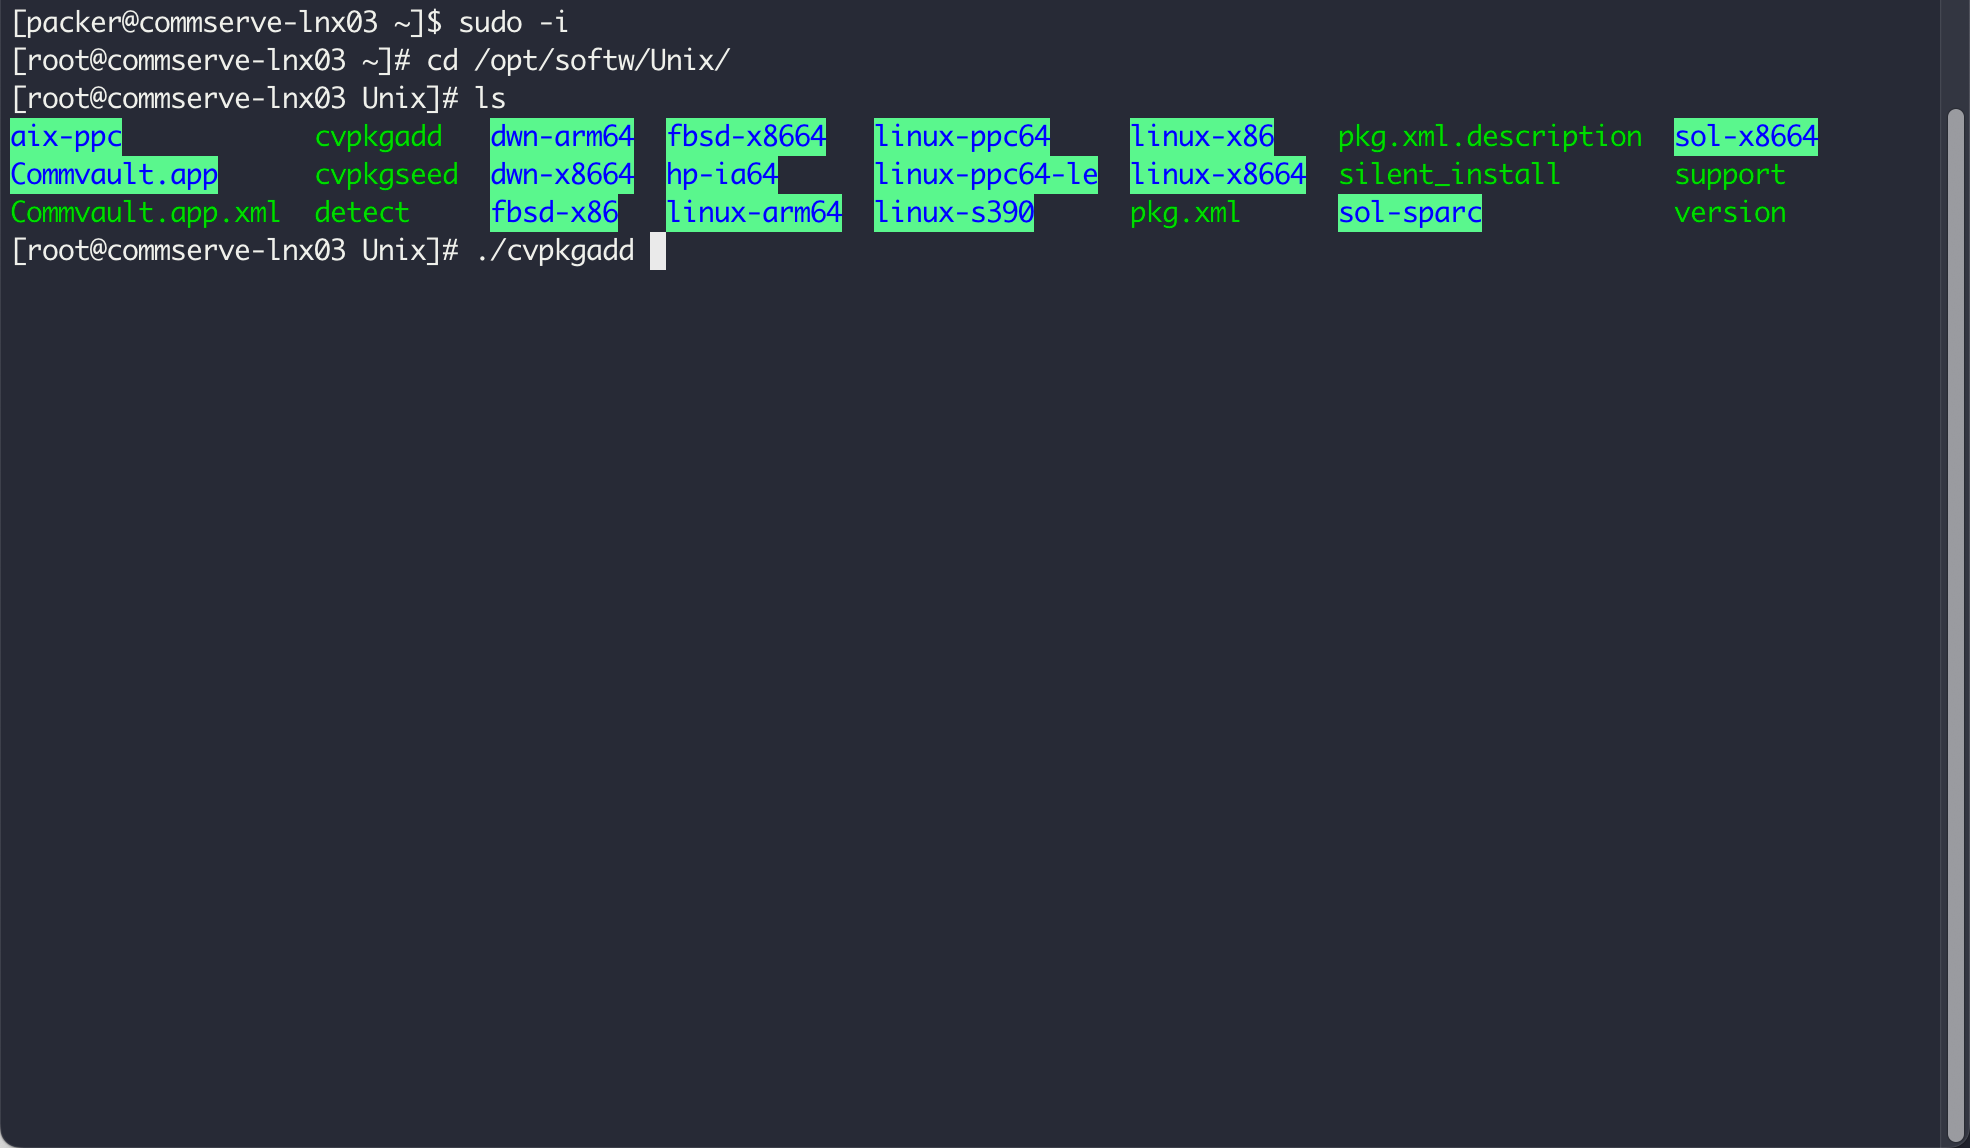
Step 20 - Logon to the server. Change to root level. Then run the installation command, cvpkgadd.
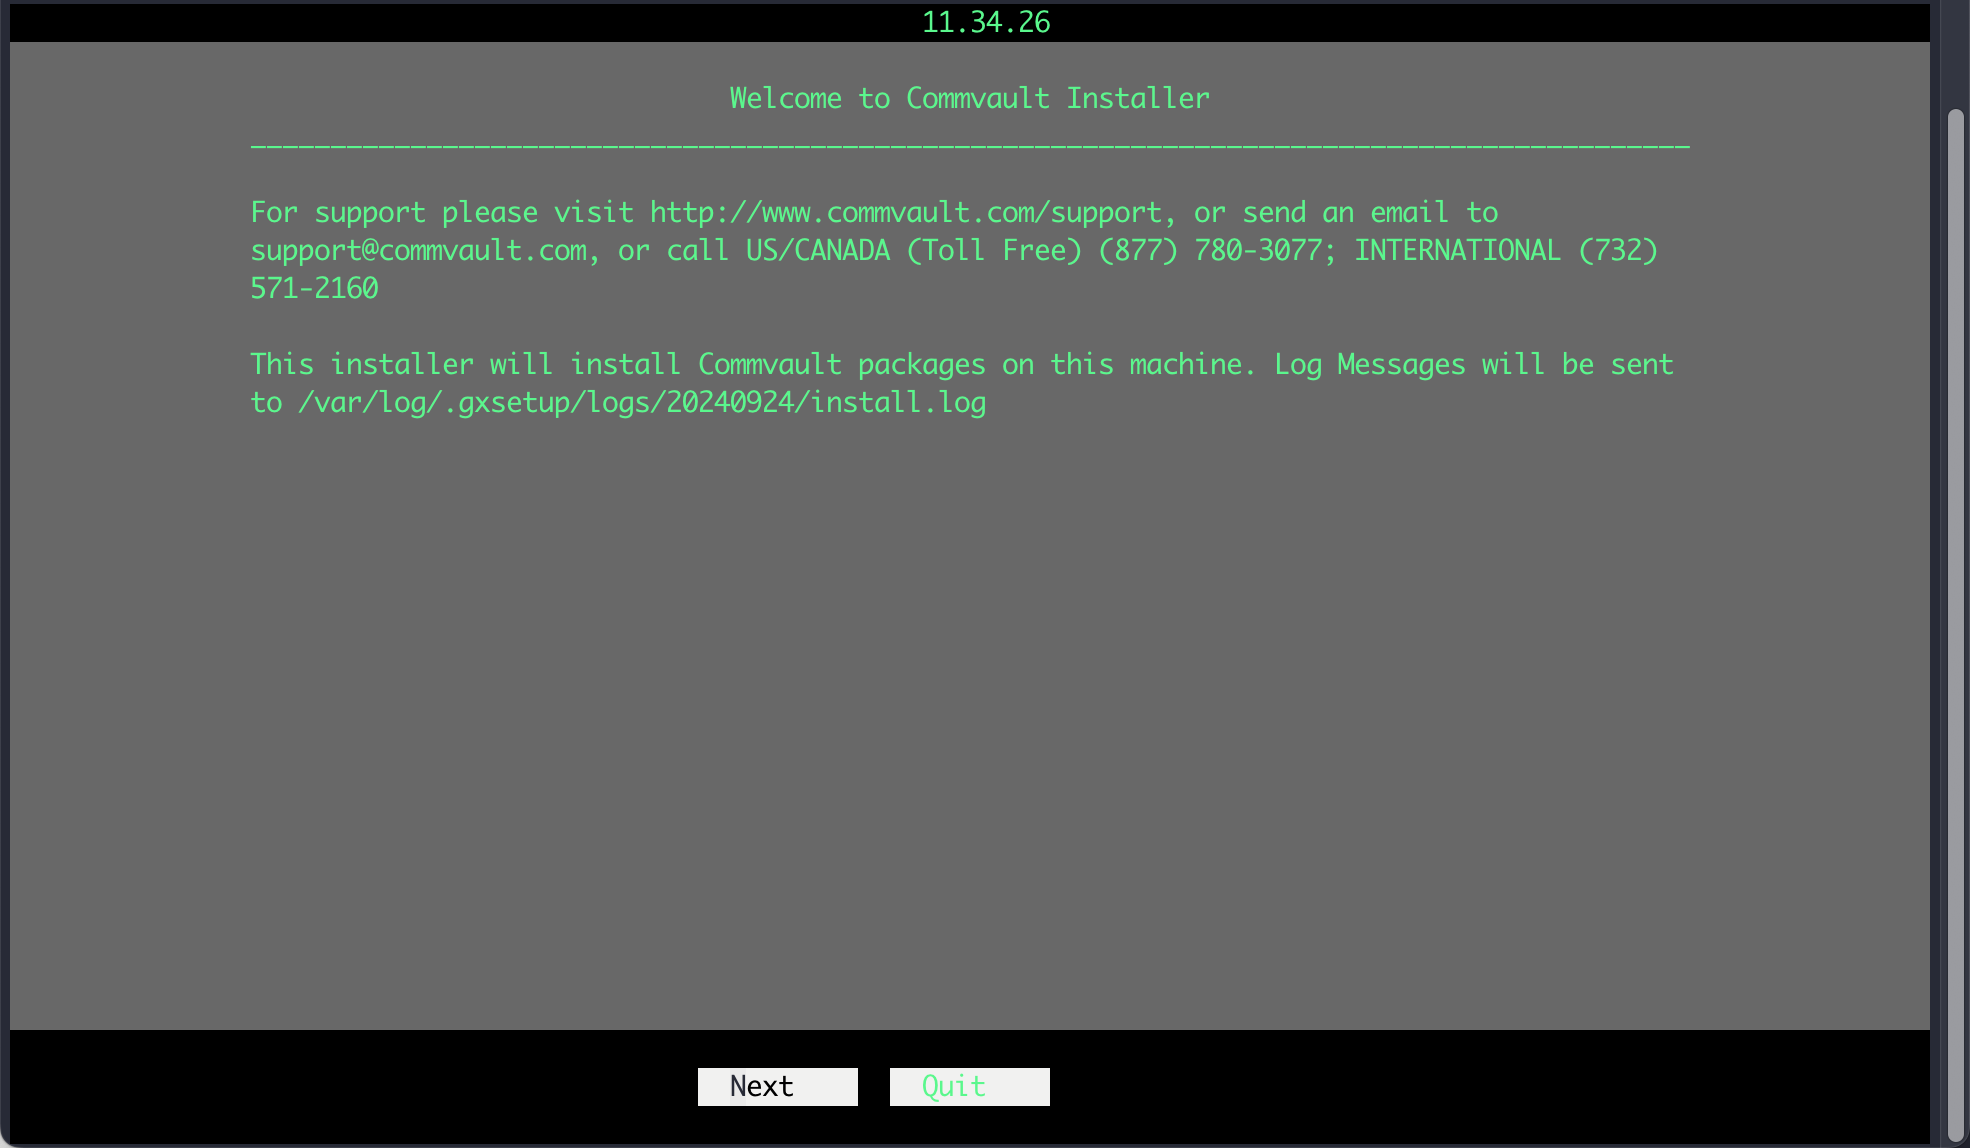
Step 21 - Press the space bar to select Next.
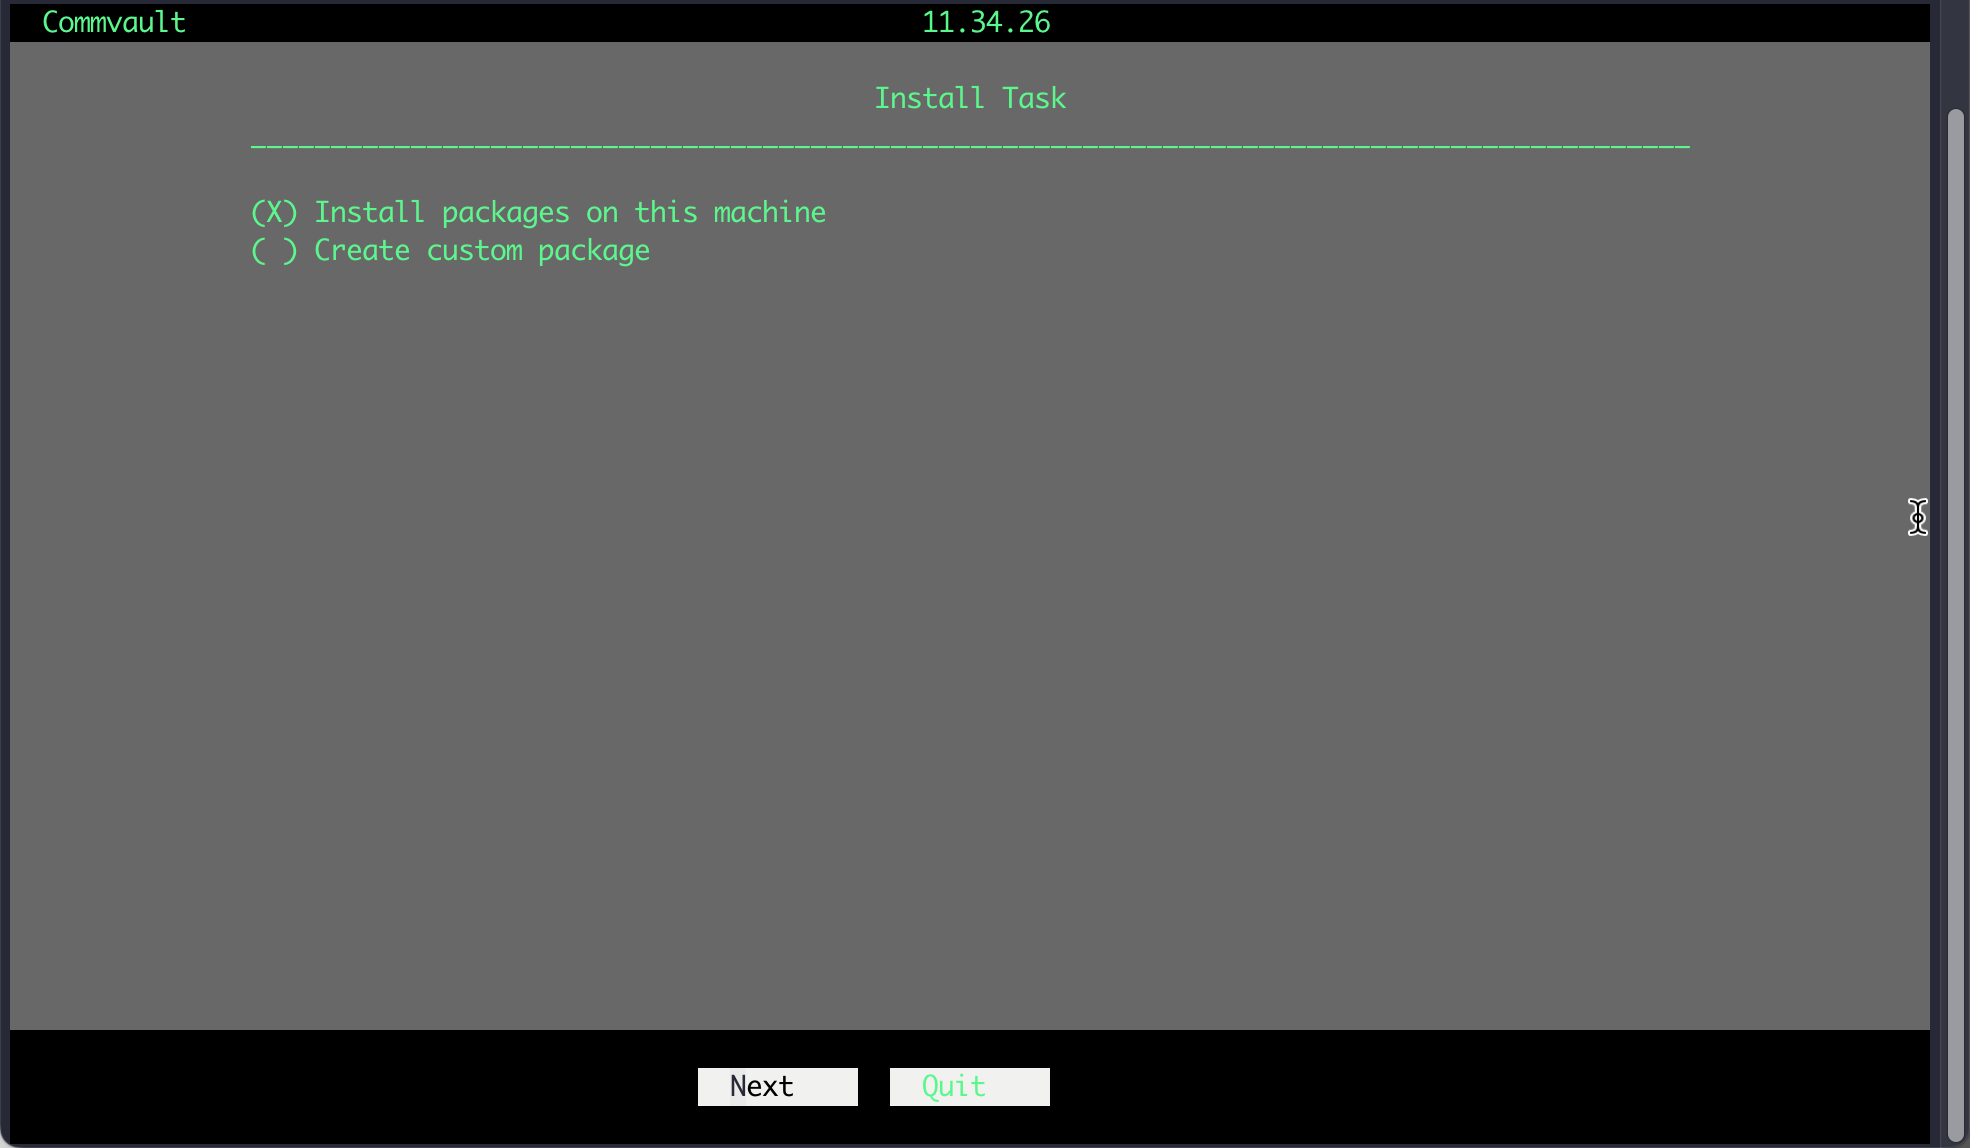
Step 22 - Select Install packages on this machine. Press tab to move to Next, then press the space bar.
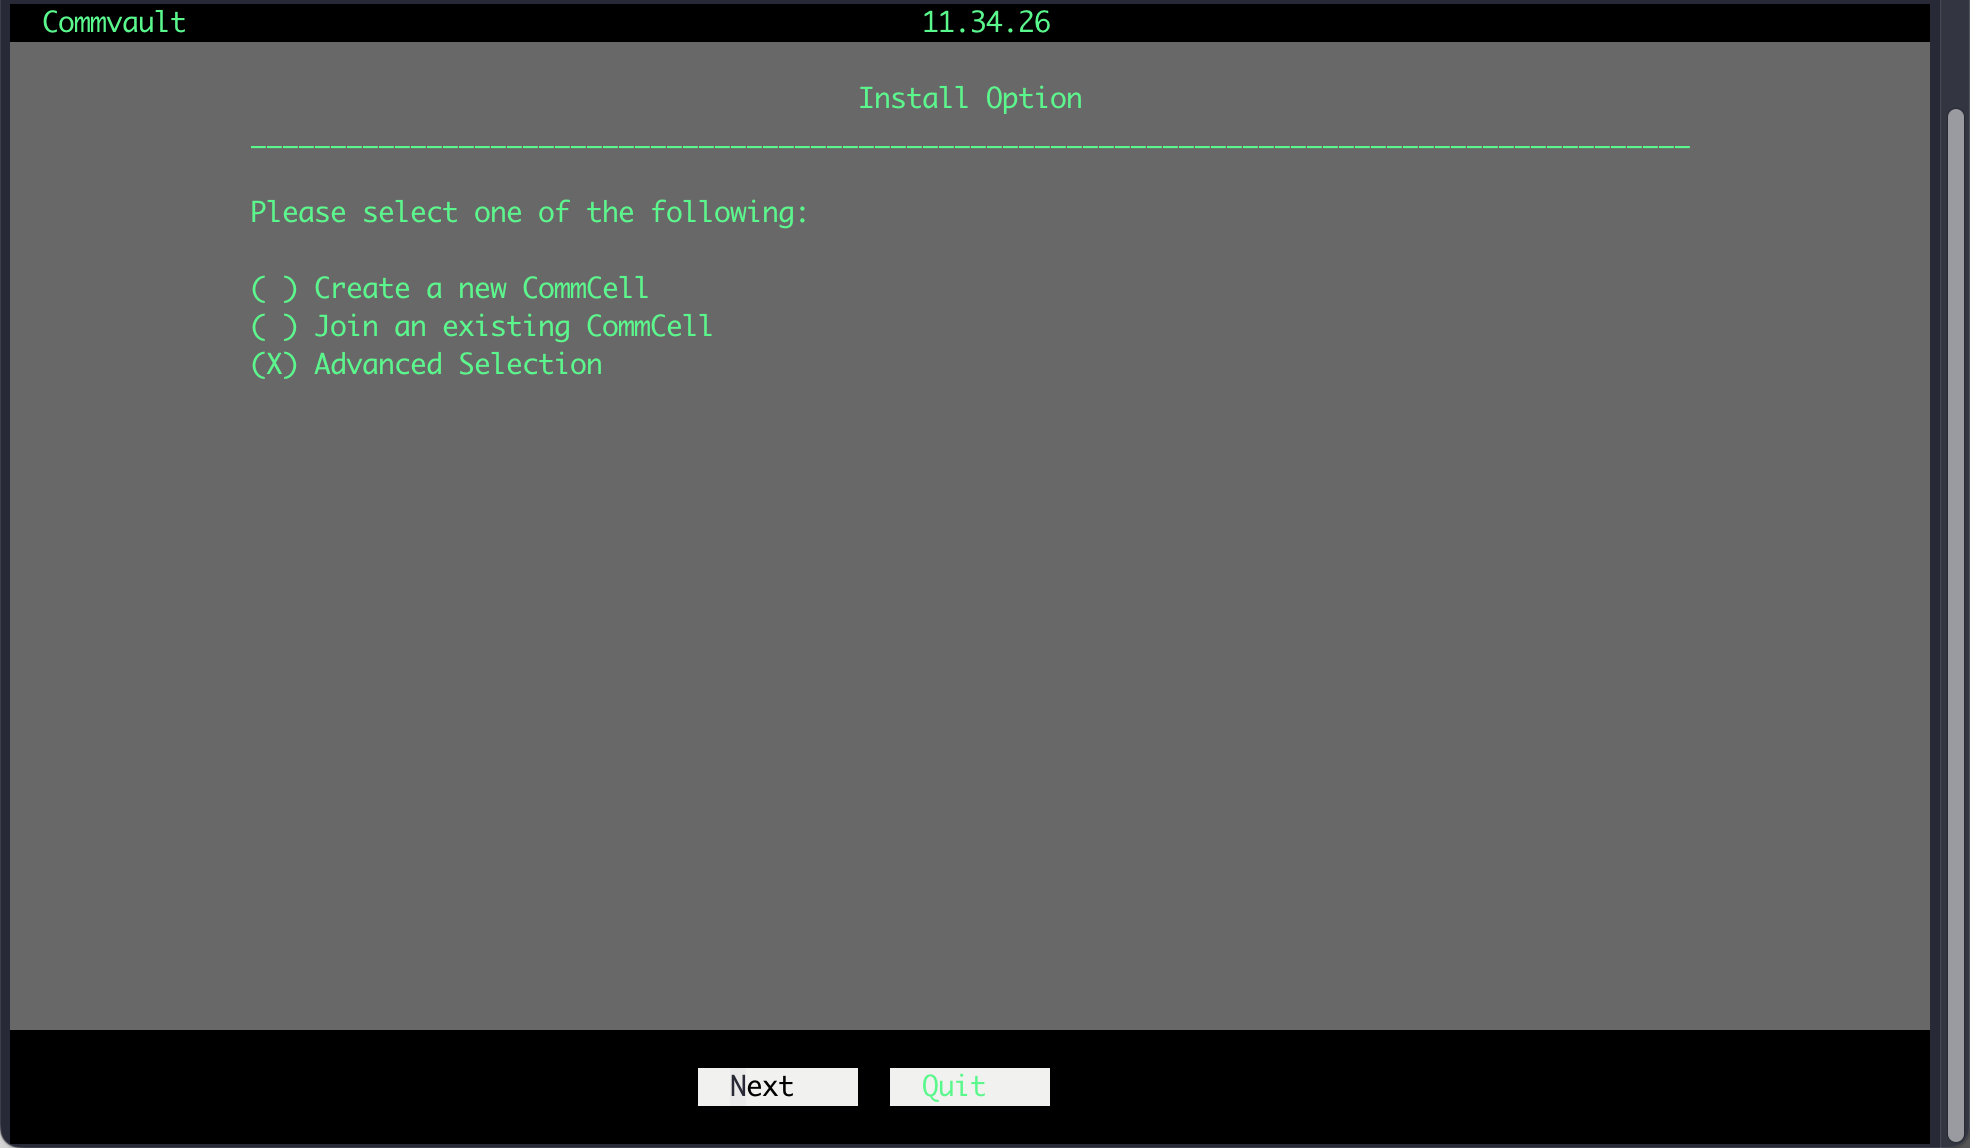
Step 23 - Select Advanced selection. Press tab to move to Next, then press the space bar.
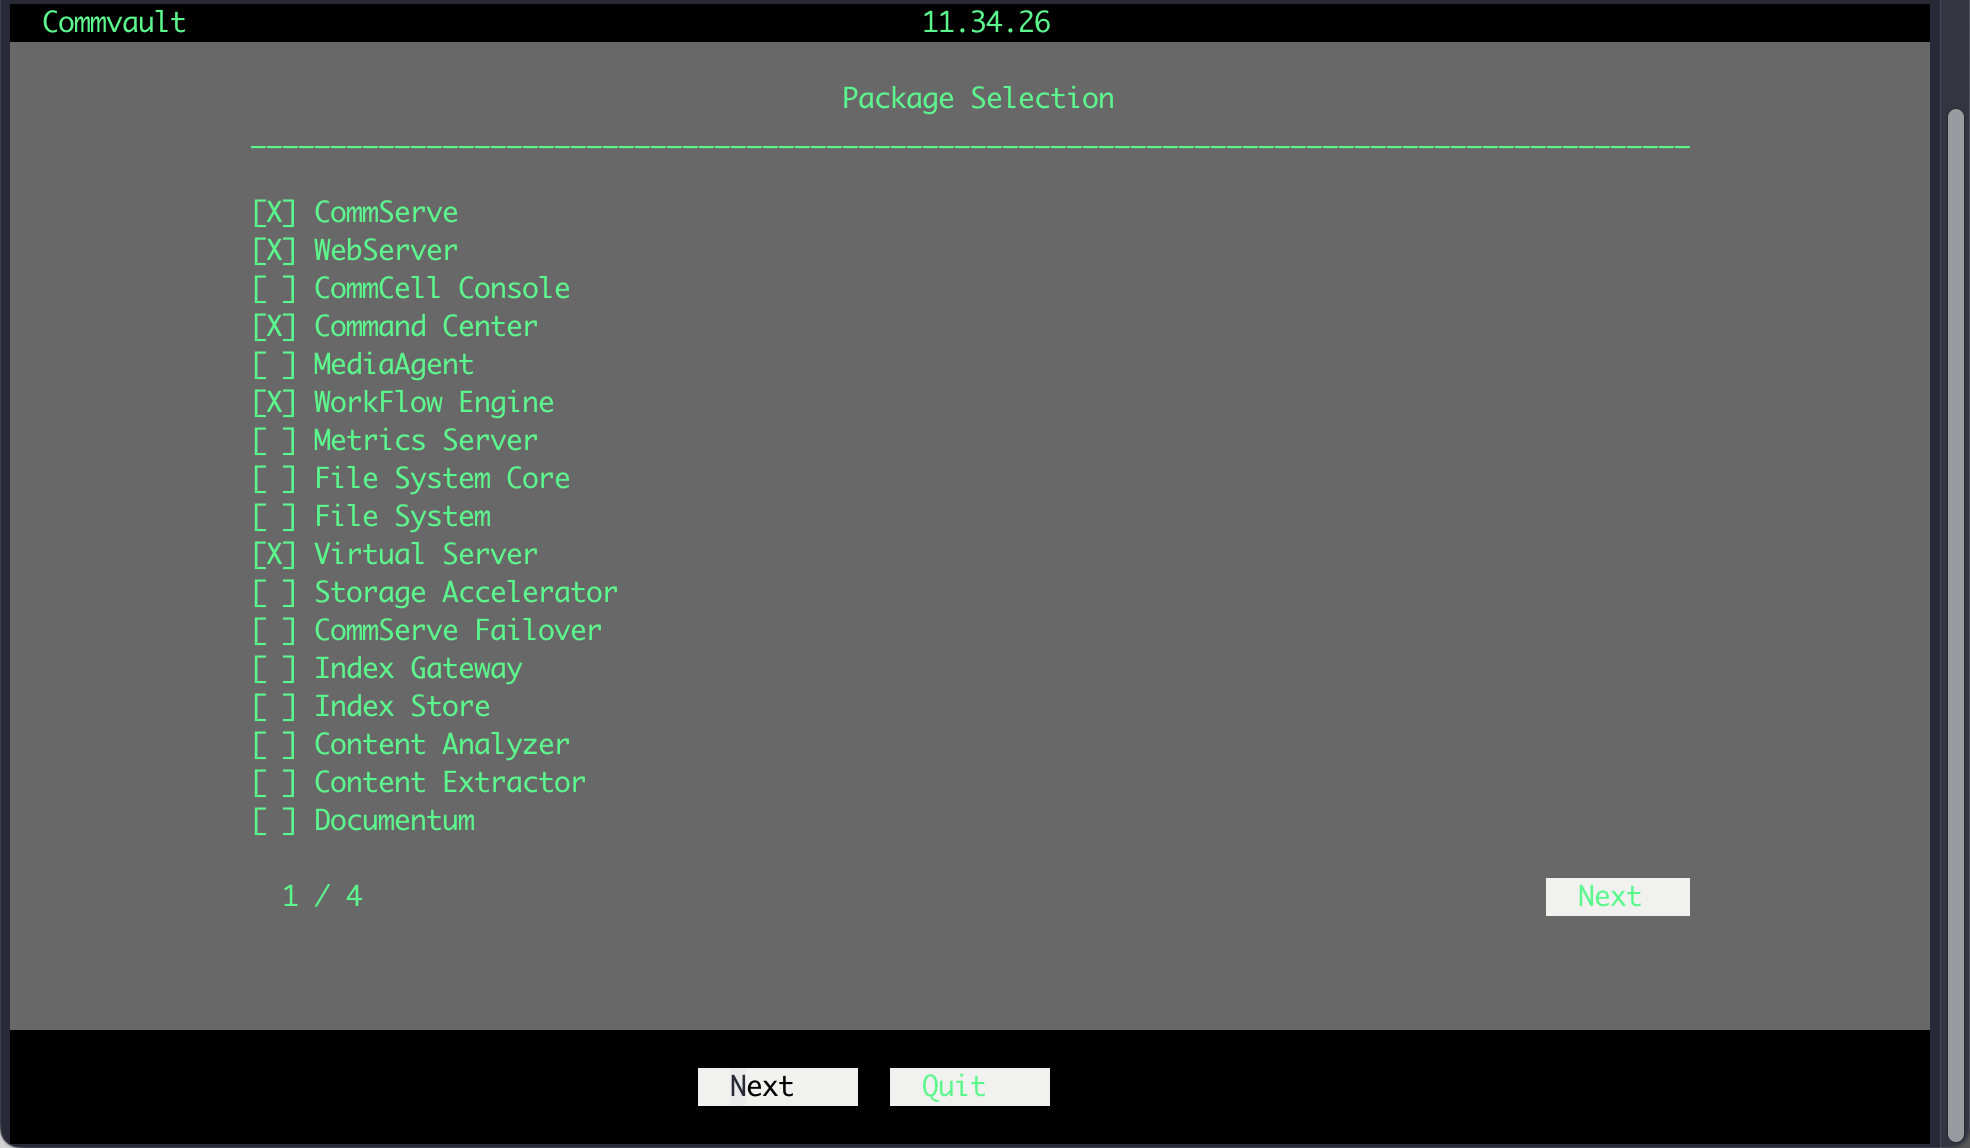
Step 24 - Select Commserve. This will also automatically select the required software. Press tab to move to Next, then press the space bar.
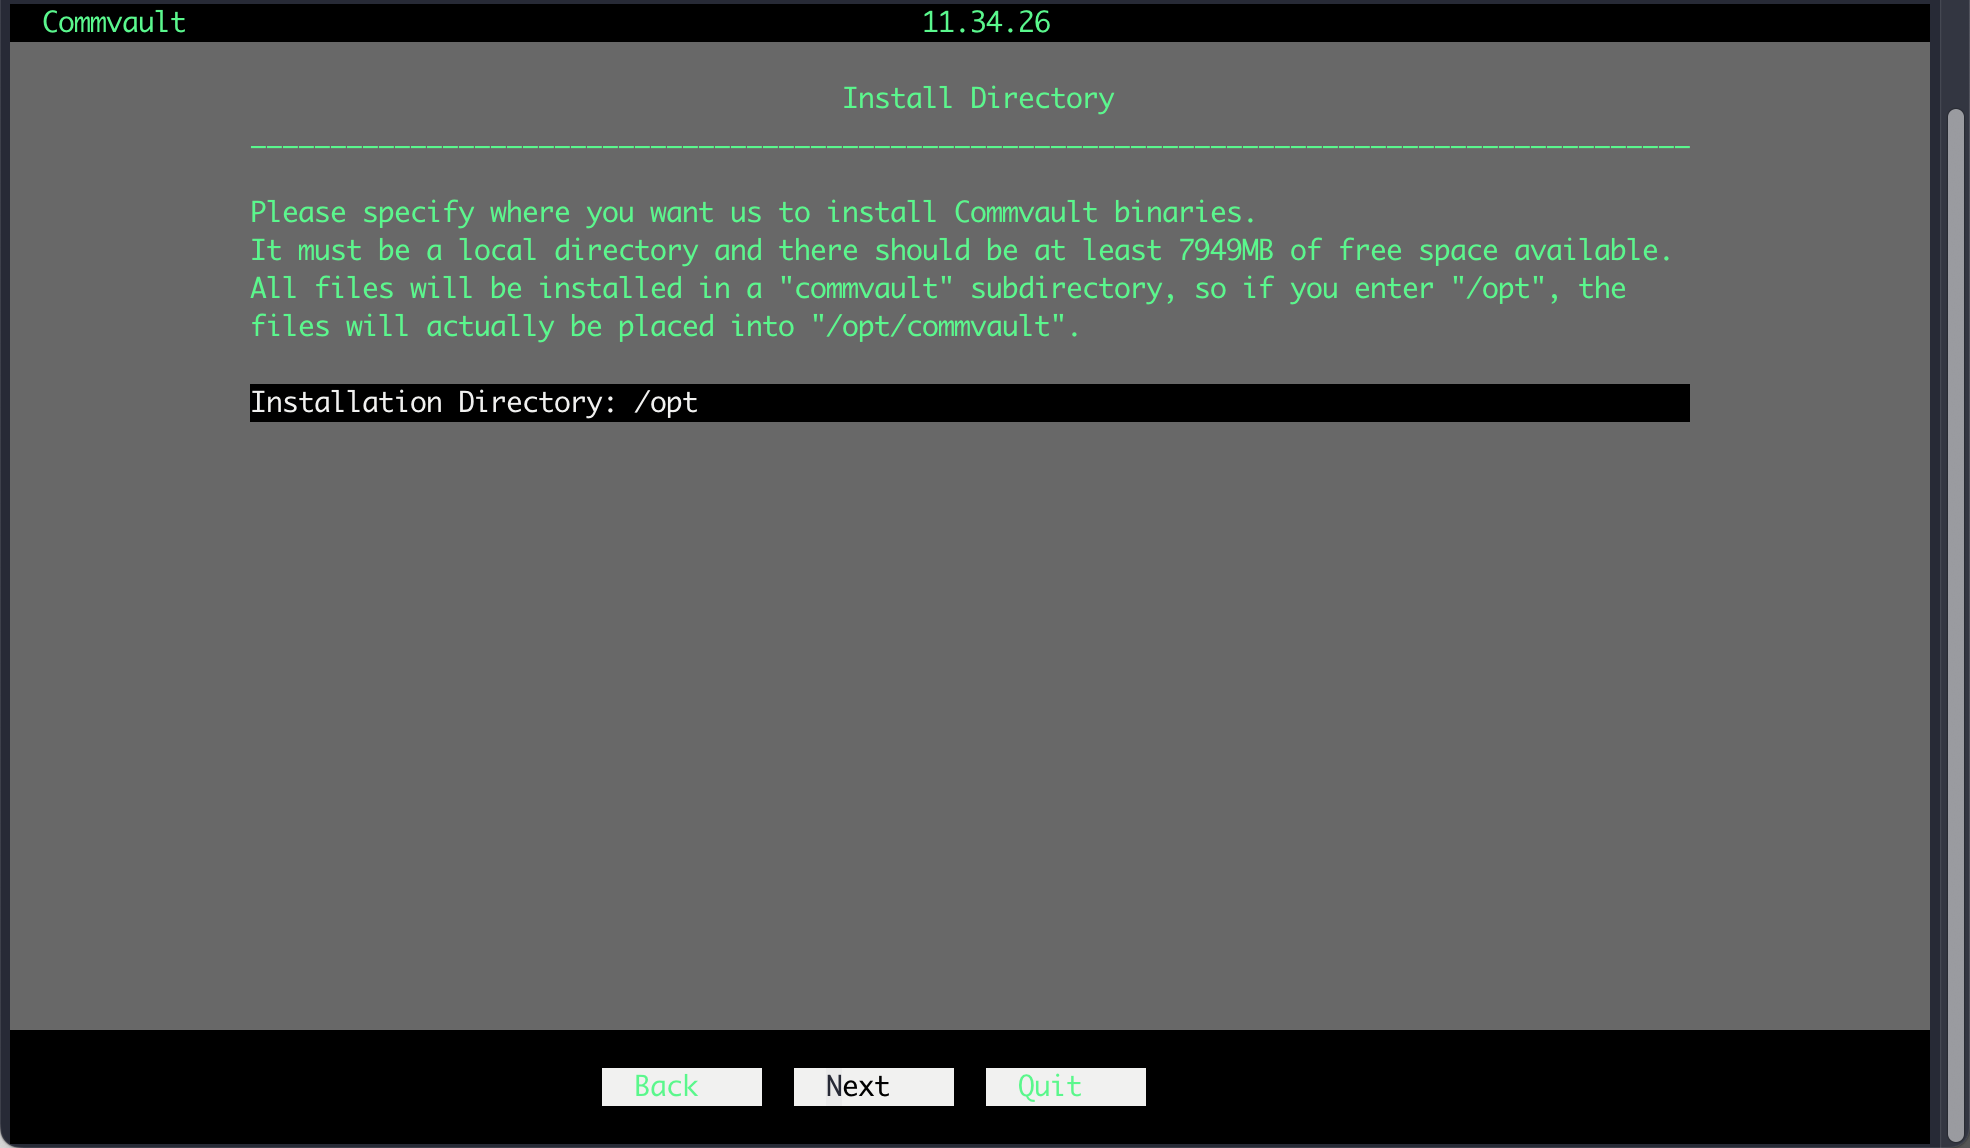
Step 25 - Select the installation directory. /opt is the default. Press tab to move to Next, then press the space bar.
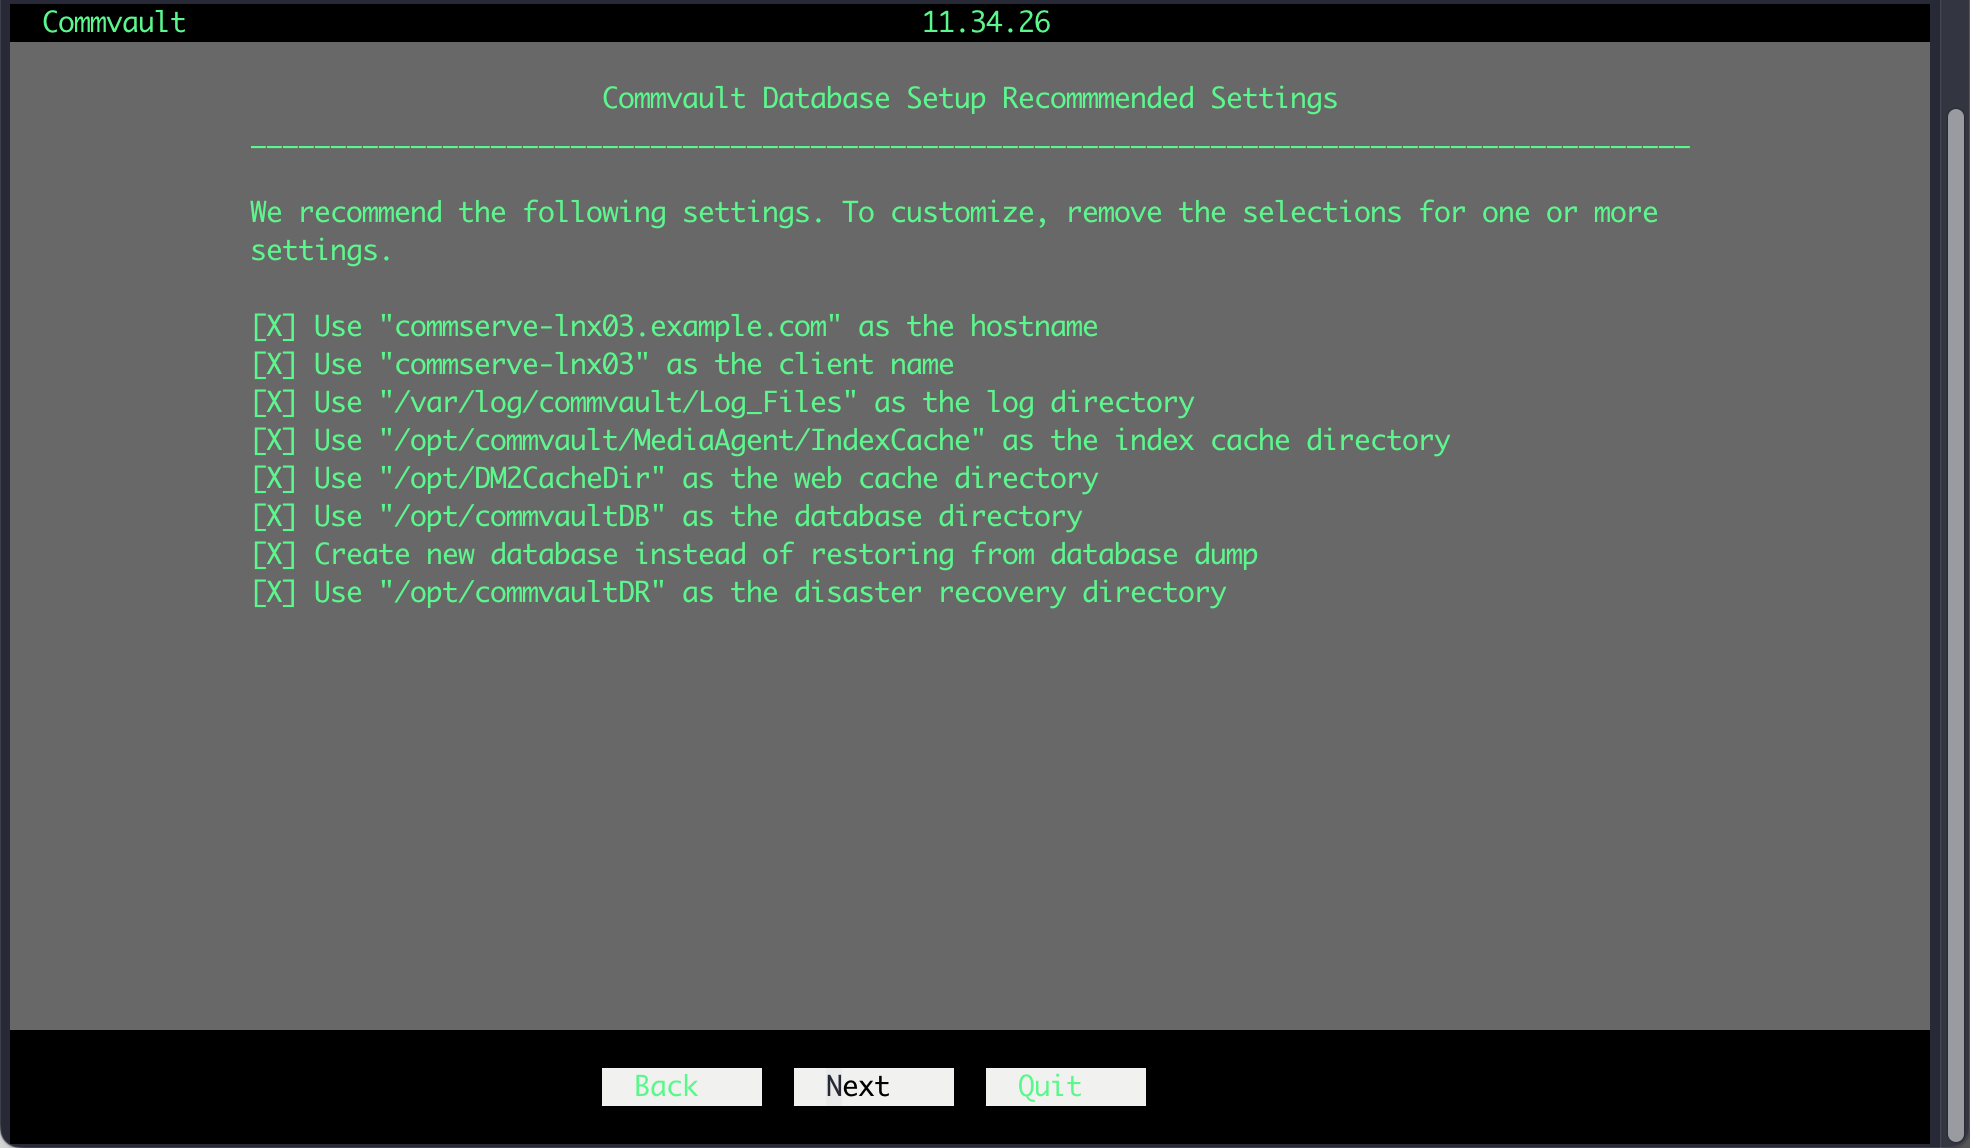
Step 26 - Select the default options. Press tab to move to Next, then press the space bar.
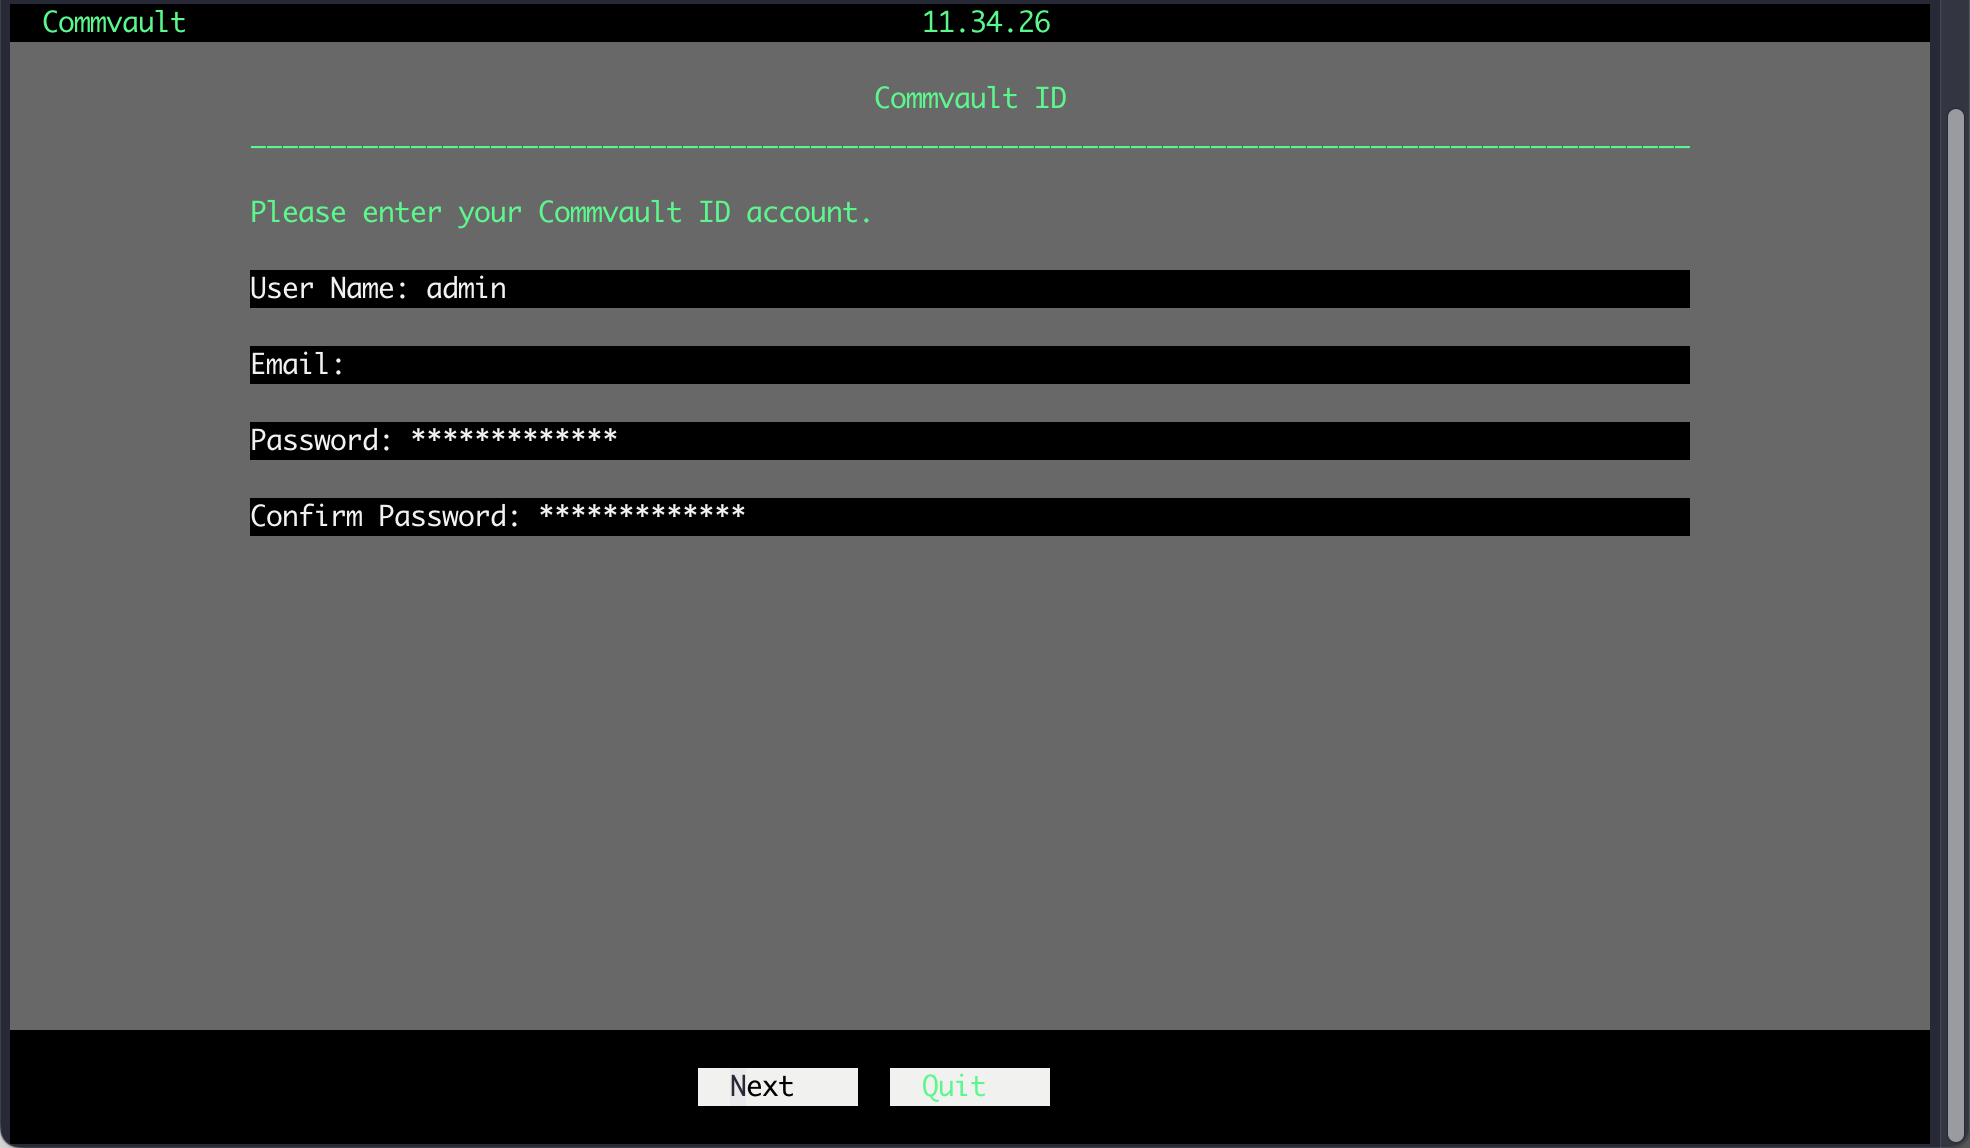
Step 27 - Use the arrow keys and enter the password for the admin user. Press tab to move to Next, then press the space bar.
Step 28 - Confirm the selected settings. Press tab to move to Next, then press the space bar.

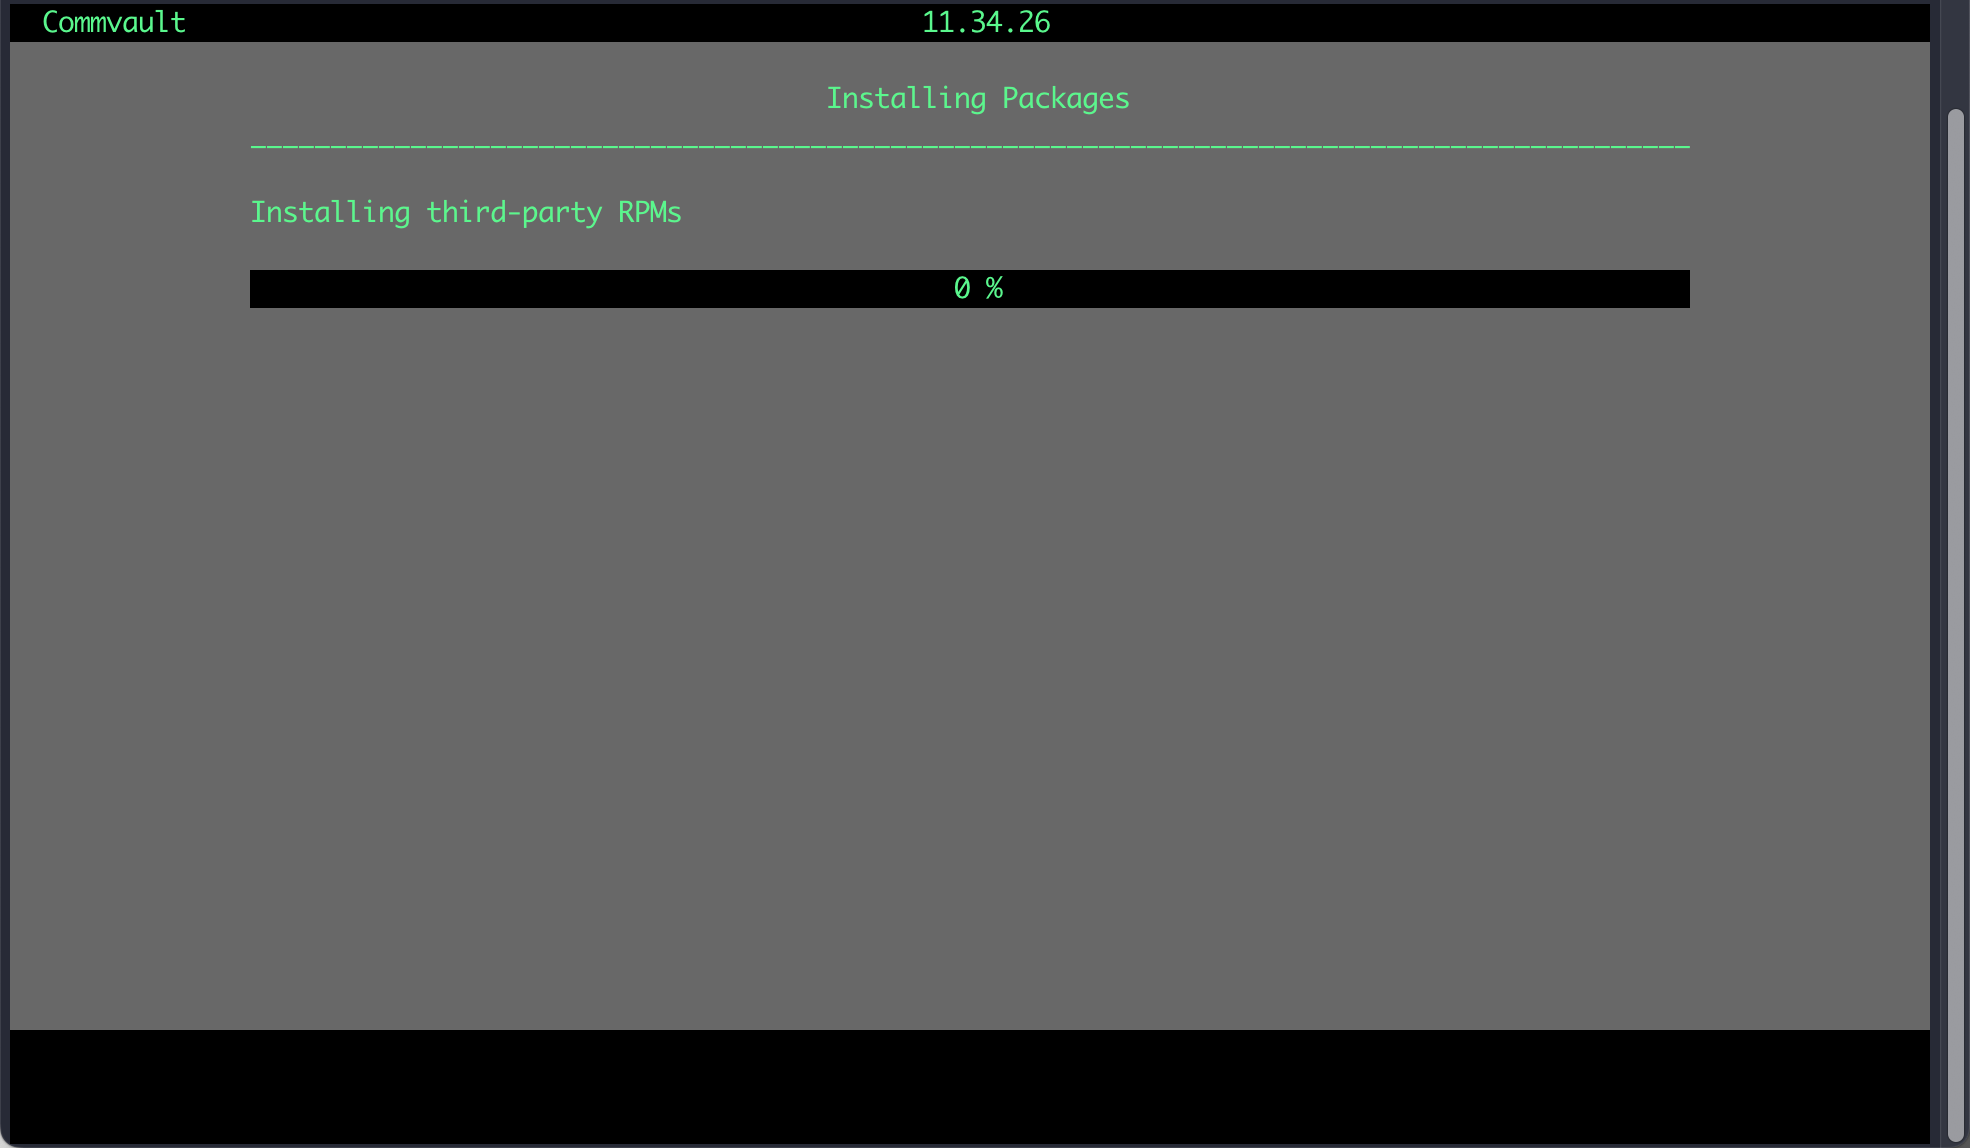
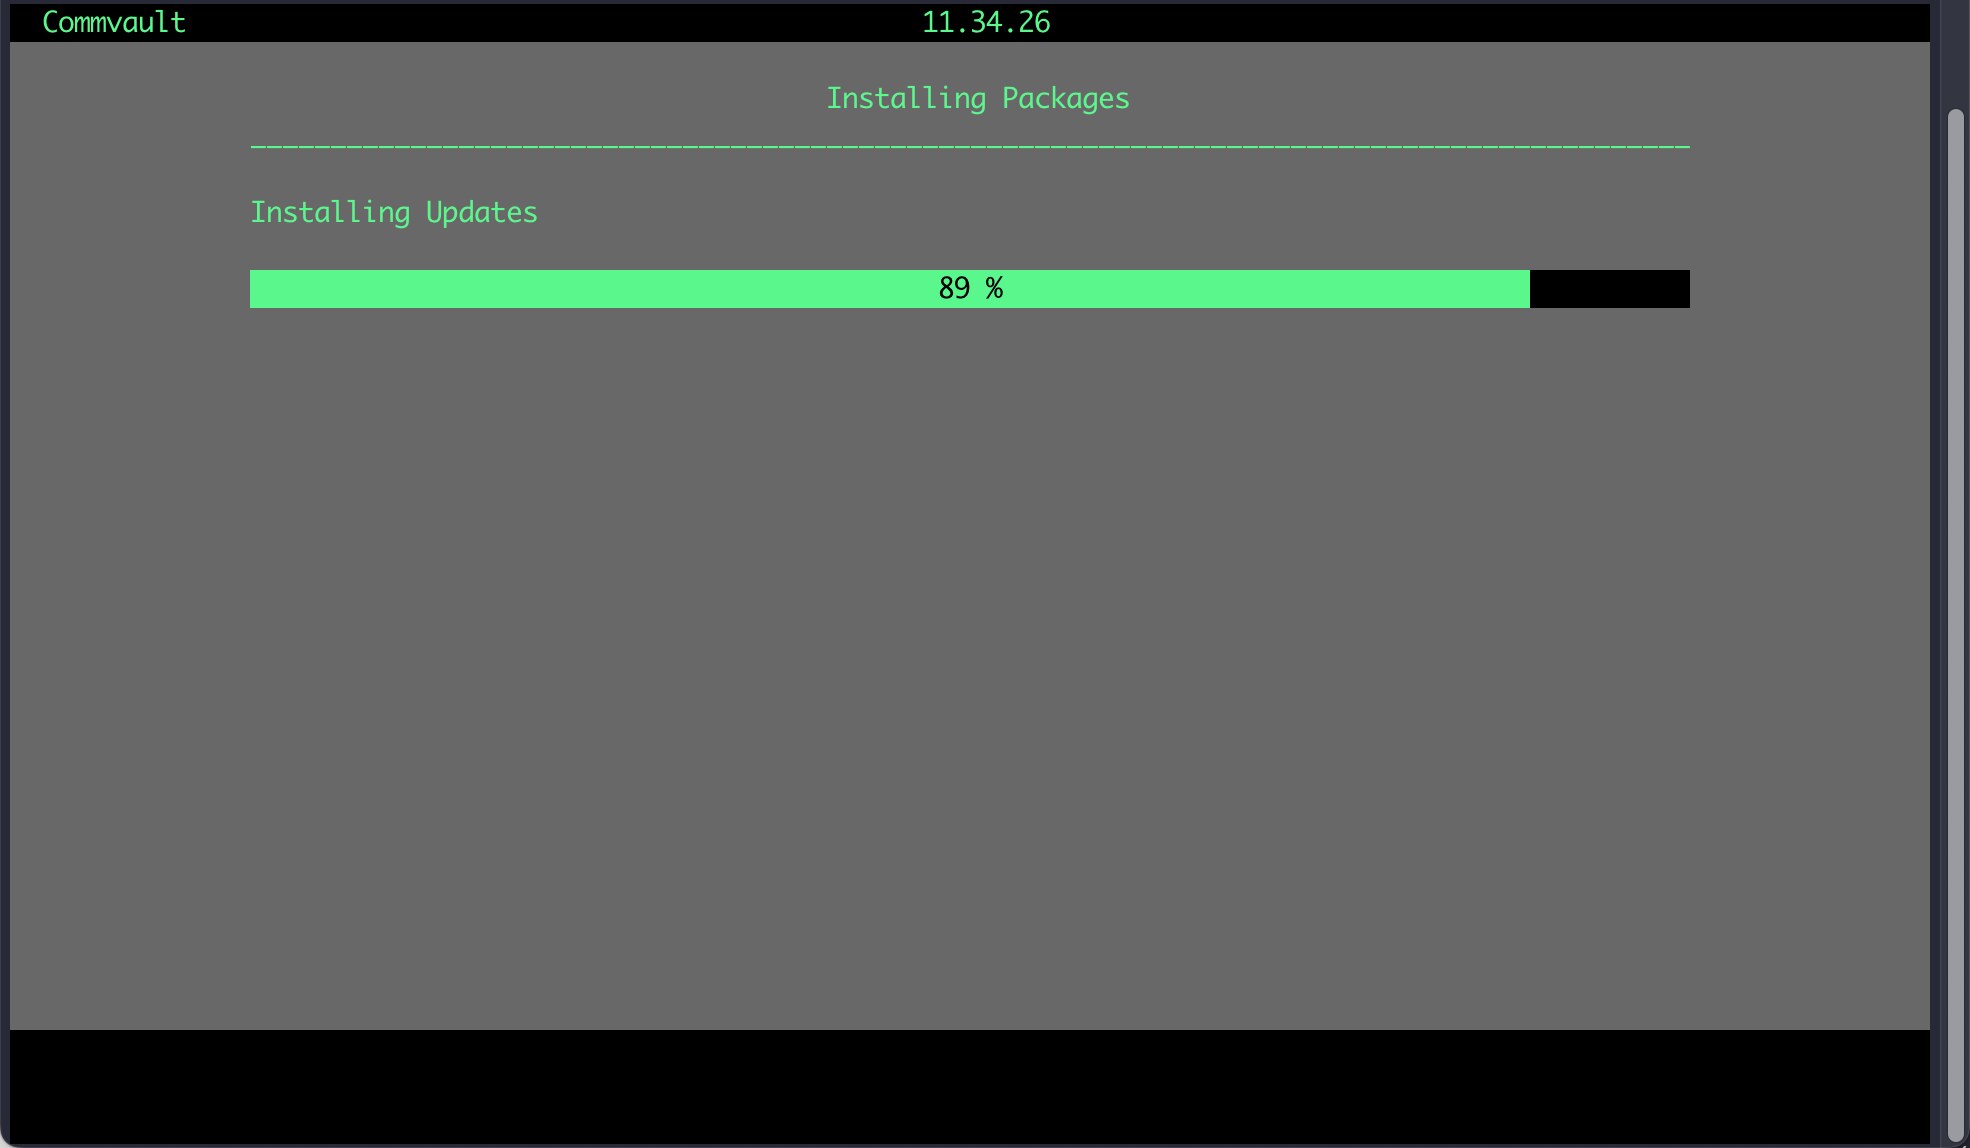
Step 29 - The installation will begin.
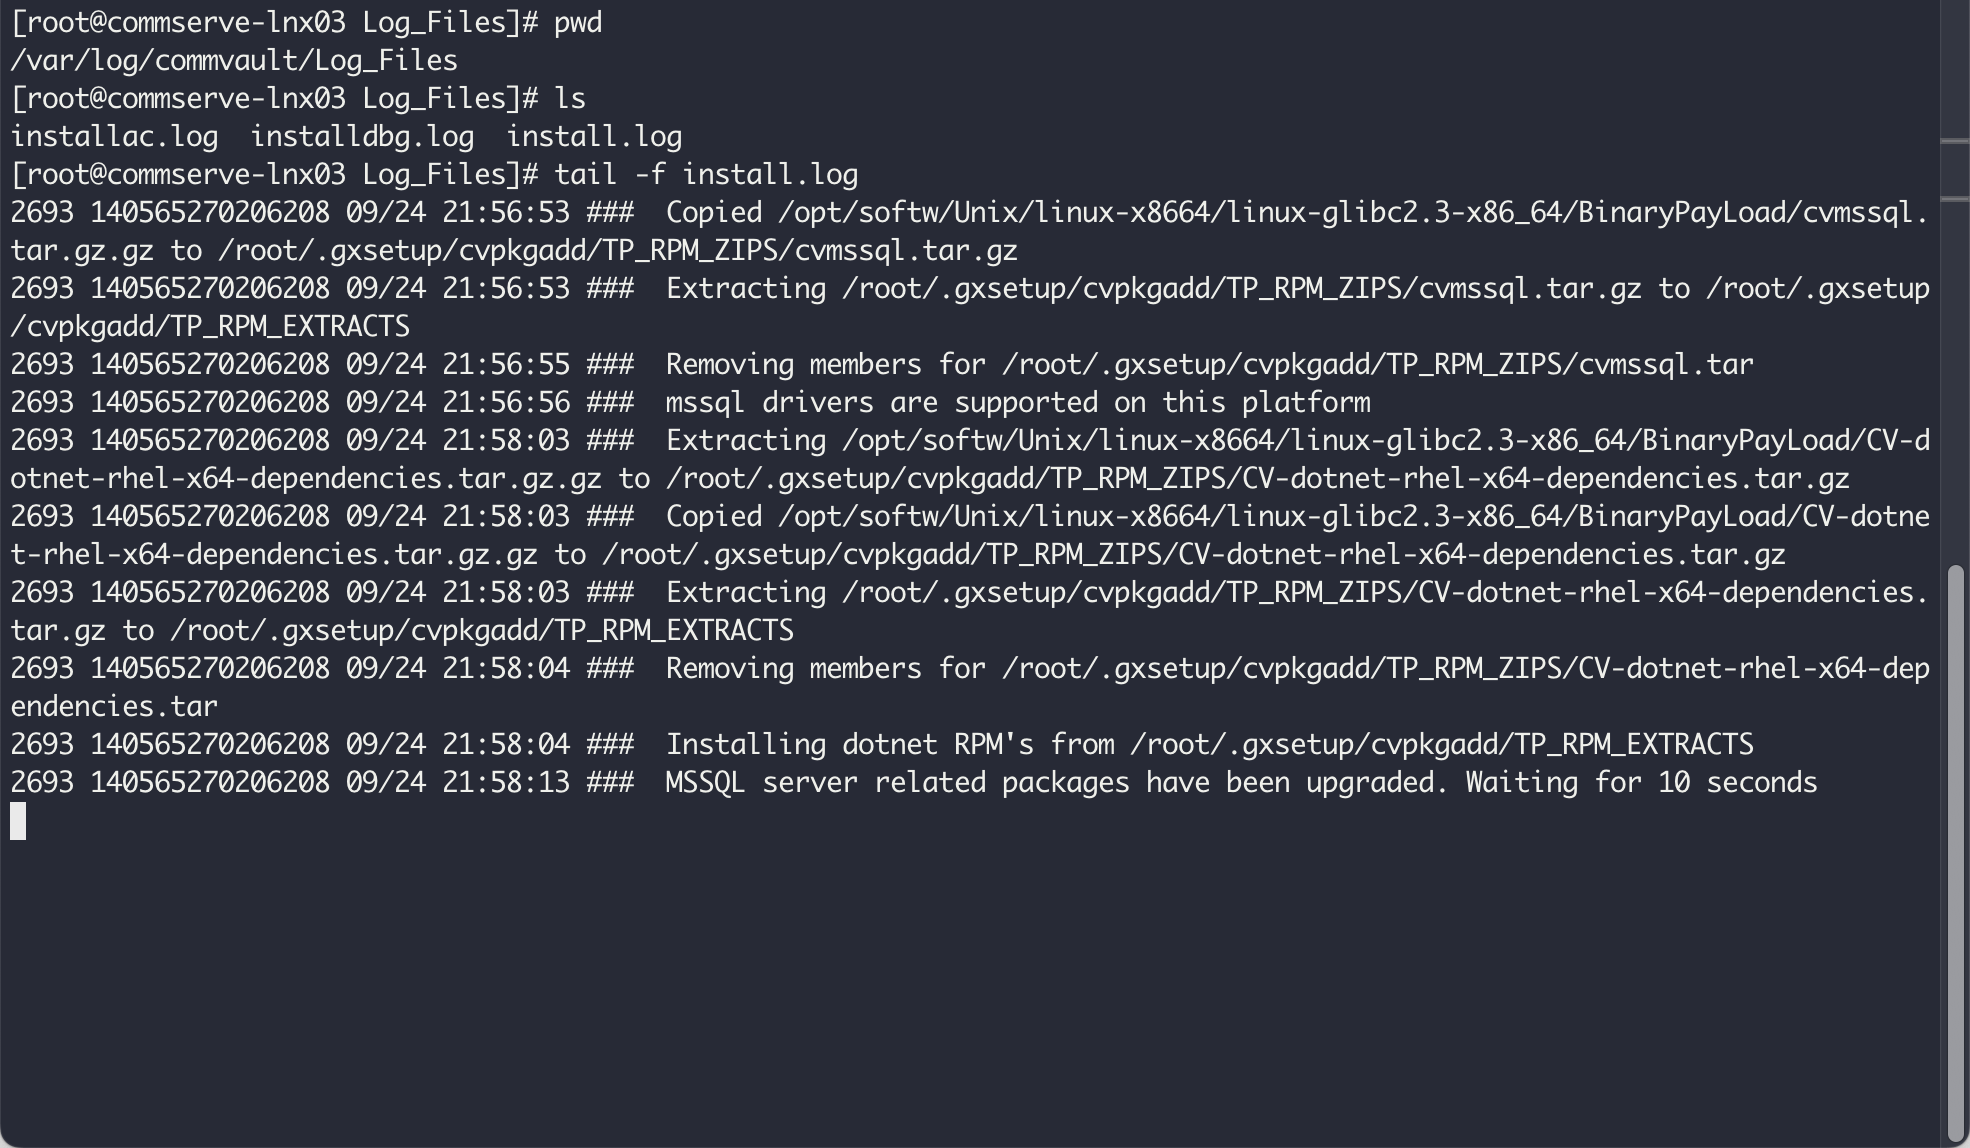
Step 30 - Check the progress by viewing the install.log in /var/log/commvault/Log_Files directory.
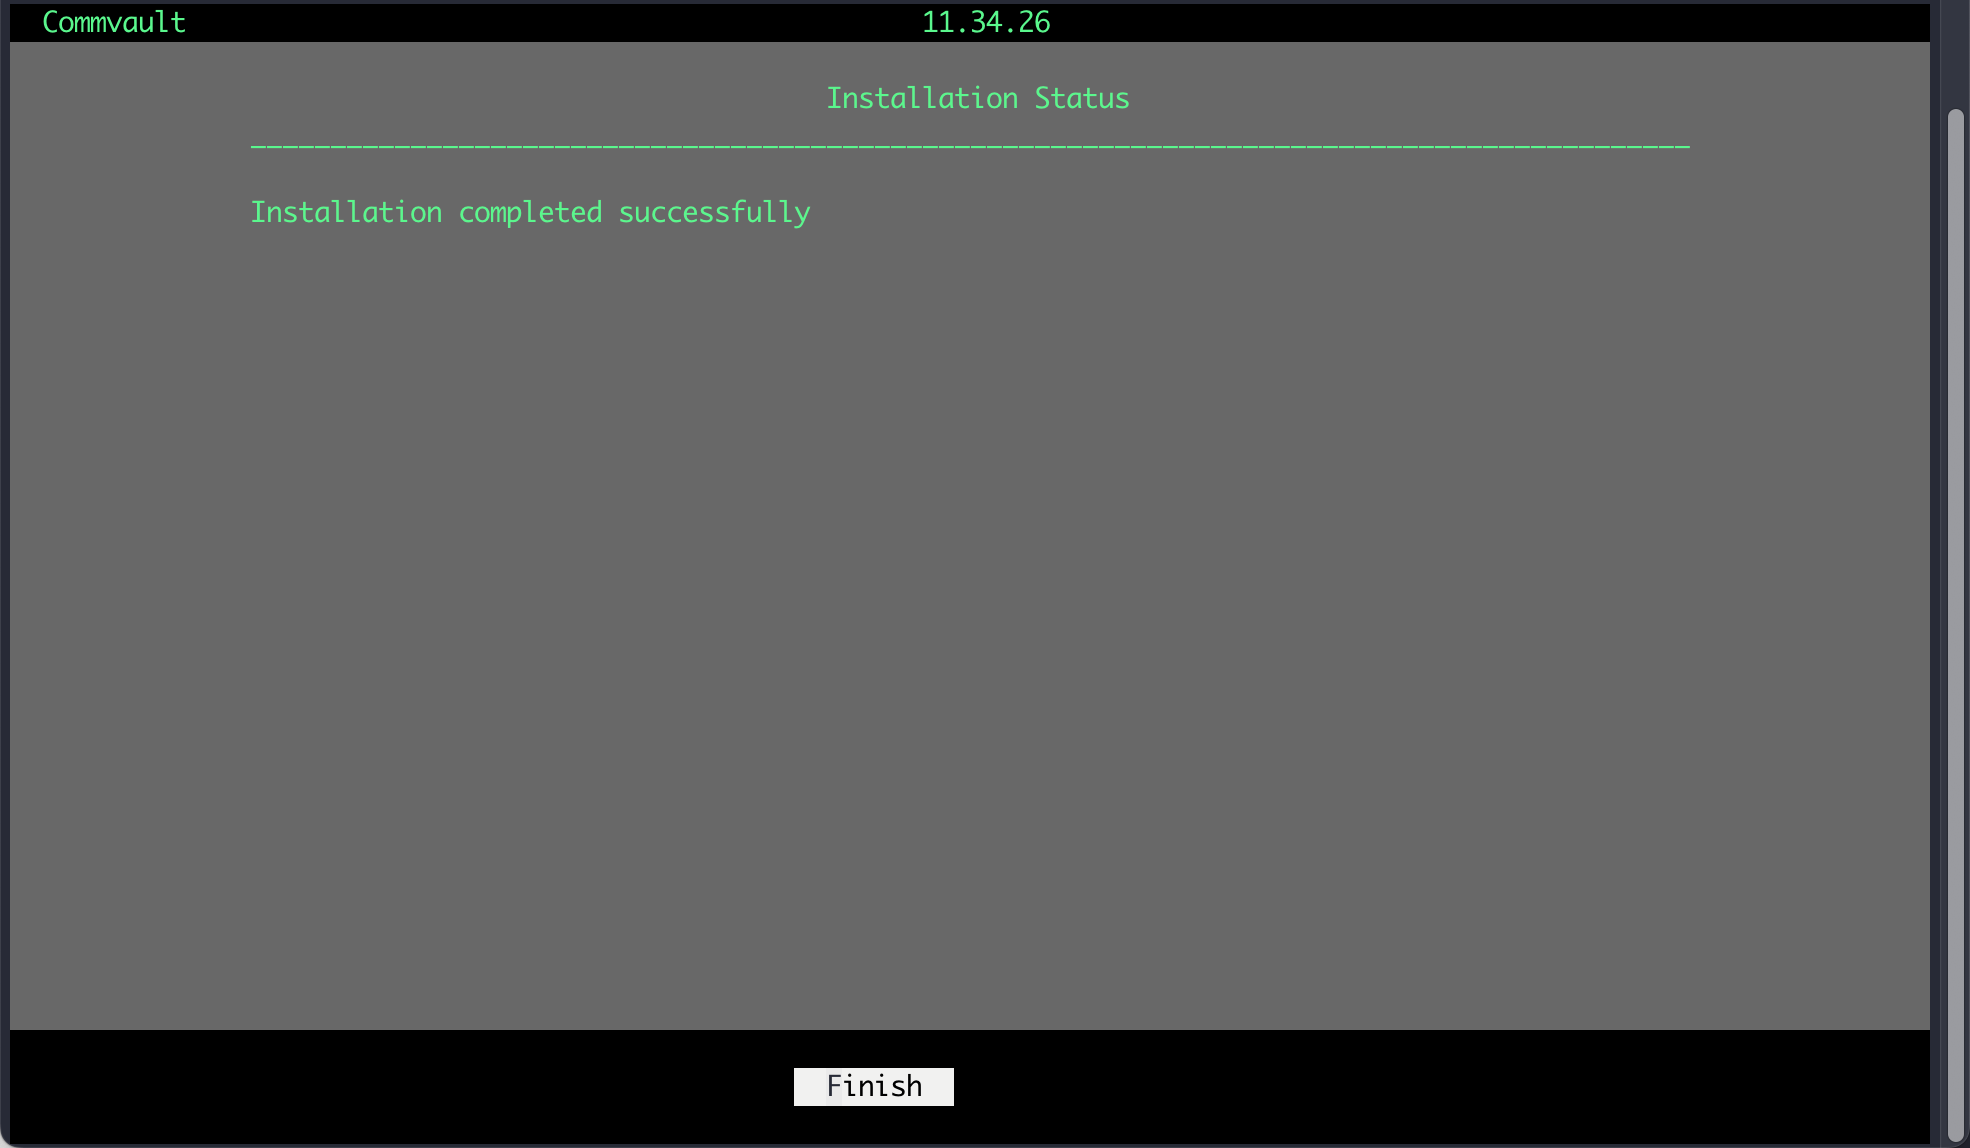
Step 31 - Installation is now complete. Press the space bar to exit the installer.
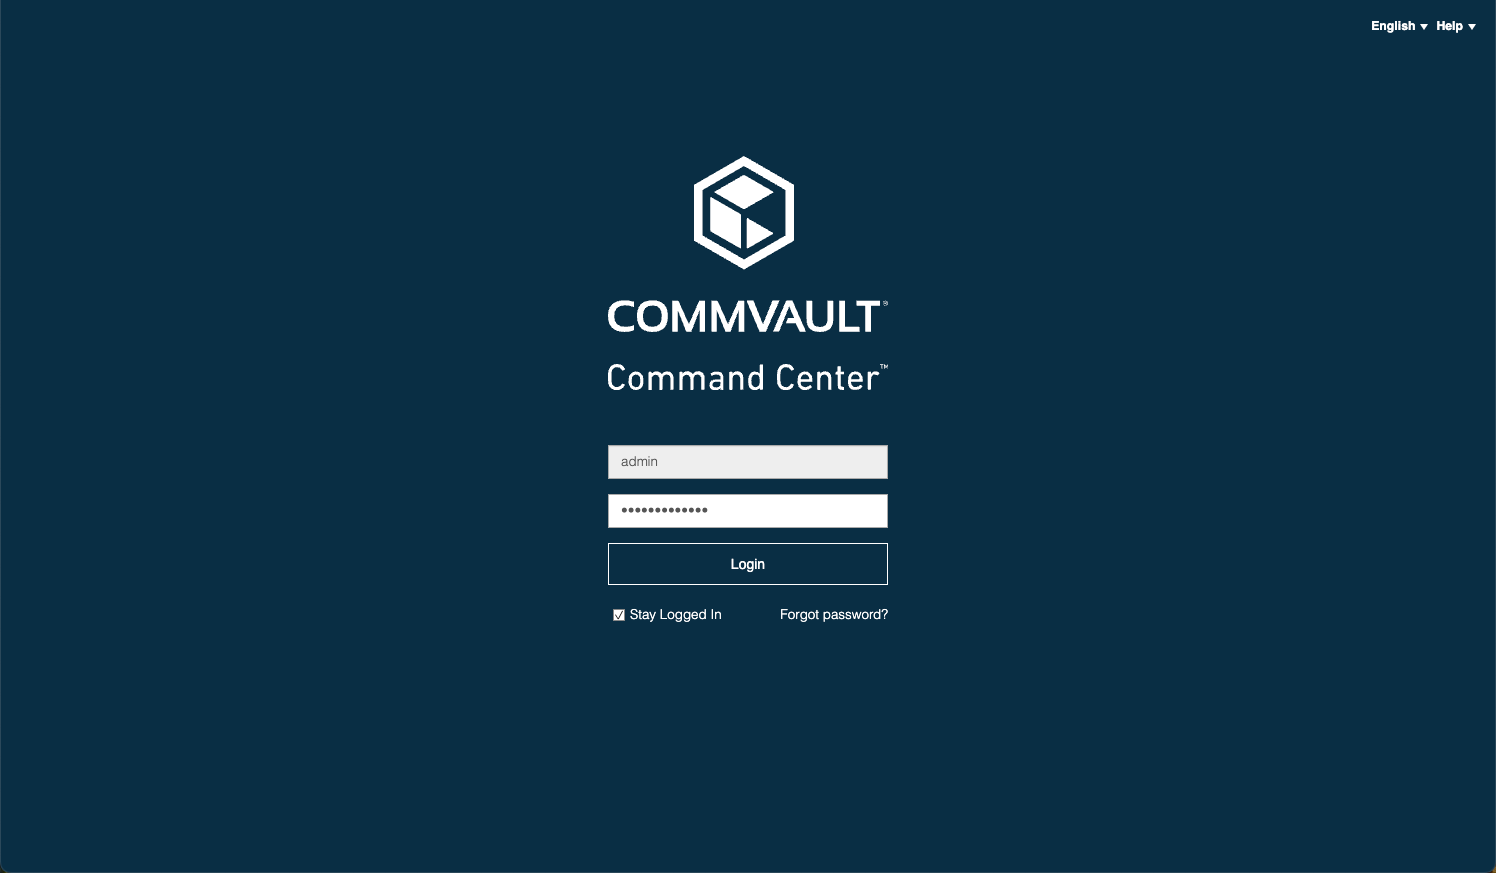
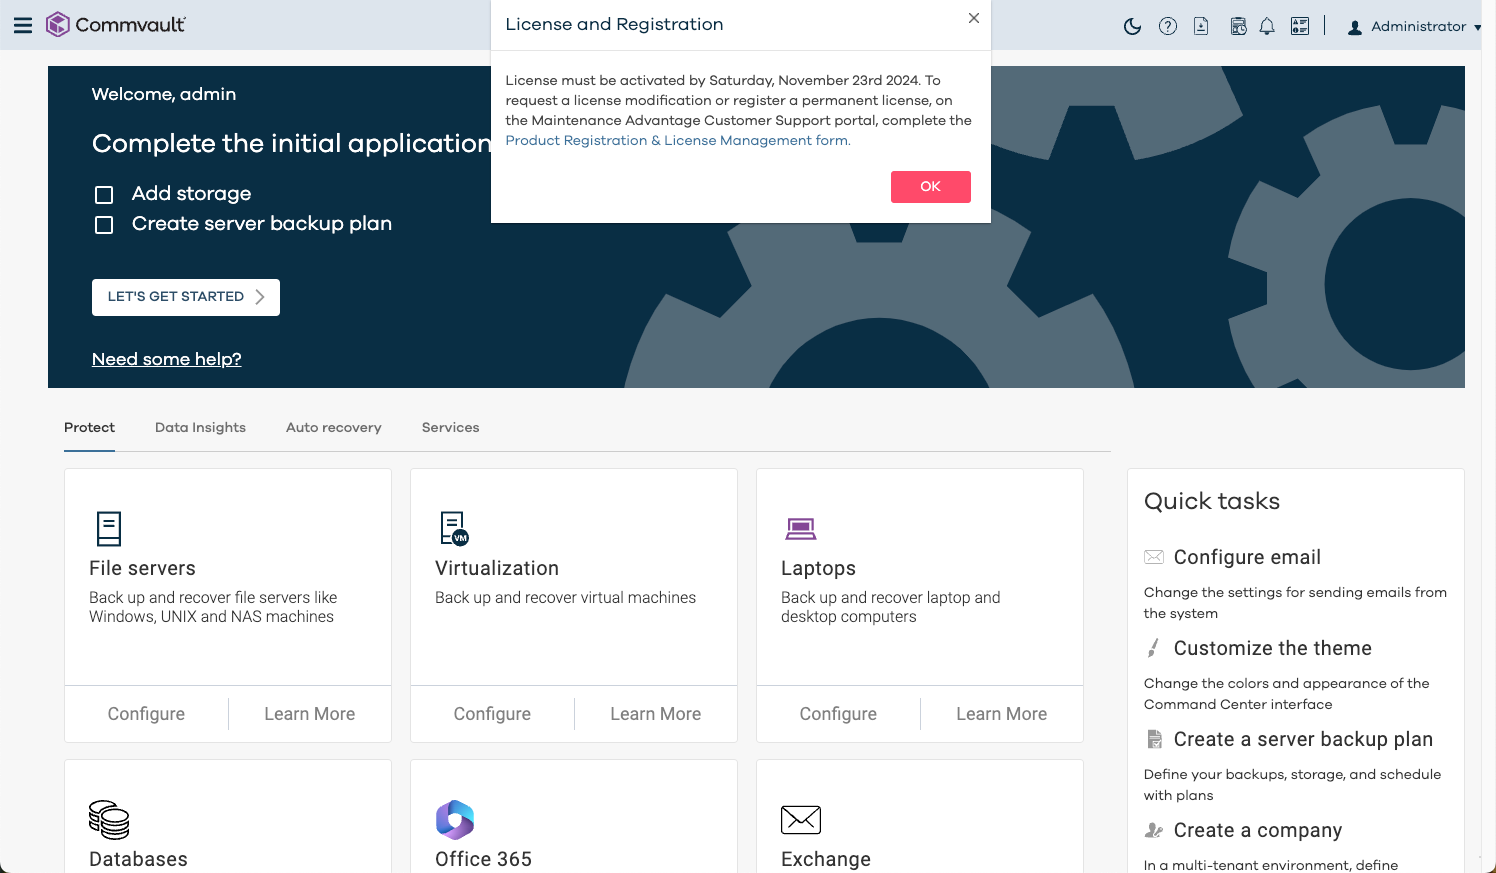
Step 32 - Use a browser to access the Command Center using the admin login. Then proceed with the initial configuration.
Please ensure port 443 is allowed from the Commvault virtual server.
The base Commvault Server installation task is now complete.
If you found this post helpful, please kindly subscribe so I can also get feedback and suggestions for future content. Thank you for your time.