Install and configure a Linux cloud server as a Commvault Media Agent server

This post will provide a step by step instruction on installing and configuring a Commvault Linux MediaAgent server. A MediaAgent server is used to manage the backup data target. The backup data target can be a local tape drive, a tape library, a direct attached disk, a SAN disk array or cloud storage.
These backup targets will need to be configure into storage pools before they can be used for client data backup jobs. I will cover this storage pools in another post.
If you have found this post useful, please consider clicking the subscribe button.
Step 1
Configure and test the ssh and scp access to the Linux cloud server.
In my setup, I am using a Windows cloud server I provisioned earlier as the jump host for my test environment.
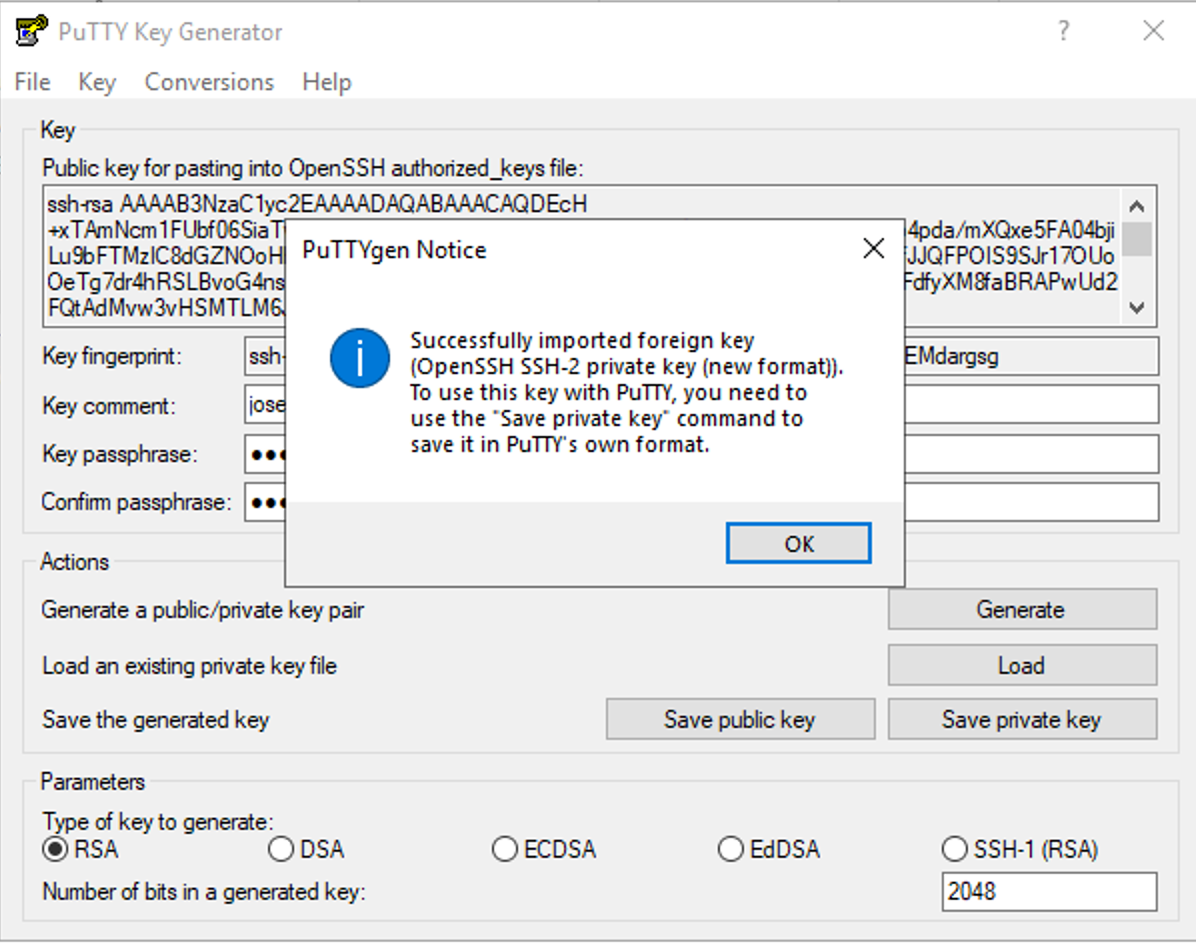
I installed Putty for ssh access and WinSCP for scp access. If you are not familiar with these tools, ssh is for ssh terminal access and scp is for copying files to the Linux cloud server.
NOTE: The SSH private key that was generated in earlier posts will need to be converted to ppk format. This key can be used for both Putty and WinSCP.
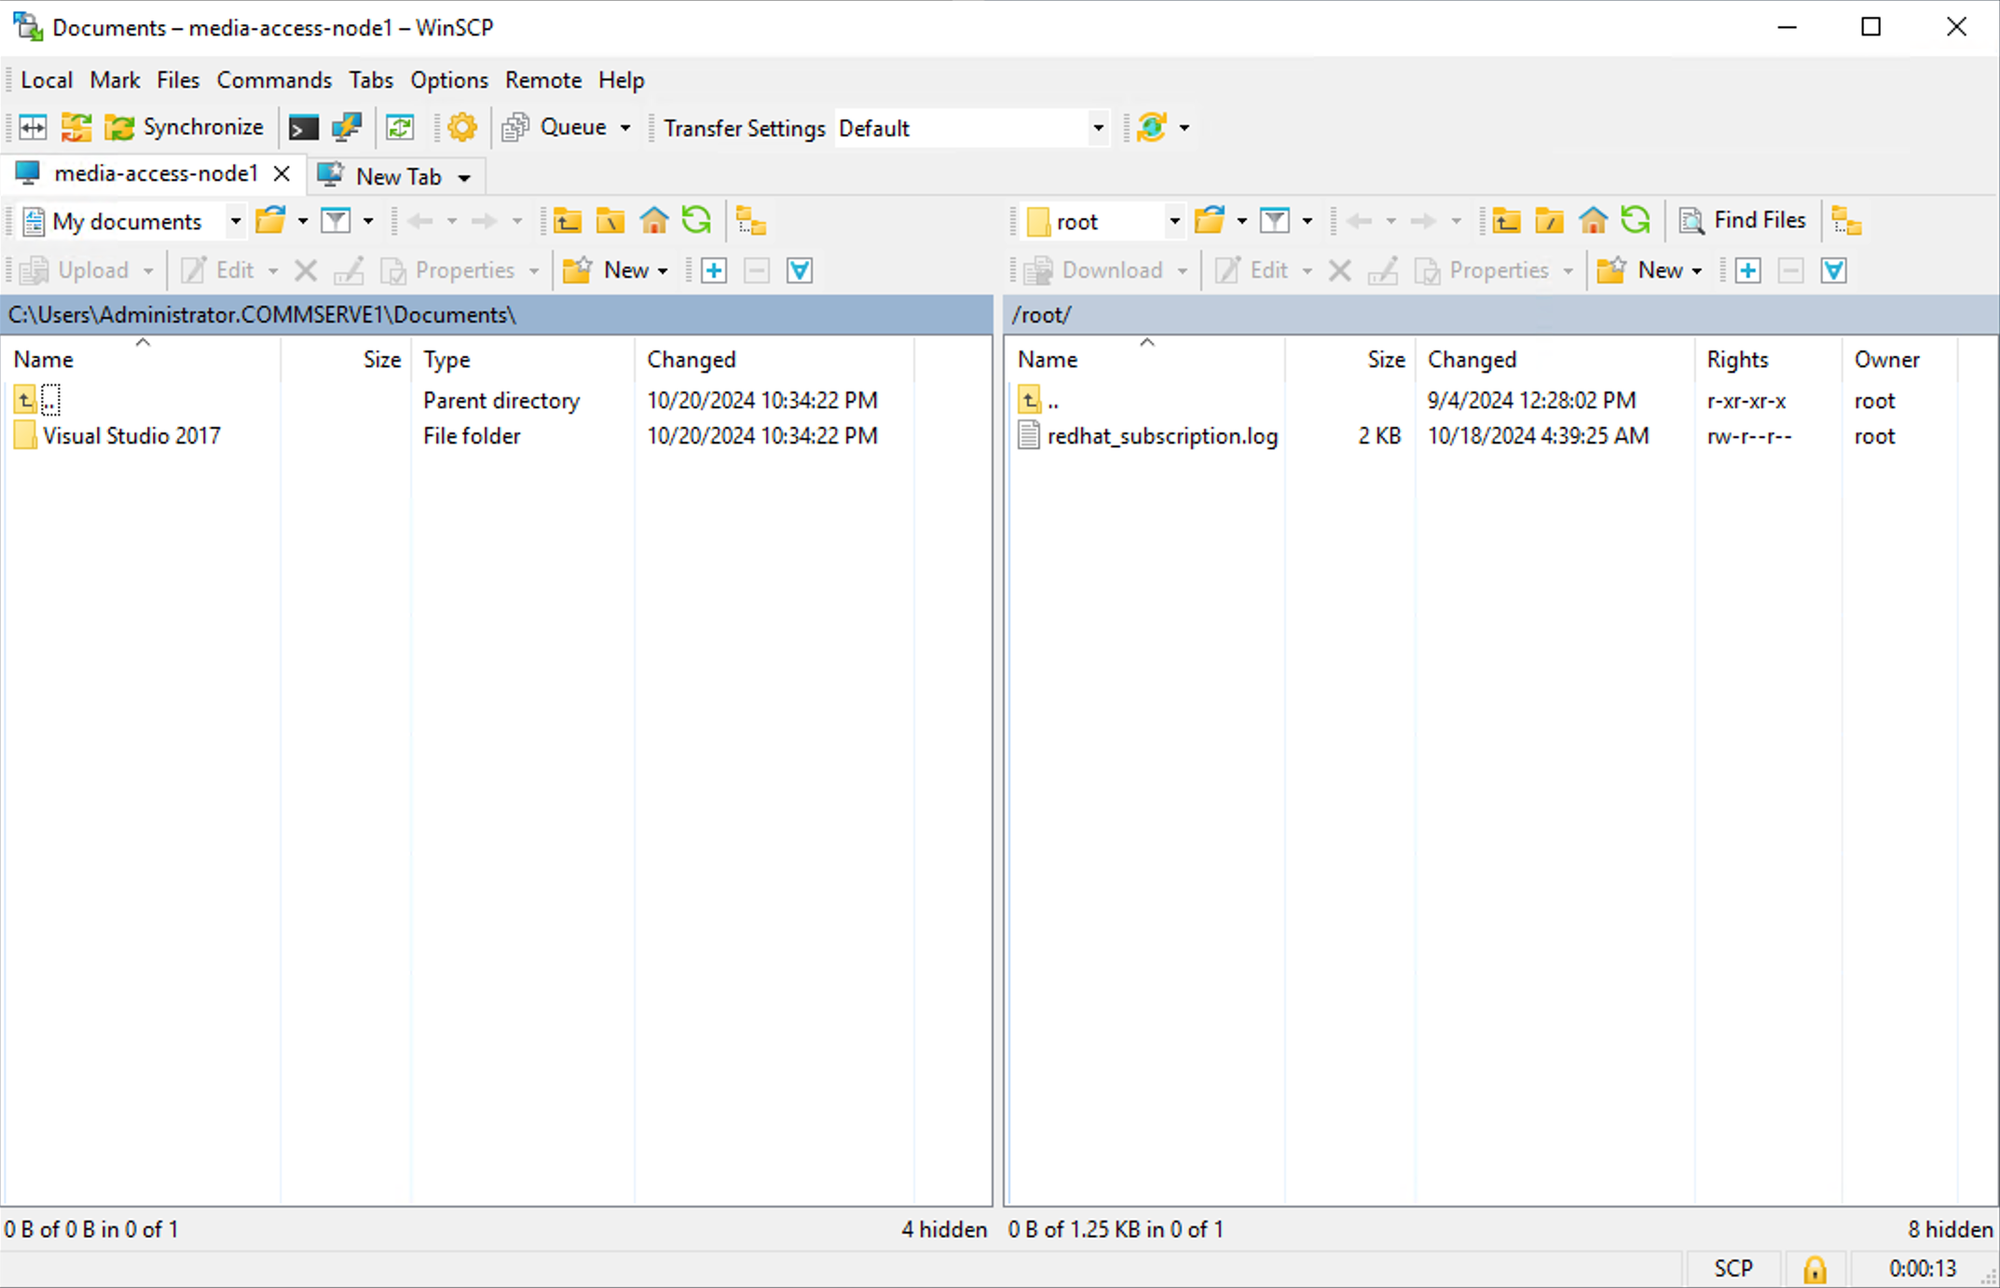
Step 2
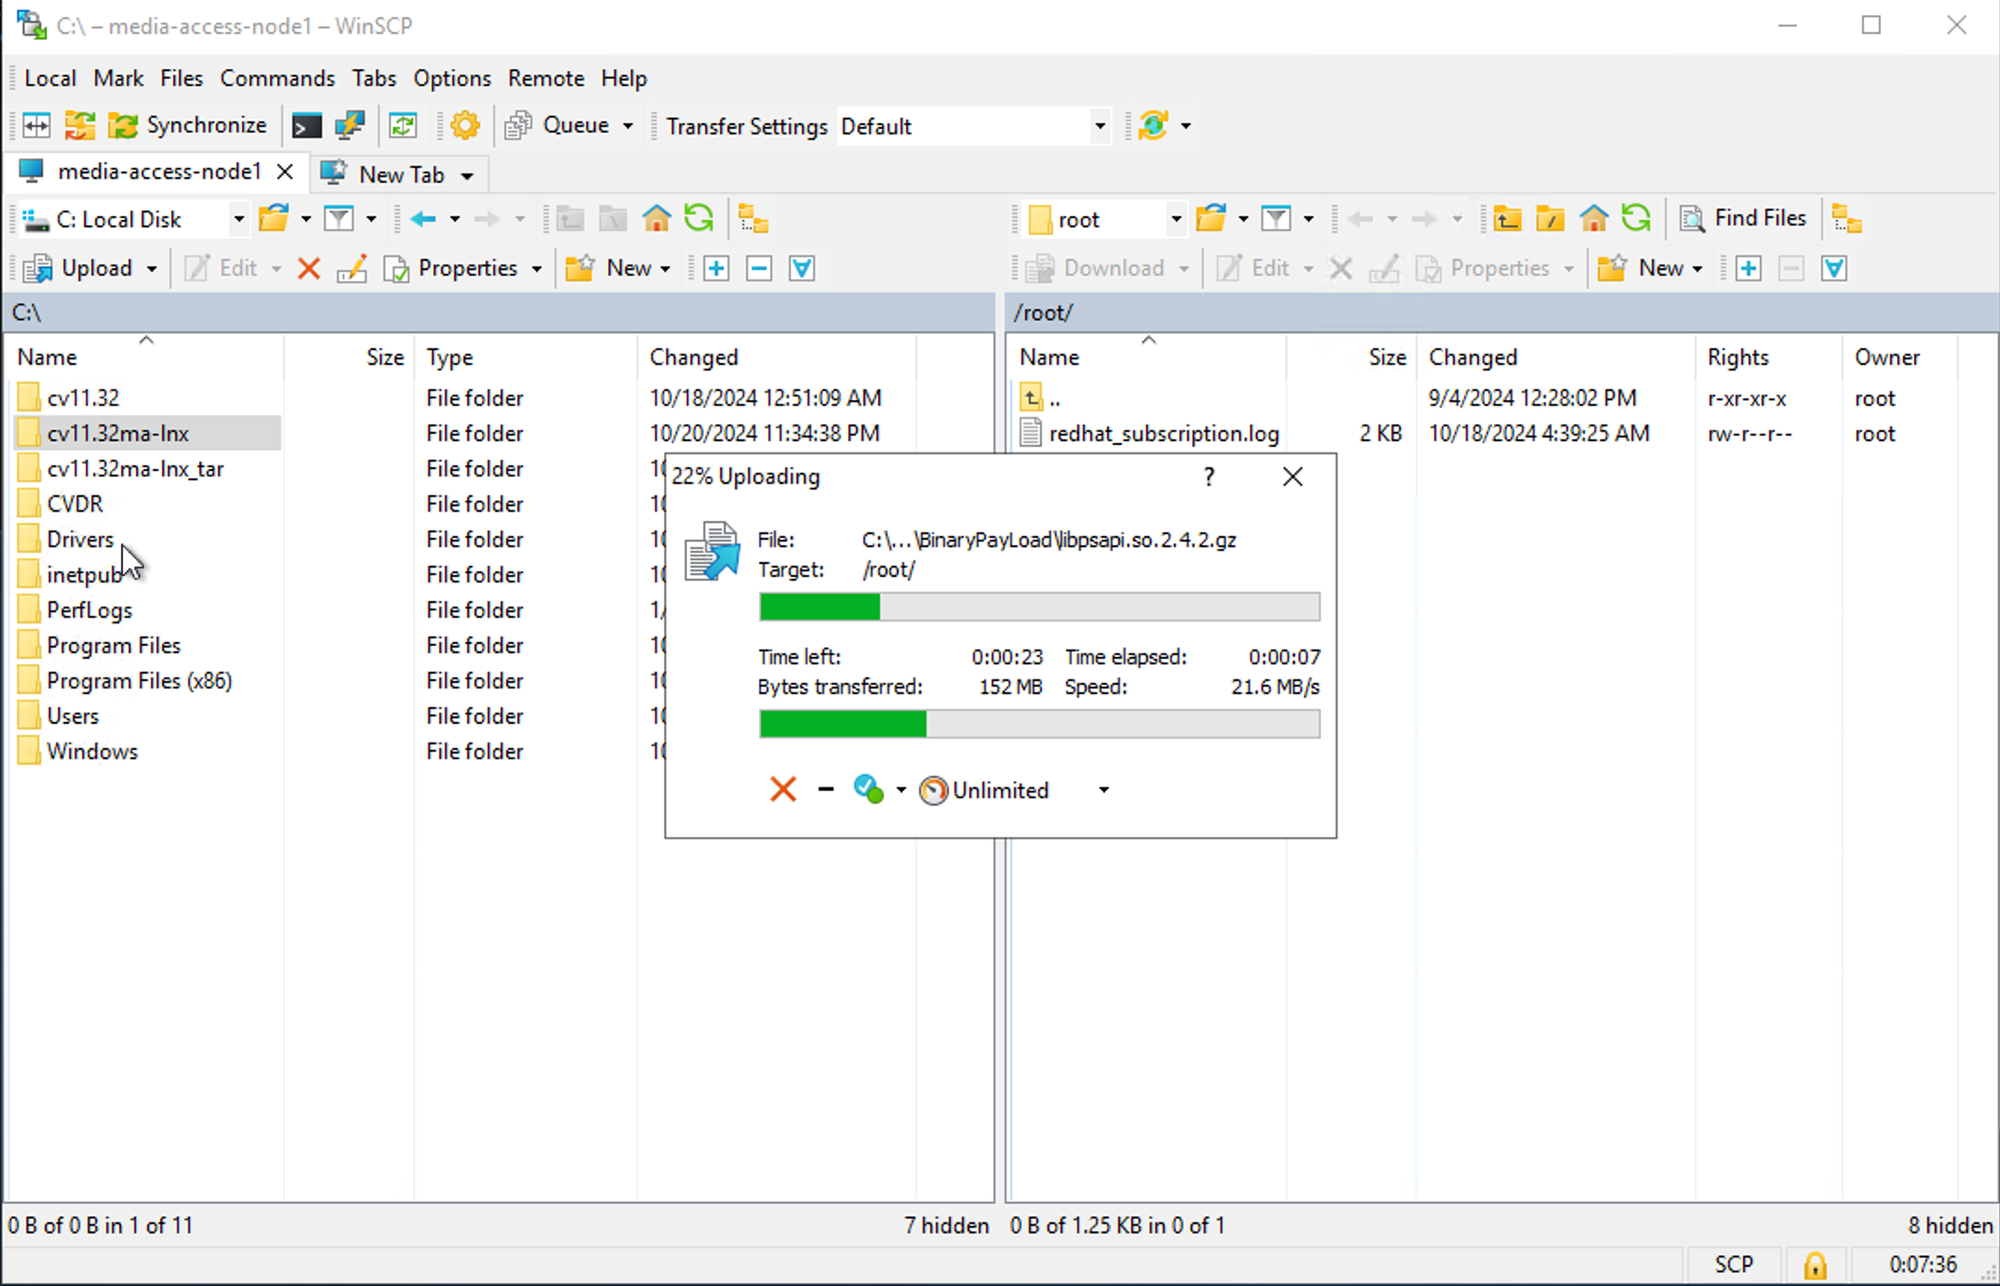
Copy the installation files to the Linux cloud server.
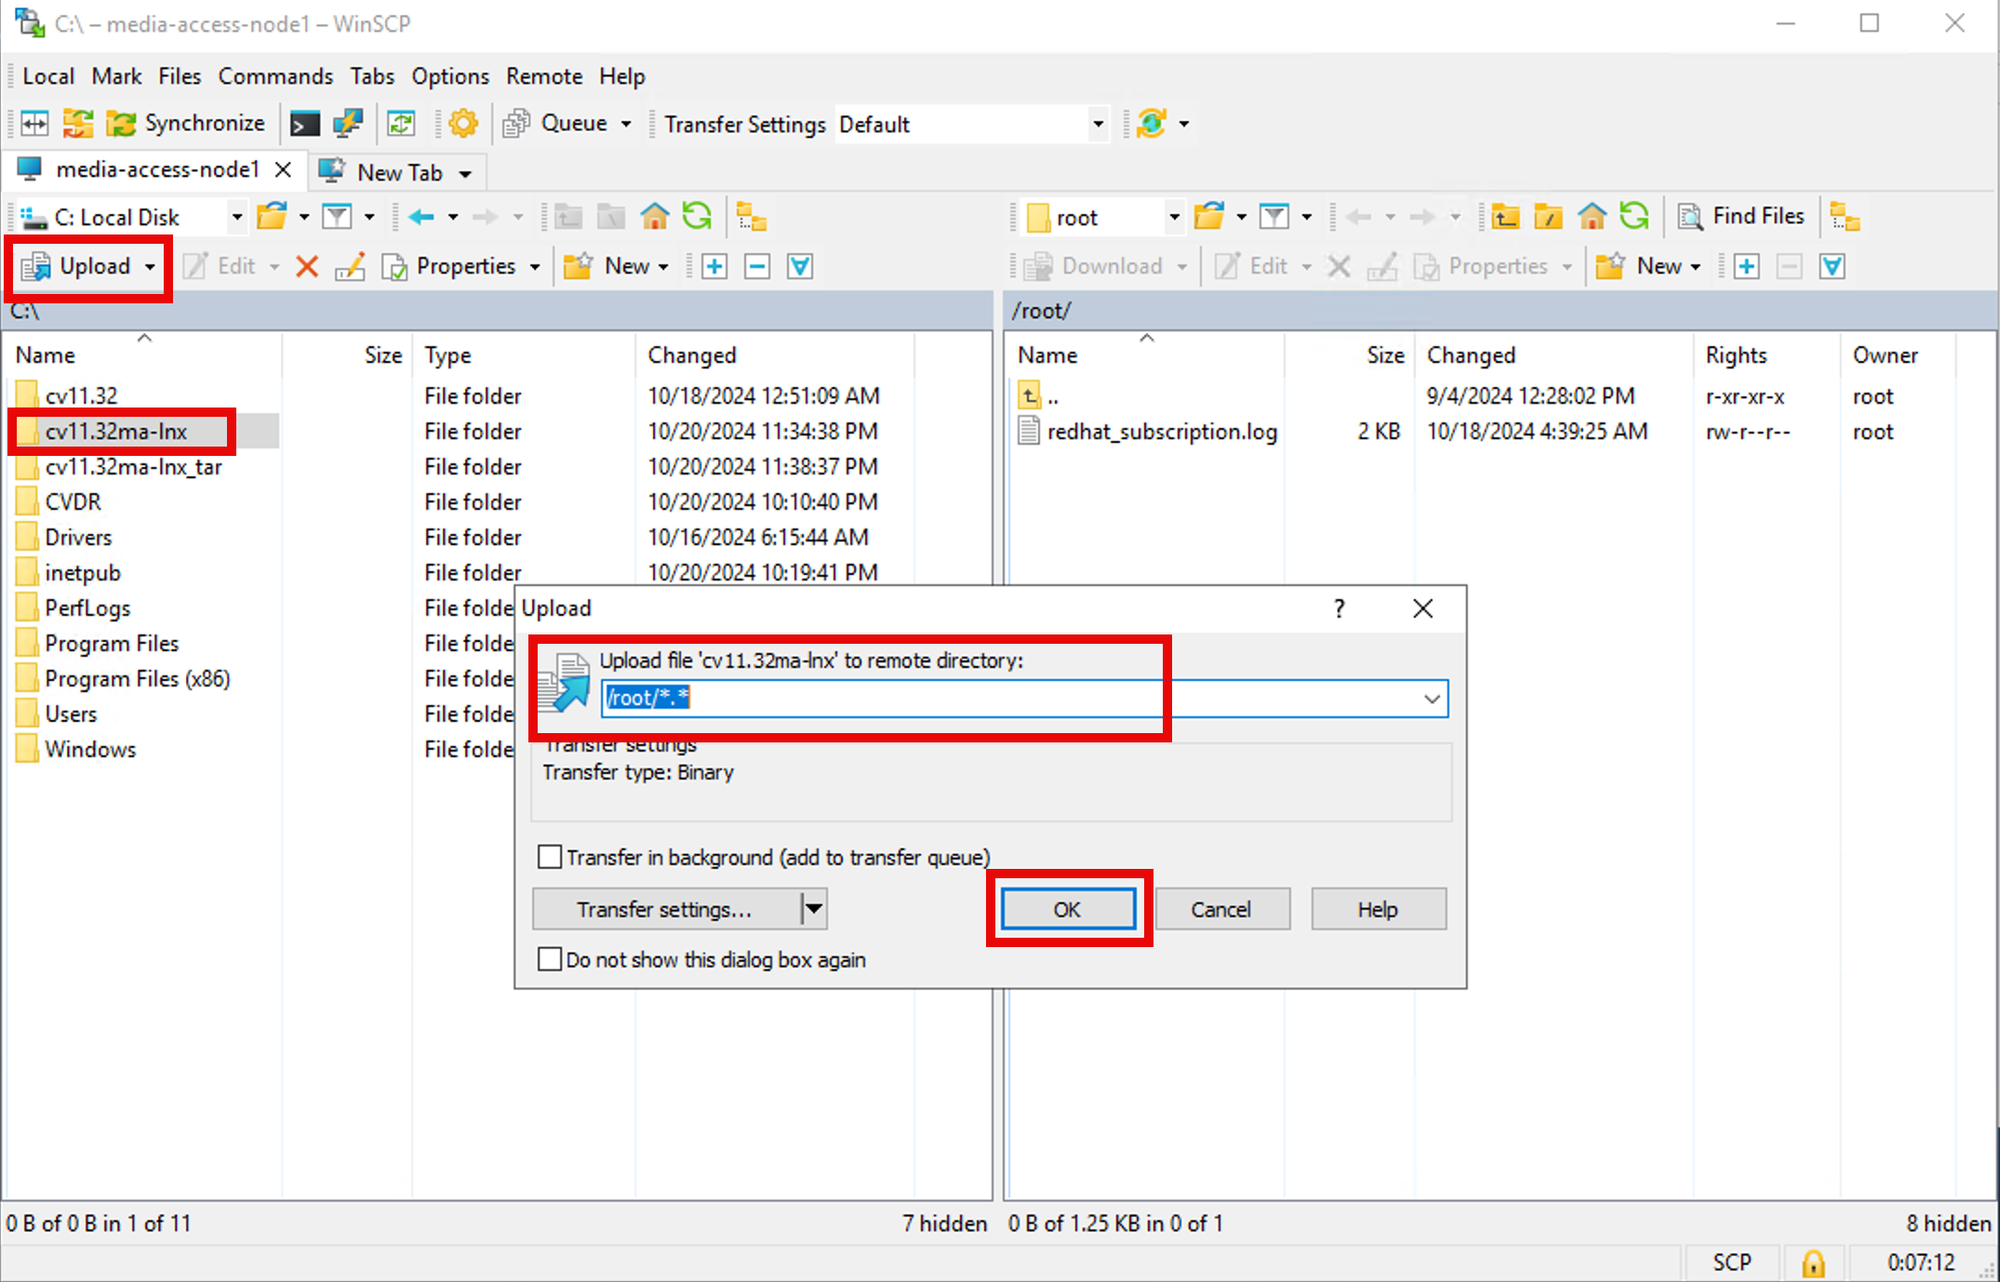
Select the folder to be copied.
Click upload.
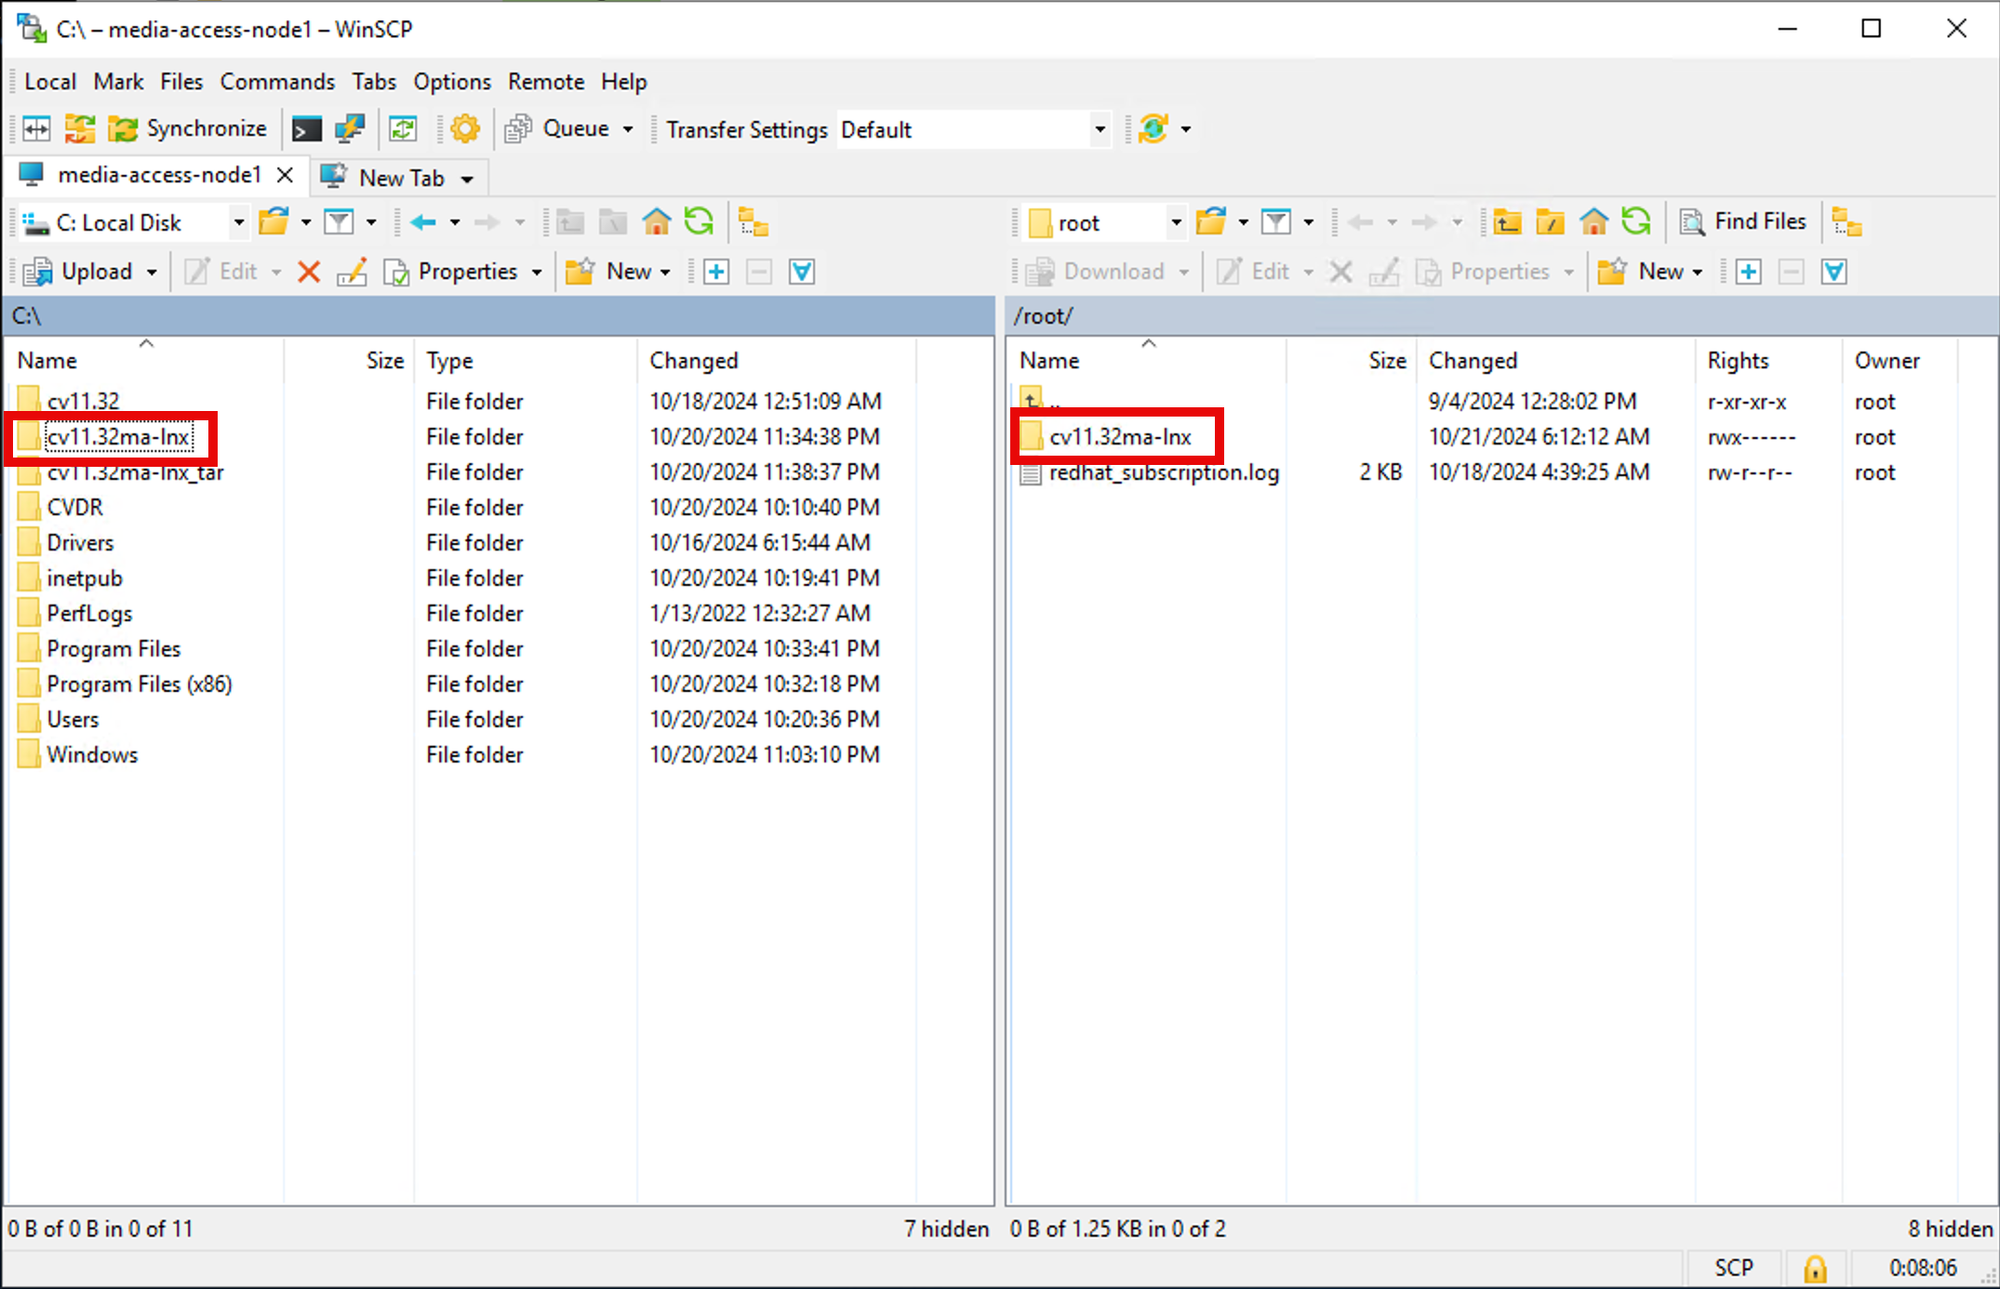
Confirm the destination folder then click OK.
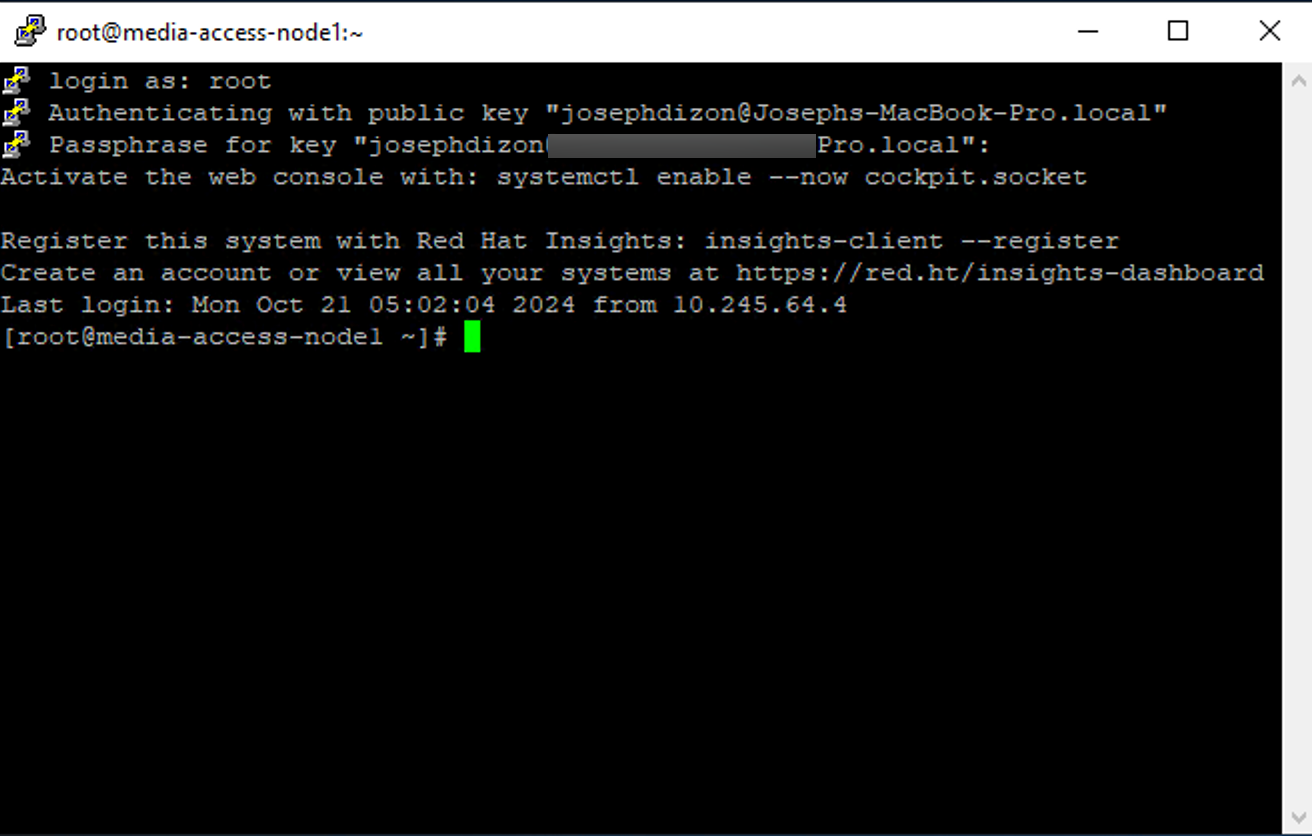
Step 3
Logon to the Linux cloud server using the Putty ssh tool.
Change directory to the installation files.
NOTE: If the ls (list command) does not show files as green then these files will need to be set to be executable. Run this command on the command line,
chmod -R 775 *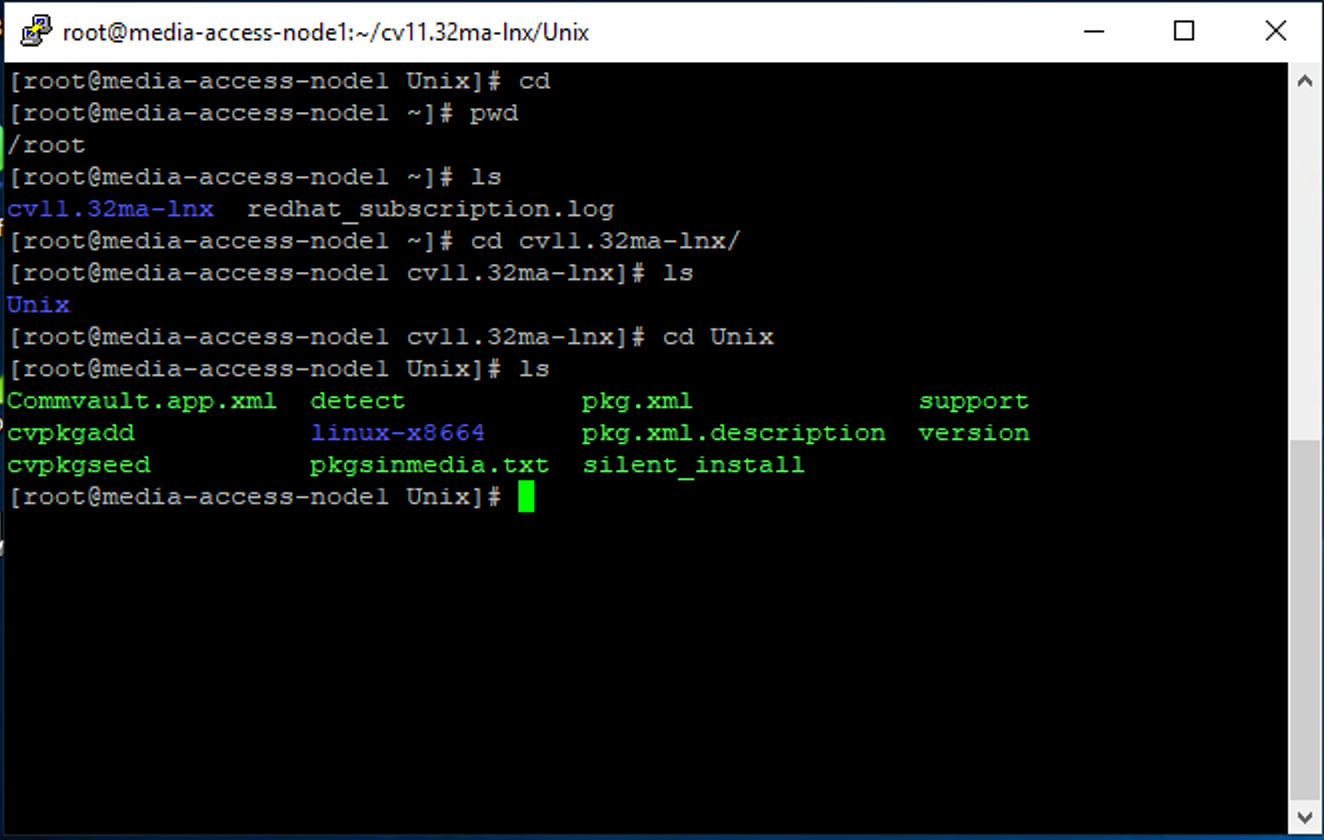
Step 4
Run the Commvault software installation command by typing the following on the command line,
./cvpkgaddStep 5
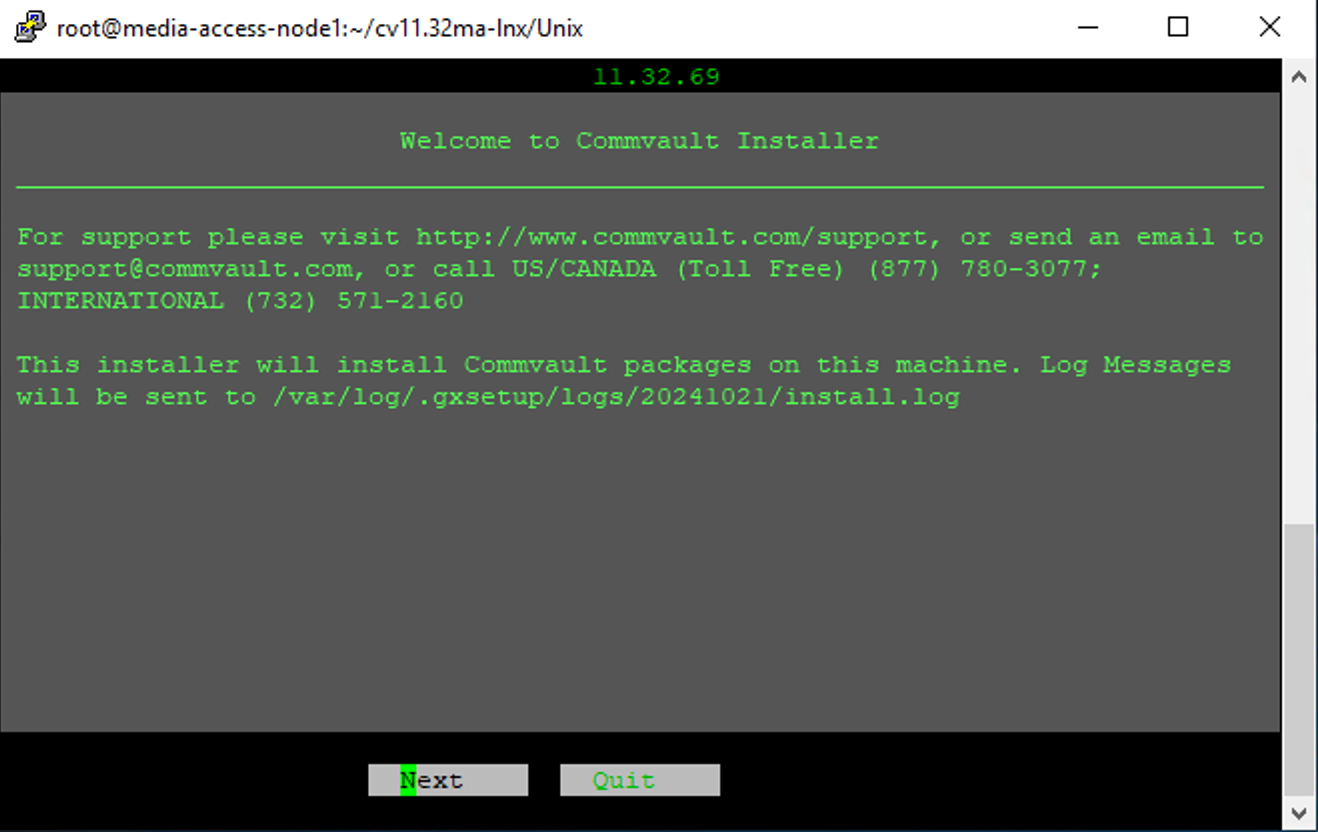
On the installation Welcome screen, click on Next.
Step 6
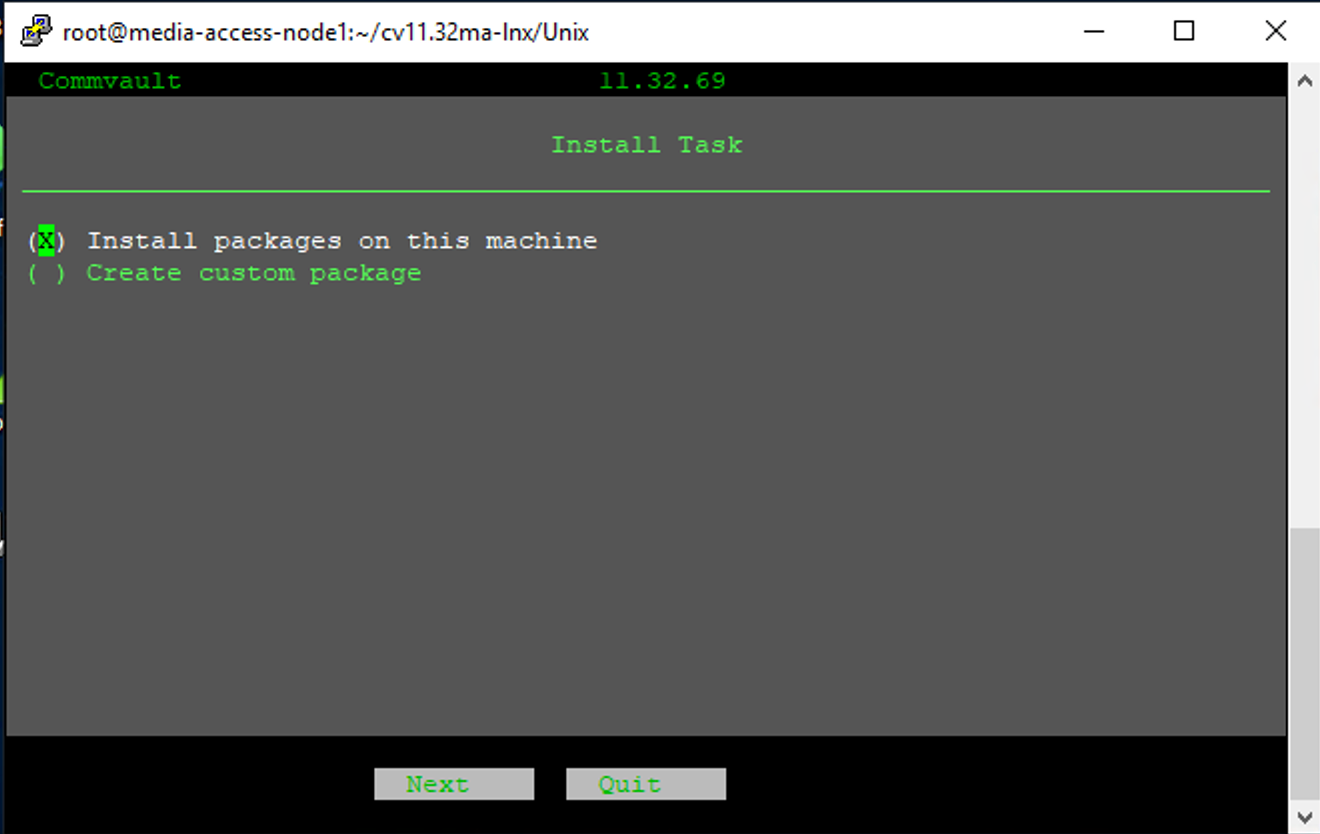
On the Install Task screen, select Install packages on this machine.
Click Next.
Step 7
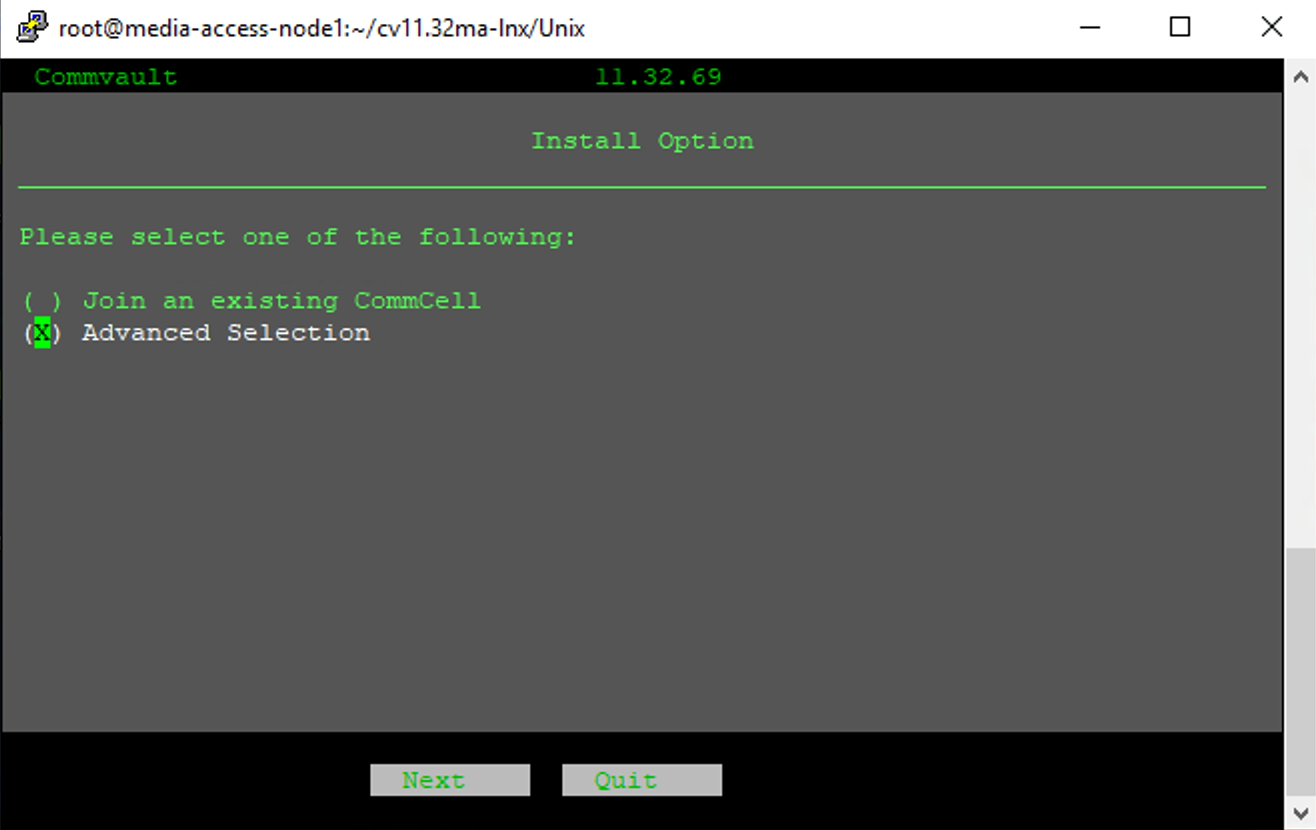
On the Install Option screen, arrow down then use the space bar to select Advanced Selection. Click Next.
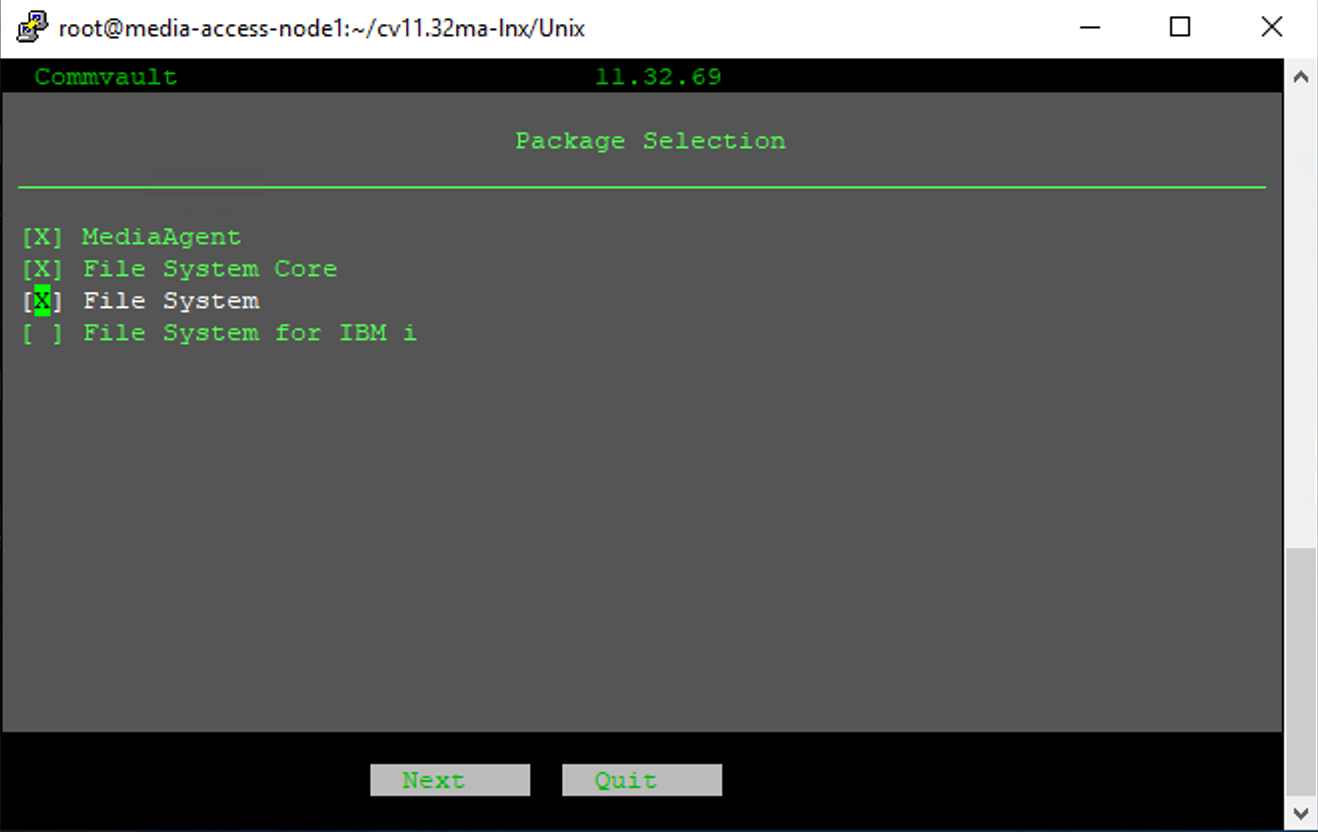
Step 8
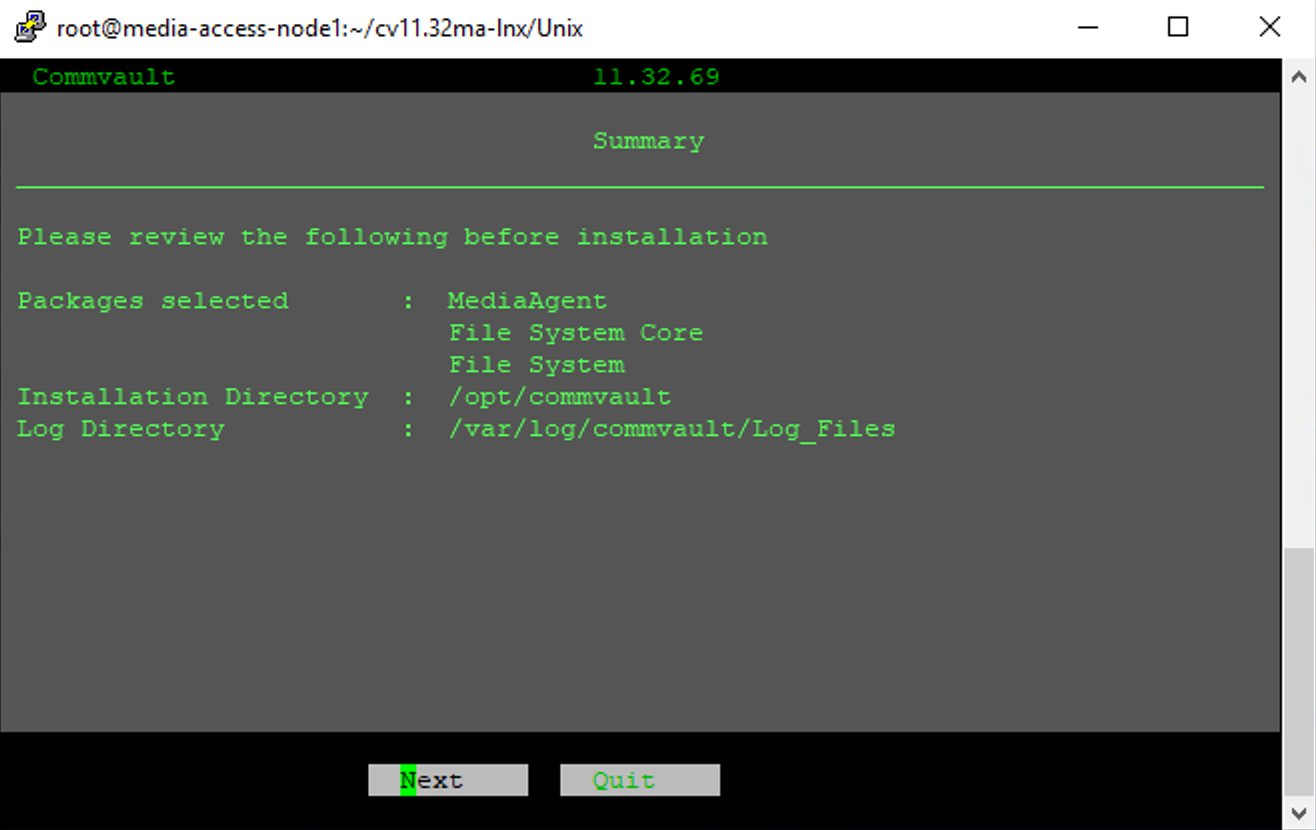
On the Package Selection, use the space bar to select the following options, MediaAgent, File System Core and File System.
Click Next.
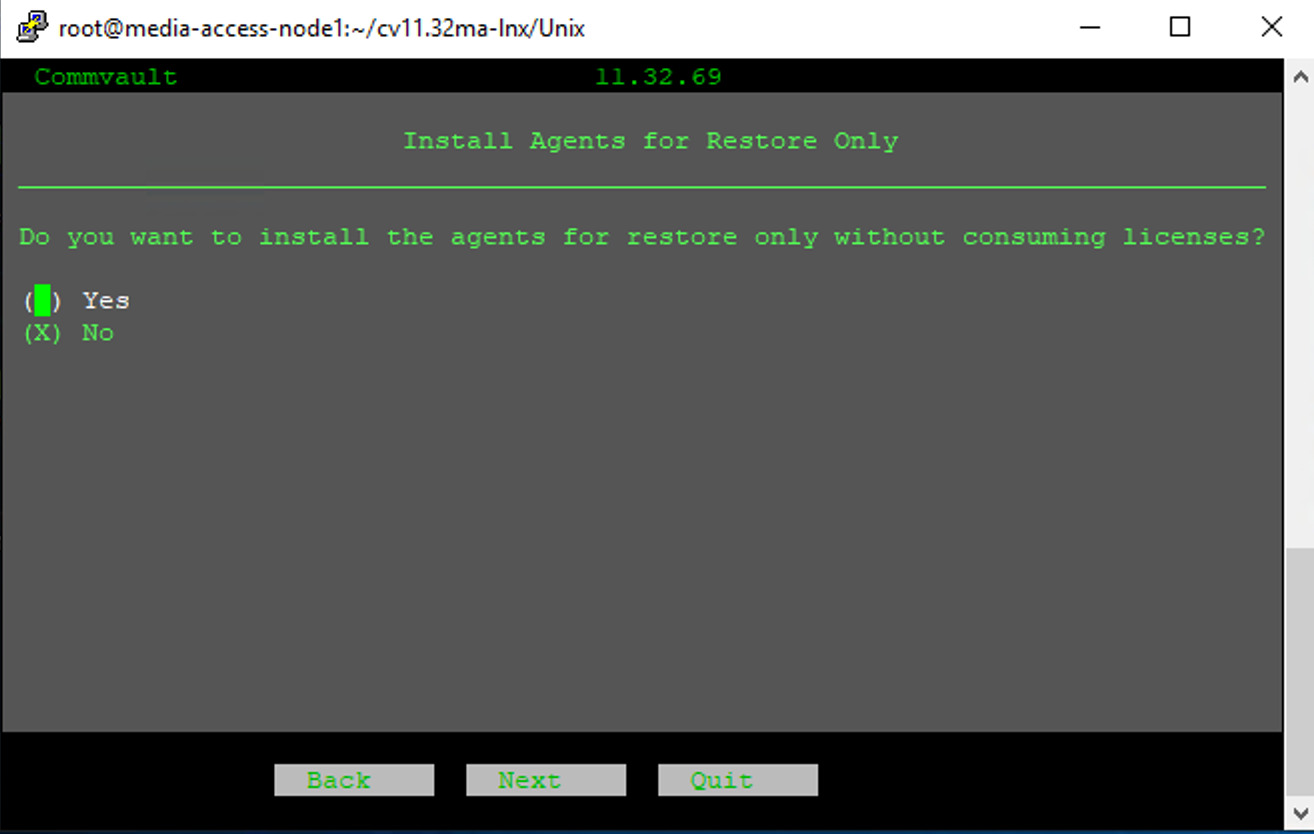
Step 9
On the Install Agents for Restore Only, leave the default option as No.
Click Next.
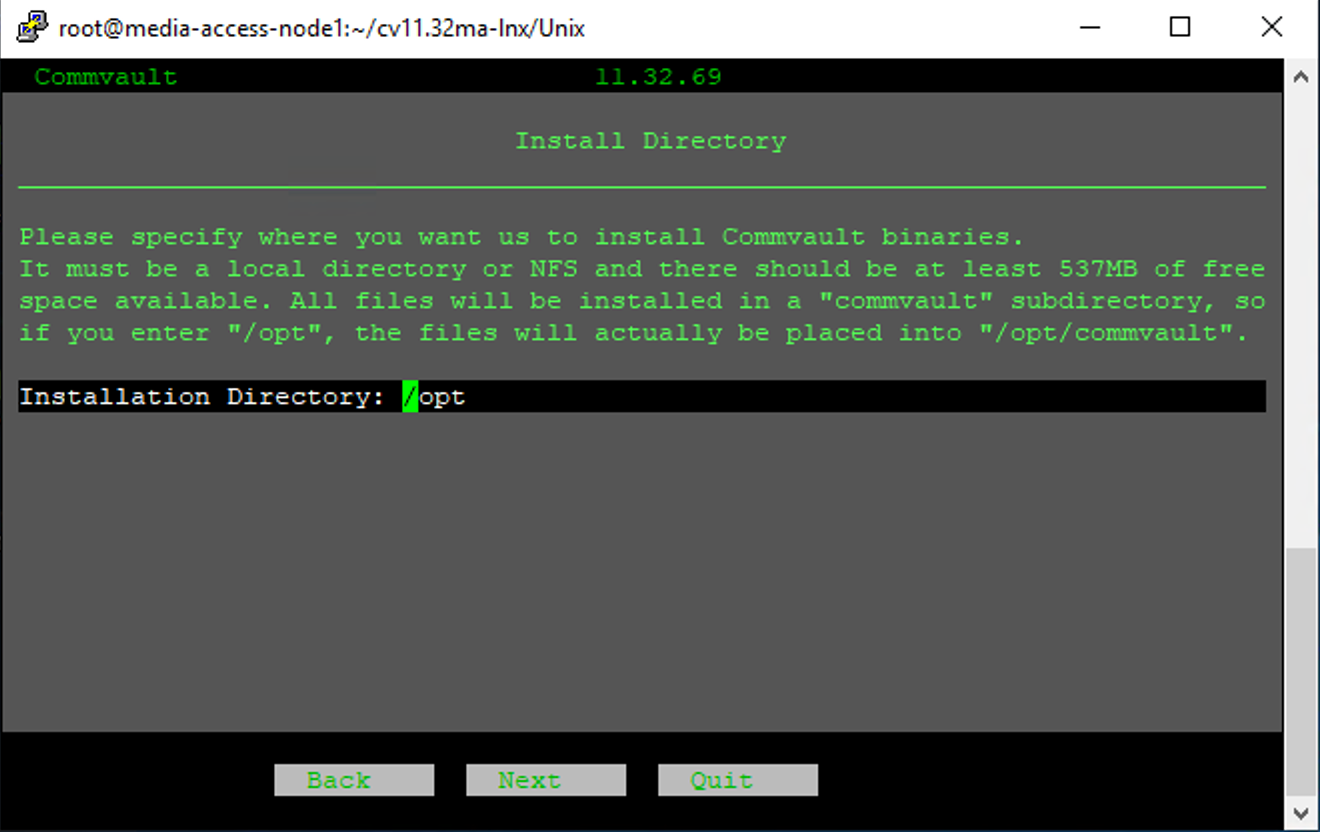
Step 10
On the Install Directory prompt, leave the default directory as /opt or type in the installation directory. Click Next.
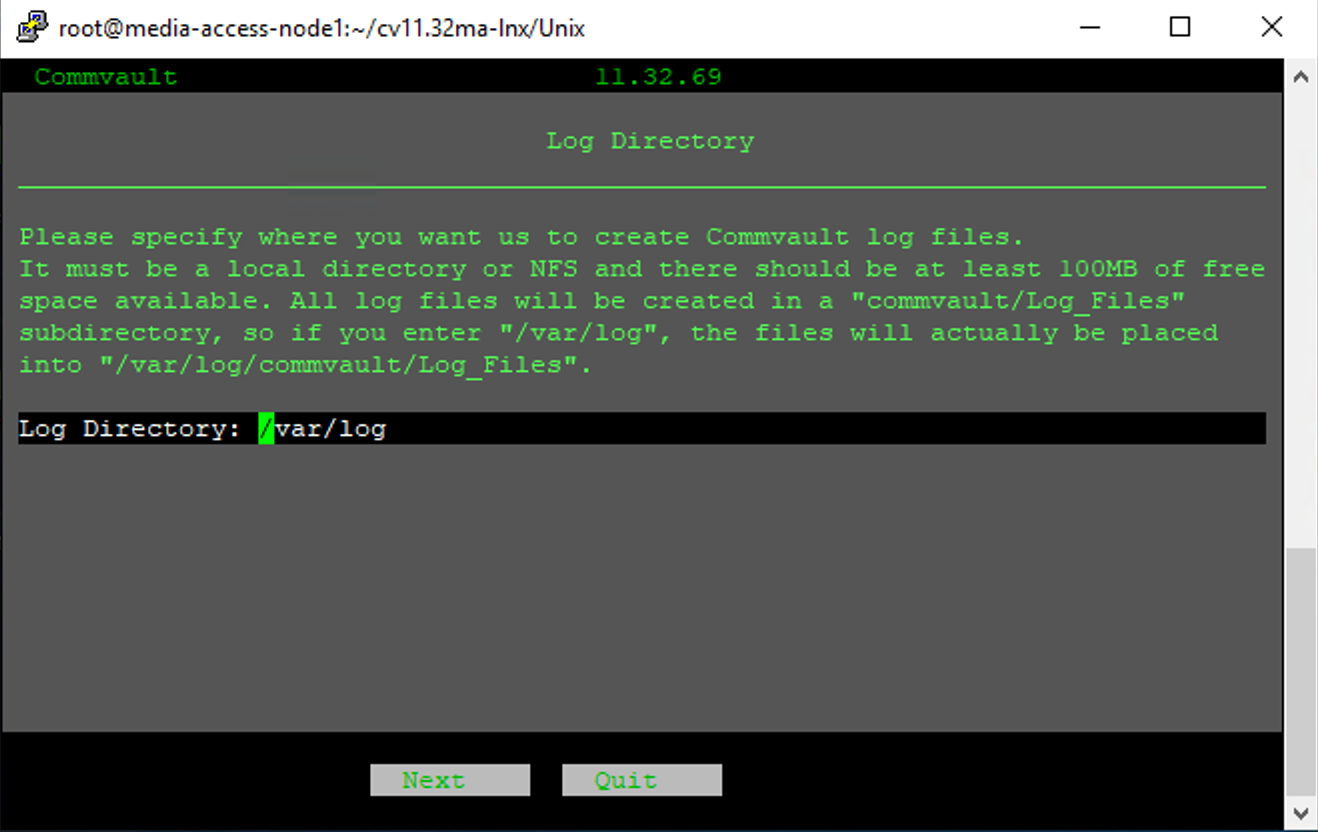
Step 11
In the Log Directory prompt, leave the default of /var/log or type in the preferred Log Directory. Click Next.
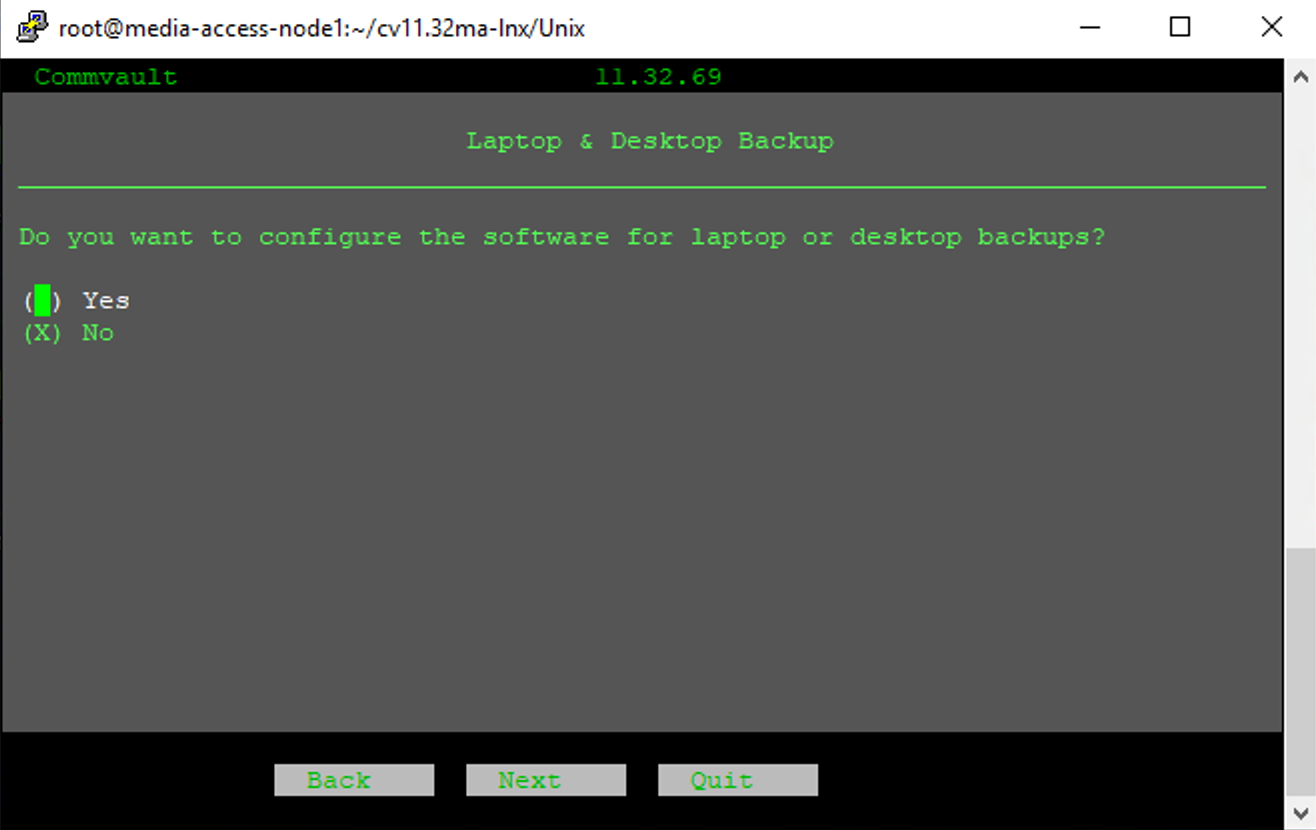
Step 12
On the Laptop & Desktop Backup prompt, leave the default as No since the Linux server is being installed and configured as a MediaAgent server. Click Next.
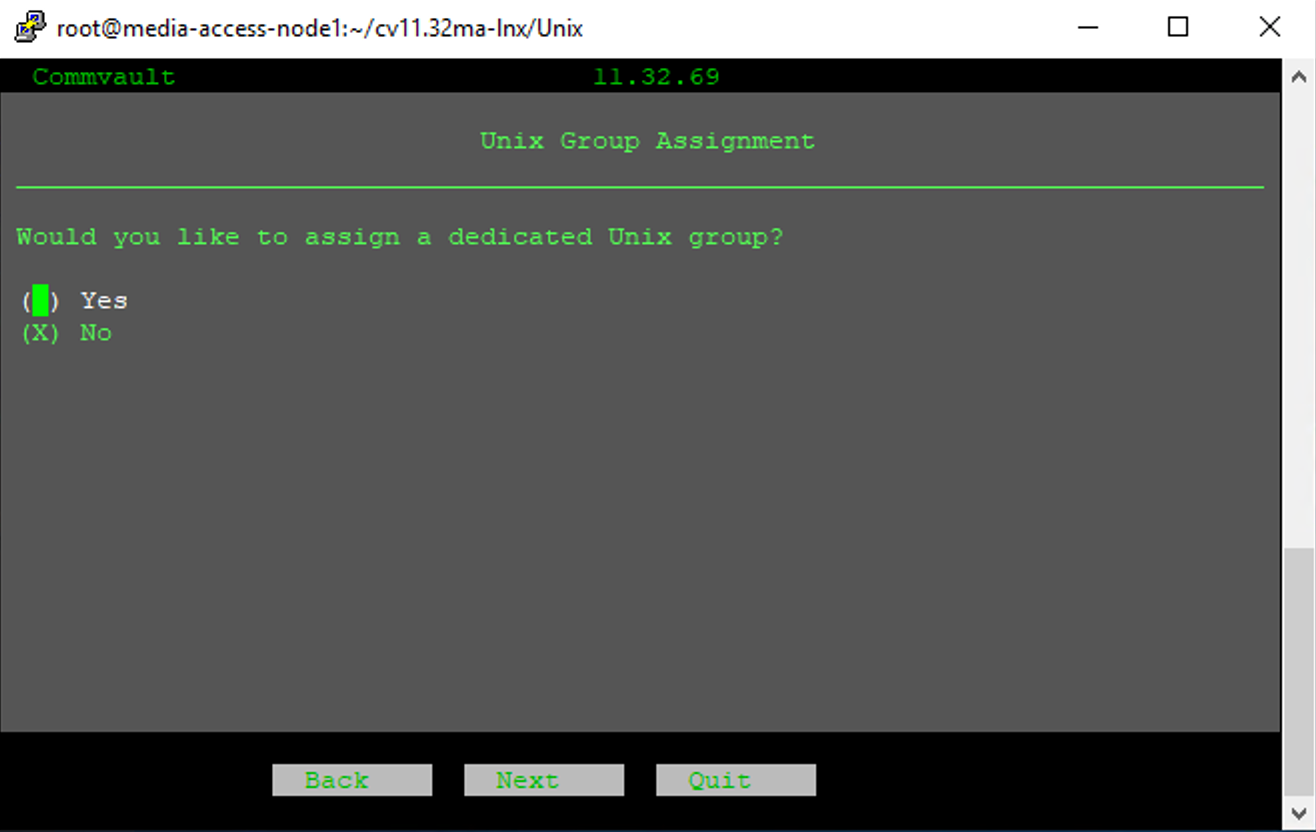
Step 13
On the Unix Group Assignment prompt, leave the default option of No.
Click Next.
Step 14
On the Client Host Information prompt, leave the hostname. Click Next.

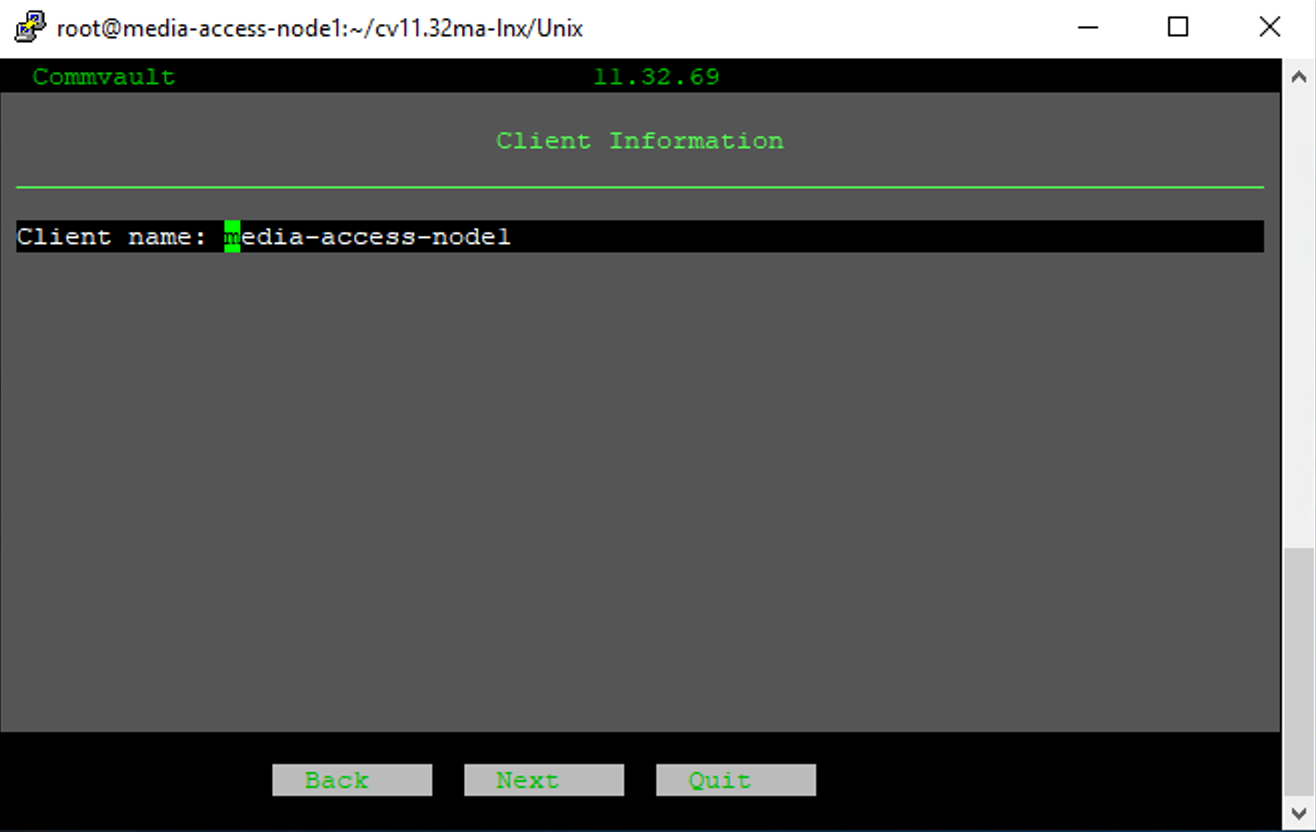
Step 15
On the Client Information prompt, leave the client name. Click Next.
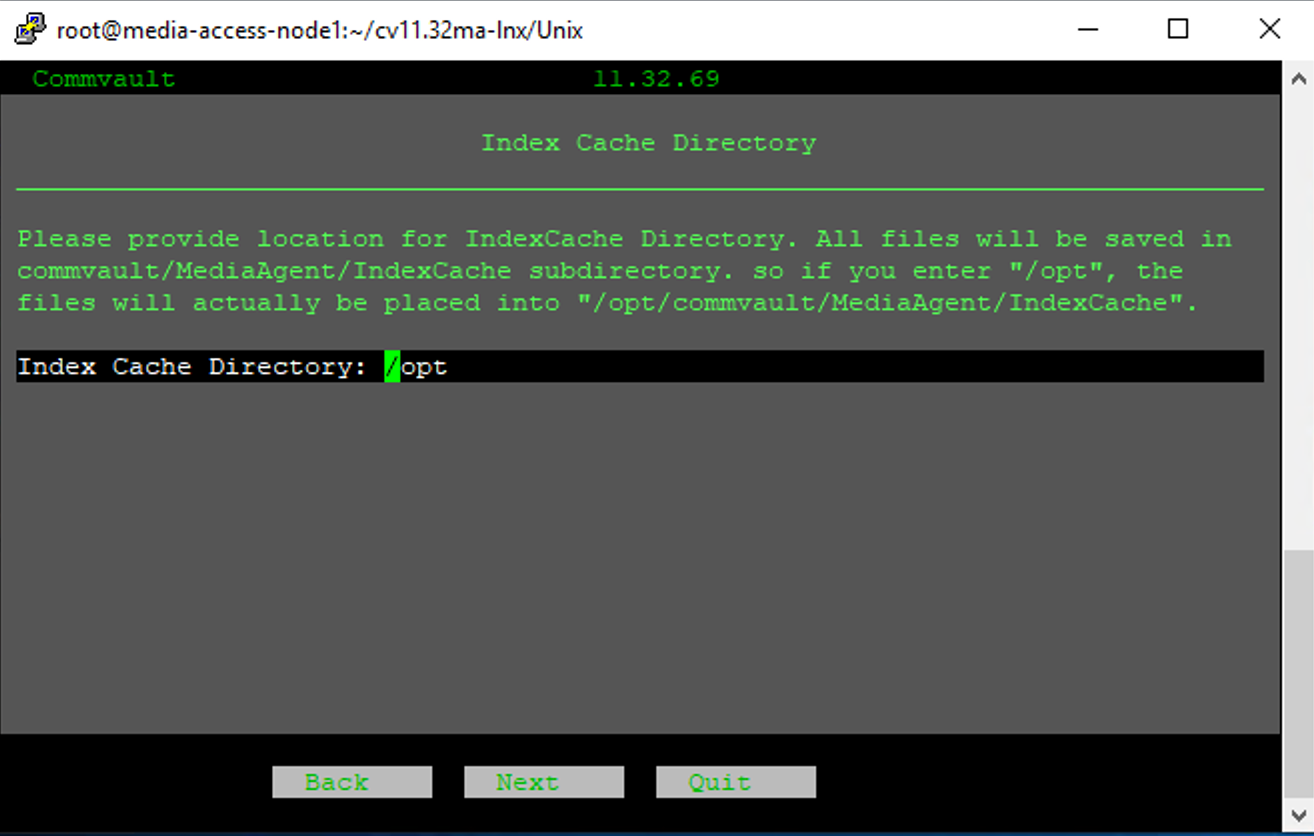
Step 16
In the Index Cache Directory prompt, leave the default or type in the configured Index Cache Directory. Click Next.
NOTE: In a production environment, the Index Cache directory should be configured on highly performant disks like NVMe disks.
Step 17
On the Summary screen, review the options selected. Click Next.
Step 18
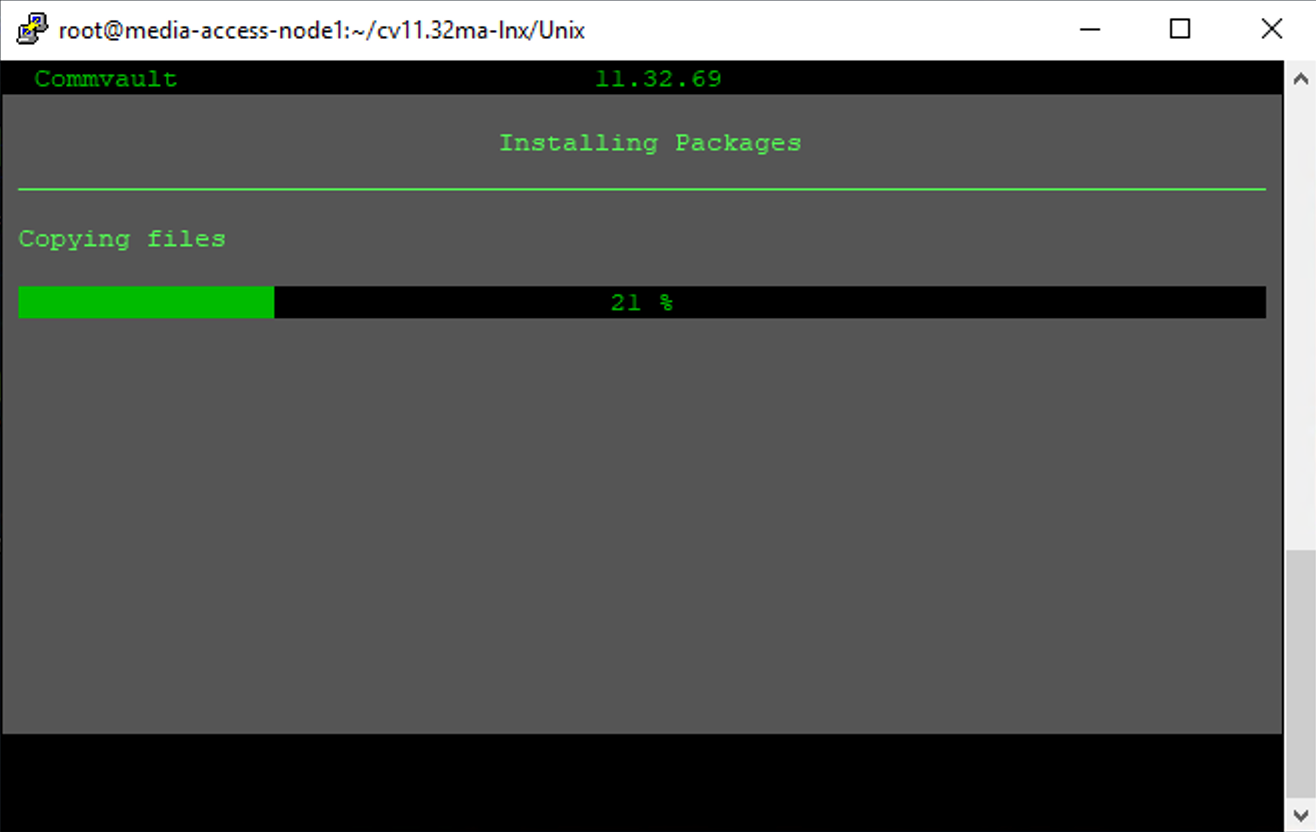
The Installing Packages screen will show the status of the installation.
Step 19
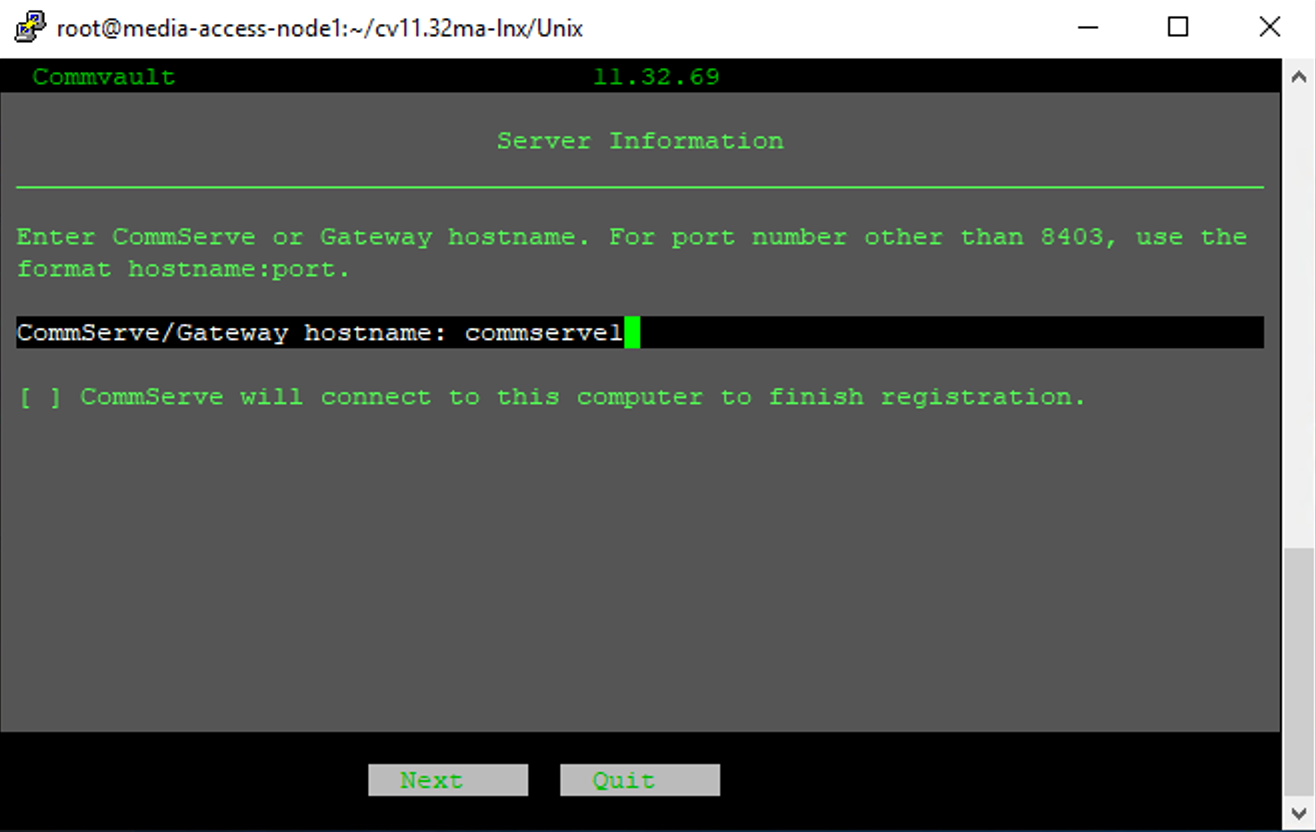
On the Server Information prompt, type in the CommServe server name.
Click Next.
NOTE: The CommServe host should be accessible via tcp port 8400 or 8403. The CommServe host should also be reachable by its IPv4 address via the DNS server or the local hosts file of the Linux server.
Step 20
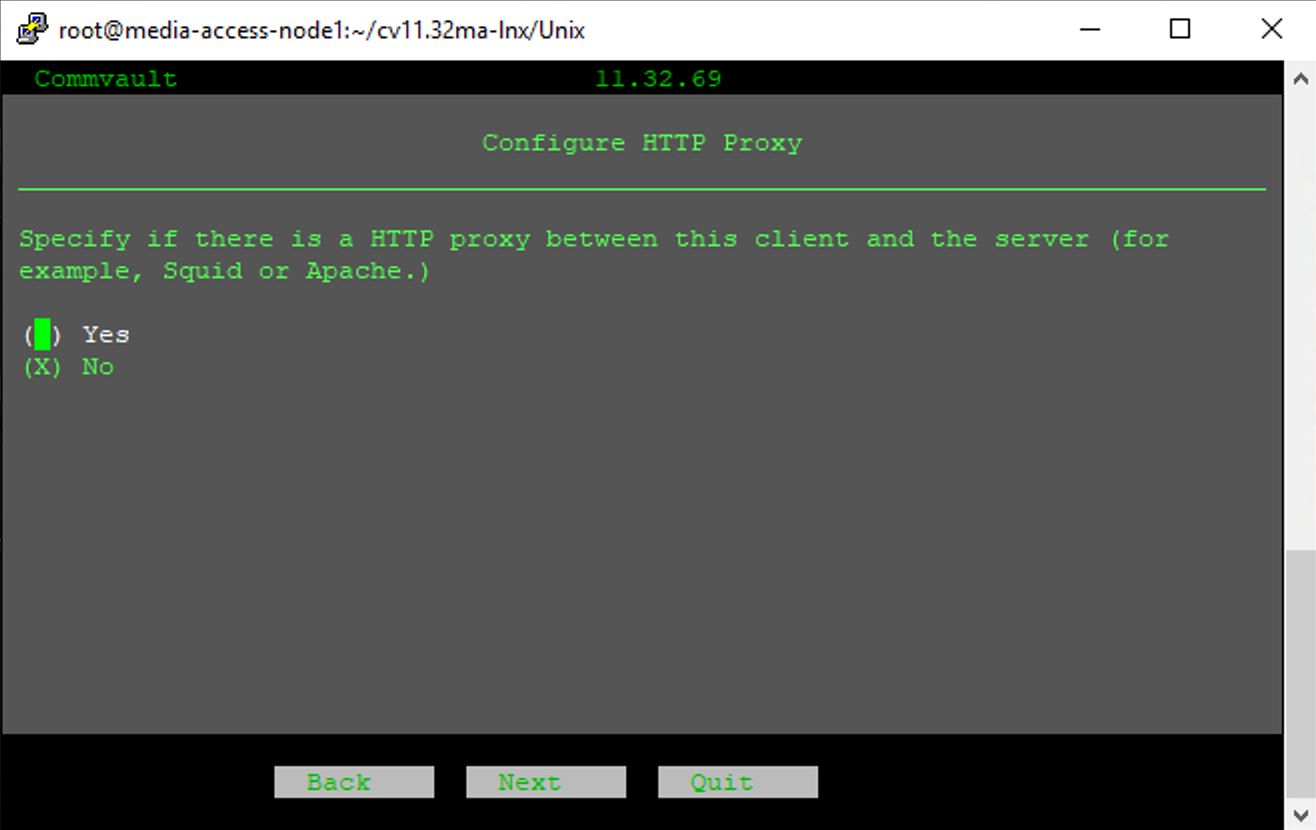
On the Configure HTTP Proxy prompt, leave the default option of No.
Click Next.
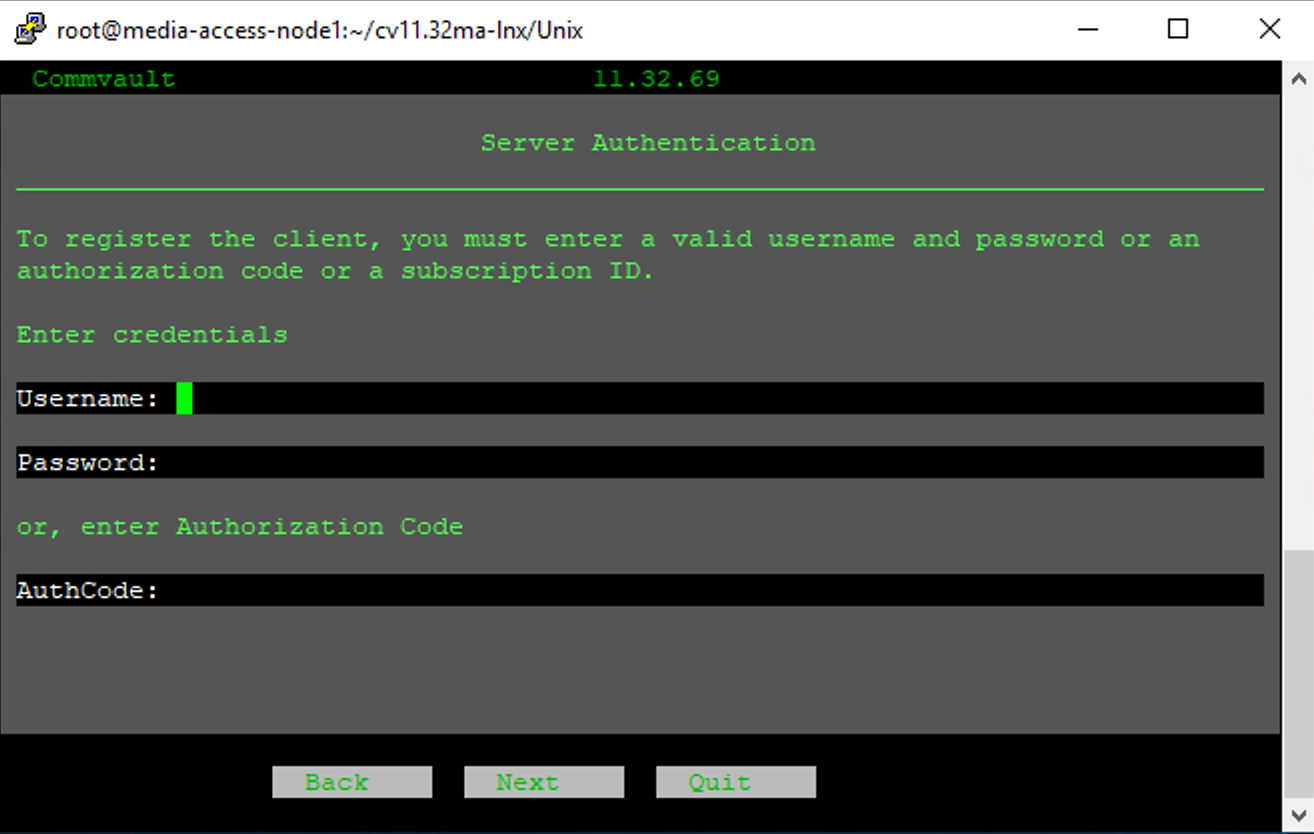
Step 21
On the Server Authentication prompt, enter the Commvault Administrator credentials. Click Next.
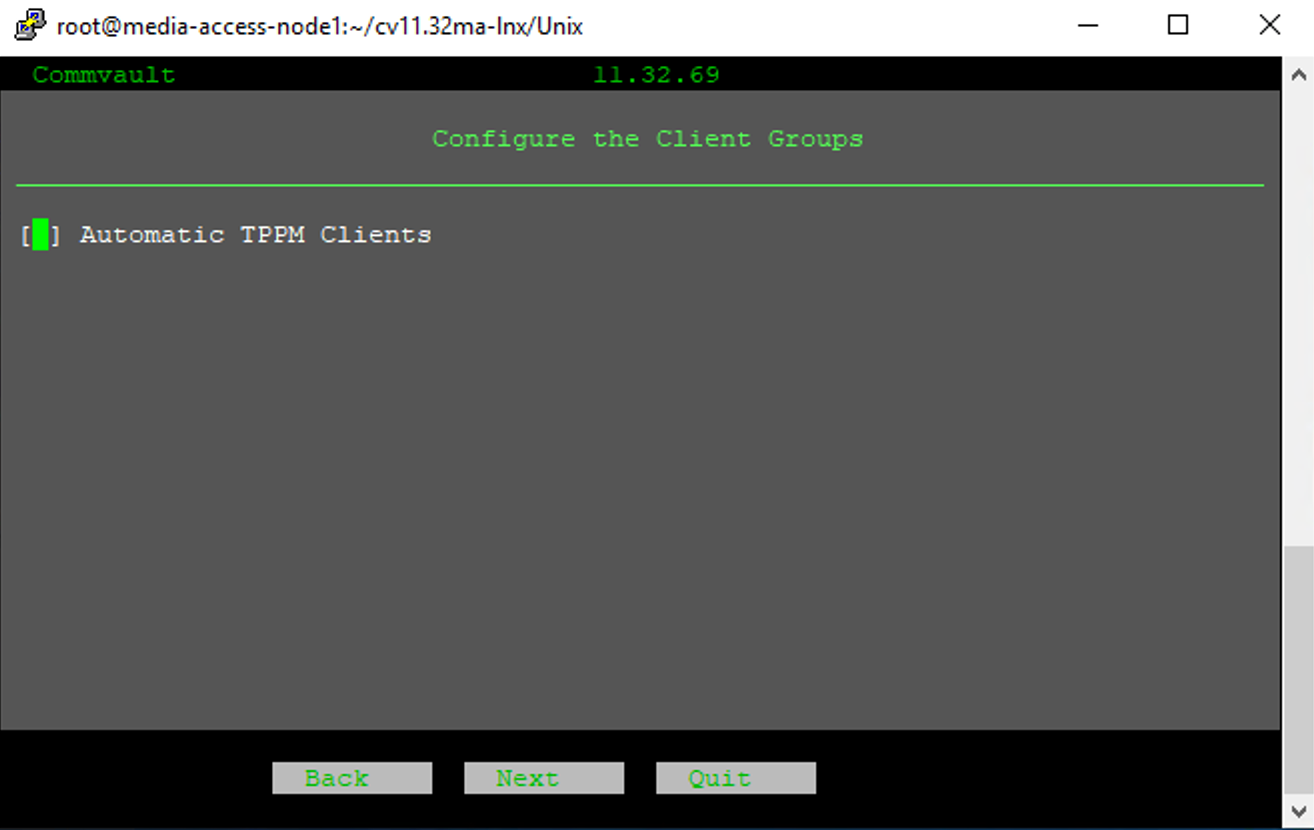
Step 22
On the Configure the Client Groups prompt, leave the default.
Click Next.
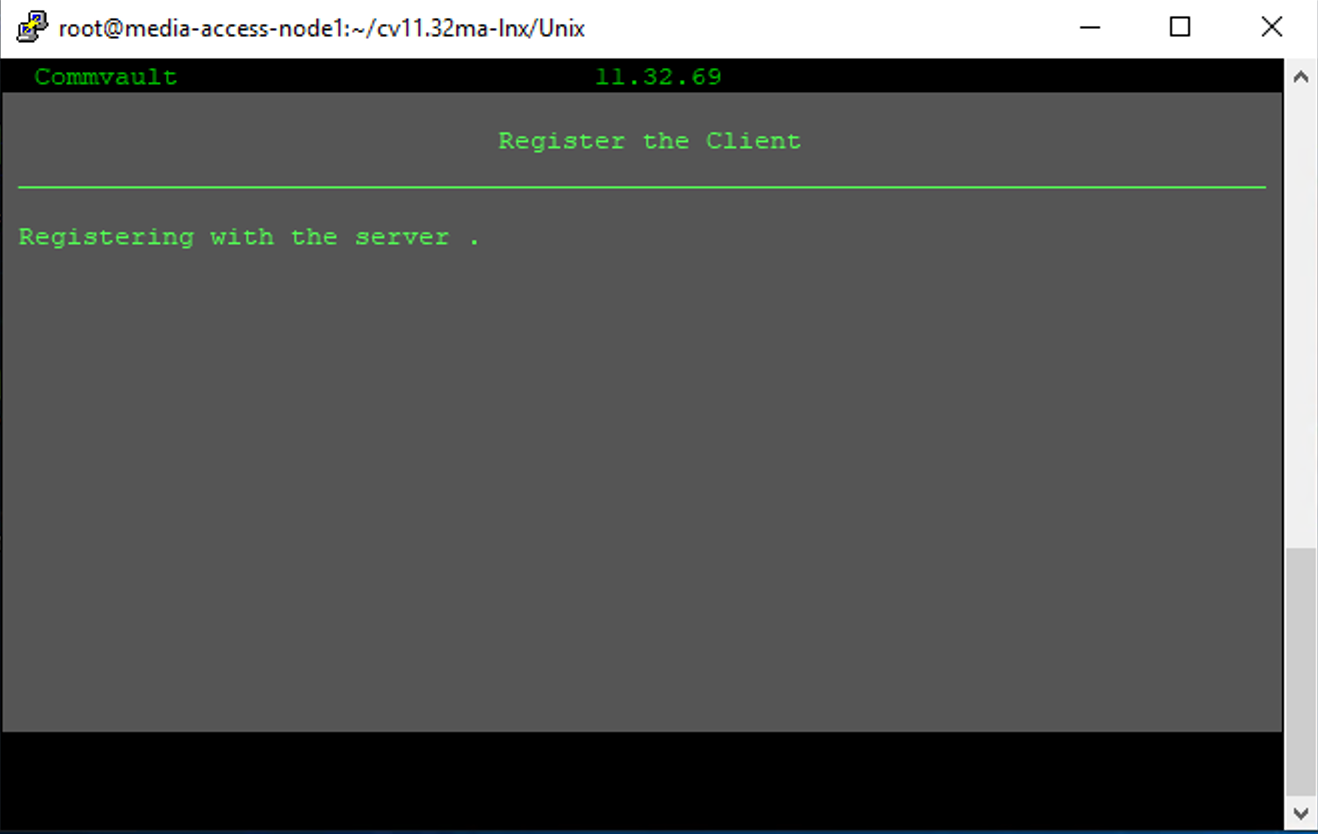
Step 23
The installation will attempt to register the client to the Commvault Server.
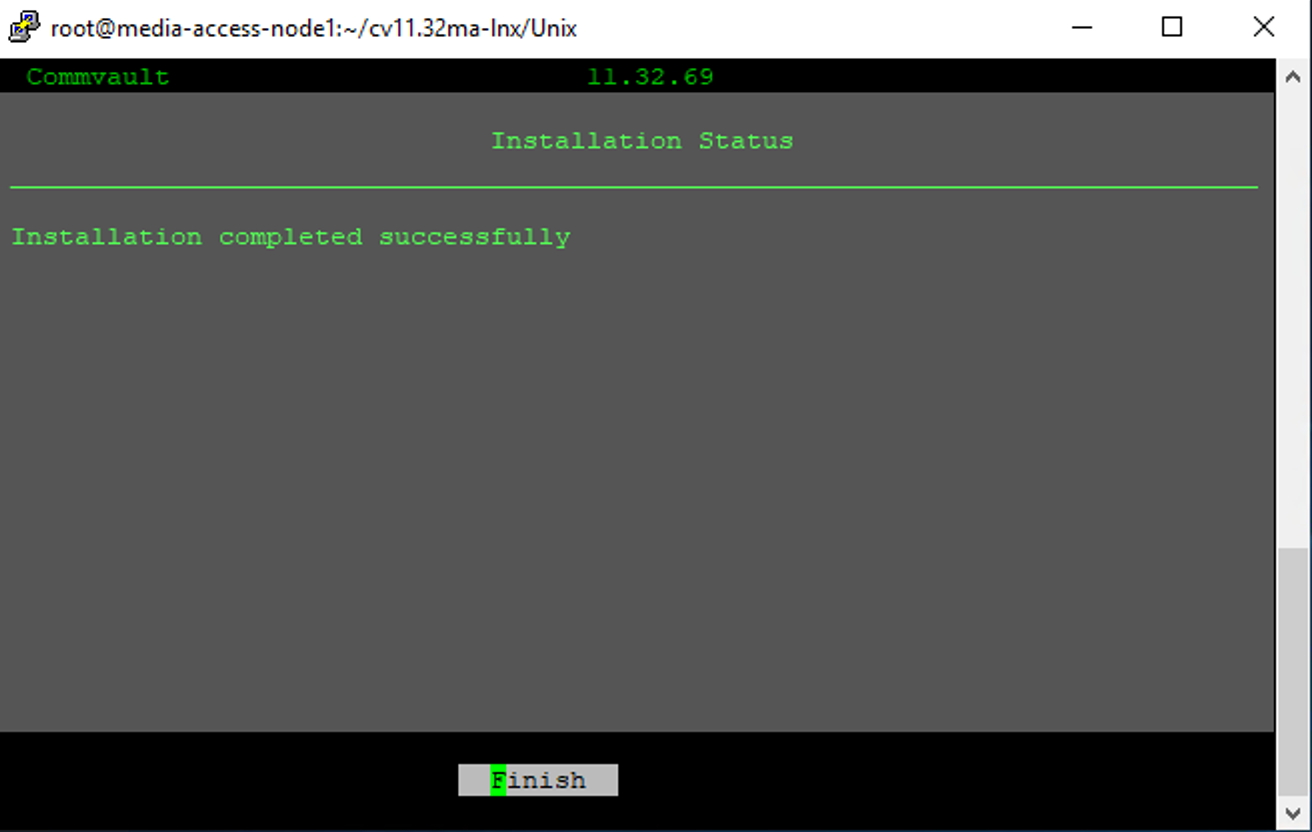
Step 24
The Installation Status will show a successful status. Click Finish.
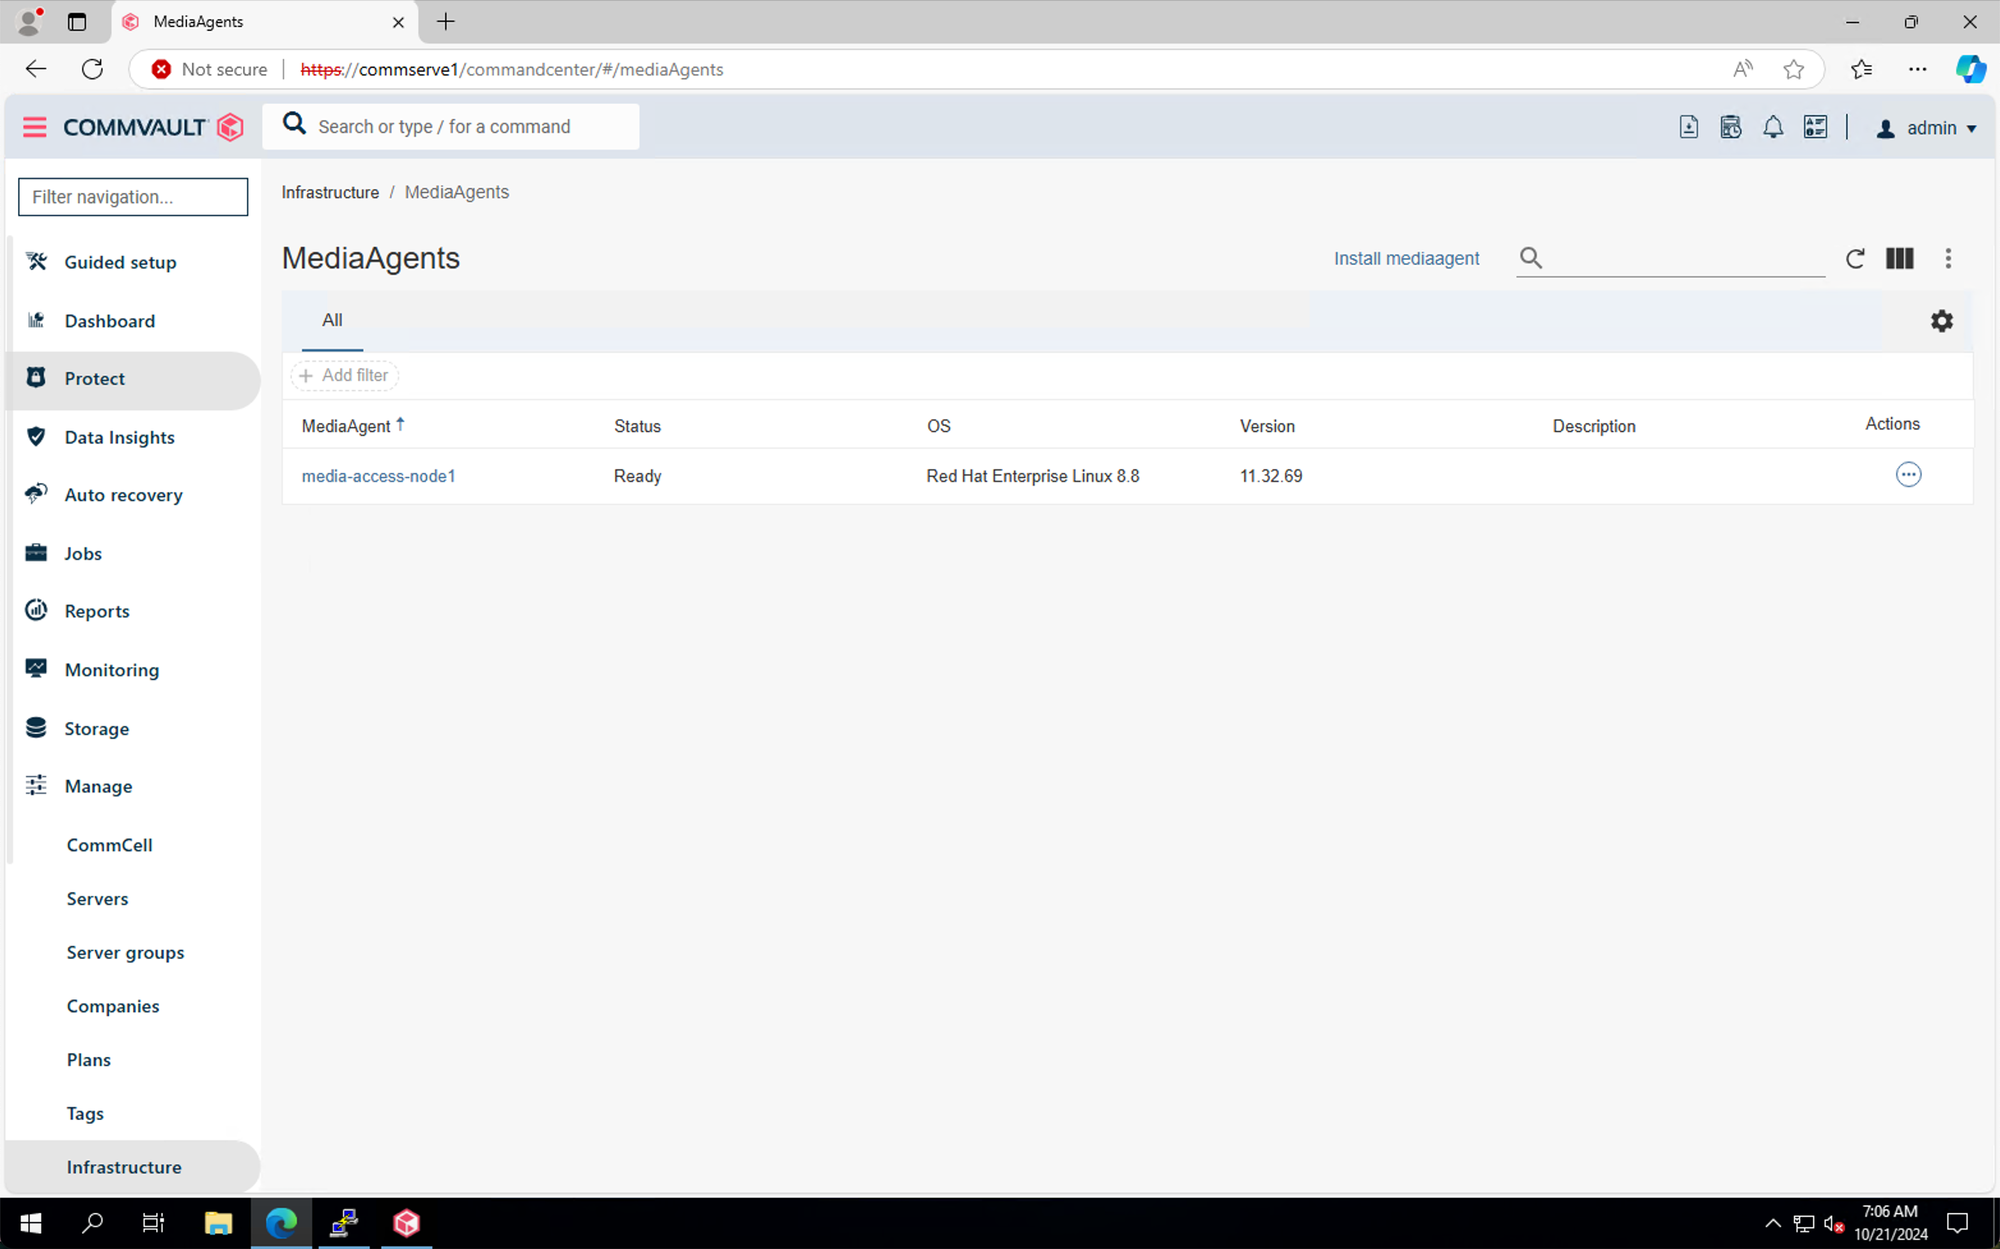
Step 25
Logon the Command Center. Navigate to Manage->Infrastructure. Click on MediaAgents.

Step 26
The new MediaAgent server should show a status of Ready. The MediaAgent server can now be further configured for use as a Commvault backup target.